Home >Operation and Maintenance >Windows Operation and Maintenance >Win32 SDK Basics (4) The second step of how to create a windows window from scratch
Win32 SDK Basics (4) The second step of how to create a windows window from scratch
- 黄舟Original
- 2017-06-06 09:40:272123browse
3.5 Display window.
After creating the window, if we want to be able to see the window when running, we also need to explicitly set the display window:
ShowWindow(hWnd, SW_SHOW);
UpdateWindow(hWnd);
ShowWindow and UpdateWindow are both system API, the former is to set the display attribute of the window. The latter reupdates the window properties. Only after the update, the properties will take effect. After the above steps, our WinMain function has become as follows:
int APIENTRY wWinMain(_In_ HINSTANCE hInstance,
_In_opt_ HINSTANCE hPrevInstance,
_In_ LPWSTR    lpCmdLine,
_In_ int       nCmdShow)
{
    //注册窗口类
    WNDCLASSEX wce = { 0 };
    wce.cbSize = sizeof(wce);
    wce.cbClsExtra = 0;
    wce.cbWndExtra = 0;
    wce.hbrBackground = (HBRUSH)(COLOR_WINDOW + 1);
    wce.hCursor = NULL;
    wce.hIcon = NULL;
    wce.hIconSm = NULL;
    wce.hInstance = hInstance;
    wce.lpfnWndProc = wndProc;
    wce.lpszClassName = “Main”;
    wce.lpszMenuName = NULL;
    wce.style = CS_HREDRAW | CS_VREDRAW;
    ATOM nAtom = RegisterClassEx(&wce);
    if (!nAtom )
    {
        MessageBox(NULL, "注册失败", "Infor", MB_OK);
        return 0;
    }

    //创建窗口
    HWND hWnd = CreateWindowEx(0, “Main”, “Window”, WS_OVERLAPPEDWINDOW, CW_USEDEFAULT, CW_USEDEFAULT, CW_USEDEFAULT, CW_USEDEFAULT, NULL, NULL, g_hInstance, NULL);
    //显示窗口
   ShowWindow(hWnd, SW_SHOW);
   UpdateWindow(hWnd);
}
3.6 Open messageLoop
The so-called message loop is actually an infinite loop, which continuously captures the window messages through GetMessage, and then converts the virtual key messages into character messages through TranslateMessage, and then dispatches the messages to Our window program handles it (the so-called processing means calling the window processing function WinProc we defined):
void Message()
{
    MSG nMsg = { 0 };
    while (GetMessage(&nMsg, NULL, 0, 0))
    {
        TranslateMessage(&nMsg);
        DispatchMessage(&nMsg);
    }
}
After completing the message loop, our final code is as follows (the window registration program is encapsulated here, But the process is the same): #include<windows.h>
HINSTANCE g_hInstance = 0;
//窗口处理函数
LRESULT CALLBACK WndProc(HWND hWnd, UINT uMsg, WPARAM wParam, LPARAM lParam)
{
switch (uMsg)
{
case WM_DESTROY:
PostQuitMessage(0);//可以使GetMessage返回0
break;
default:
break;
}
return DefWindowProc(hWnd, uMsg, wParam, lParam);
}
//注册窗口类
BOOL Register(LPSTR lpClassName, WNDPROC wndProc)
{
WNDCLASSEX wce = { 0 };
wce.cbSize = sizeof(wce);
wce.cbClsExtra = 0;
wce.cbWndExtra = 0;
wce.hbrBackground = (HBRUSH)(COLOR_WINDOW + 1);
wce.hCursor = NULL;
wce.hIcon = NULL;
wce.hIconSm = NULL;
wce.hInstance = g_hInstance;
wce.lpfnWndProc = wndProc;
wce.lpszClassName = lpClassName;
wce.lpszMenuName = NULL;
wce.style = CS_HREDRAW | CS_VREDRAW;
ATOM nAtom = RegisterClassEx(&wce);
if (nAtom == 0)
return FALSE;
return true;
}
//创建主窗口
HWND CreateMain(LPSTR lpClassName, LPSTR lpWndName)
{
HWND hWnd = CreateWindowEx(0, lpClassName, lpWndName,
WS_OVERLAPPEDWINDOW, CW_USEDEFAULT, CW_USEDEFAULT, CW_USEDEFAULT, CW_USEDEFAULT, NULL, NULL, g_hInstance, NULL);
return hWnd;
}
//显示窗口
void Display(HWND hWnd)
{
ShowWindow(hWnd, SW_SHOW);
UpdateWindow(hWnd);
}
//消息循环
void Message()
{
MSG nMsg = { 0 };
while (GetMessage(&nMsg, NULL, 0, 0))
{
TranslateMessage(&nMsg);
DispatchMessage(&nMsg);
}
}
int APIENTRY wWinMain(_In_ HINSTANCE hInstance,
_In_opt_ HINSTANCE hPrevInstance,
_In_ LPWSTR lpCmdLine,
_In_ int nCmdShow)
{
// TODO: Place code here.
g_hInstance = hInstance;
BOOL nRet = Register("Main", WndProc);
if (!nRet)
{
MessageBox(NULL, "注册失败", "Infor", MB_OK);
return 0;
}
HWND hWnd = CreateMain("Main", "window");
Display(hWnd);
Message();
return 0;
}
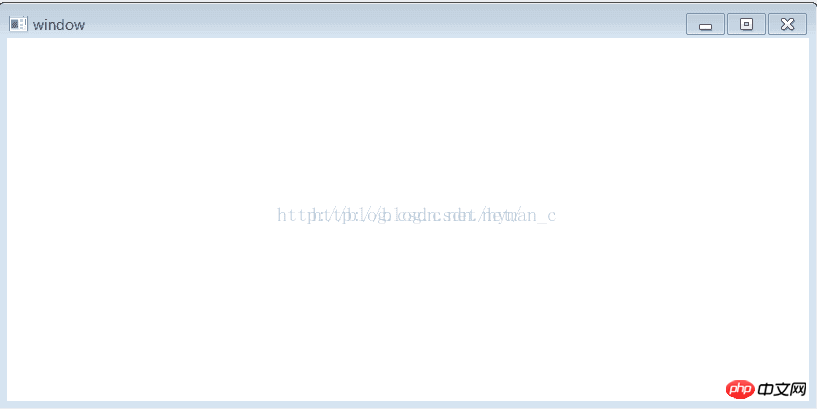
At this point we have completed the entire process of window processing, run the program, and successfully created and displayed a Windows window:

The above is the detailed content of Win32 SDK Basics (4) The second step of how to create a windows window from scratch. For more information, please follow other related articles on the PHP Chinese website!
Related articles
See more- Tutorial on turning off the blurry frosted glass effect in Win10 NEON
- Share two solutions to the problem of computer crash when opening IE browser in windowsxp
- How to solve the problem that the value cannot be created in Win7 system when installing the software?
- Use bat batch file to operate windows example code
- Detailed tutorial on how to use test code for Windows 8 development

