
Home >Database >Mysql Tutorial >mysql advanced (13) command line export and import database
mysql advanced (13) command line export and import database

- 黄舟Original
- 2017-02-10 10:50:281355browse
MySQLCommand line exportImport database
MySQLCommand line export database:
1, enter ## The bin folder in the #MySQL directory: cd MySQL to bin Directory of the folder
For example, the command line I entered:cd D:\Program Files\MySQL\MySQL Server 5.5\bin
(Or directly add the directory to the environment variable path of windows)
2, export database: mysqldump -u Username -p Database name > Exported file name
For example, the command line I entered:mysqldump -u lmapp -p lmapp - P 3308 > lmapp.sql (After entering, you will be asked to enter the password to enter MySQL)
(If you export a single table, just enter the table name after the database name)
mysql exports a table in the database
mysqldump -u username -p database name table name> exported file name
mysqldump -u lmapp -p lmapp users> test_users.sql (no semicolon at the end)
news.sql is automatically generated under the bin file


Service port) to solve the problem question.
Command line import database: 1, move the .sql file to be imported to bin file, such a path is more convenient
2, the same as the step 1# exported above ##3
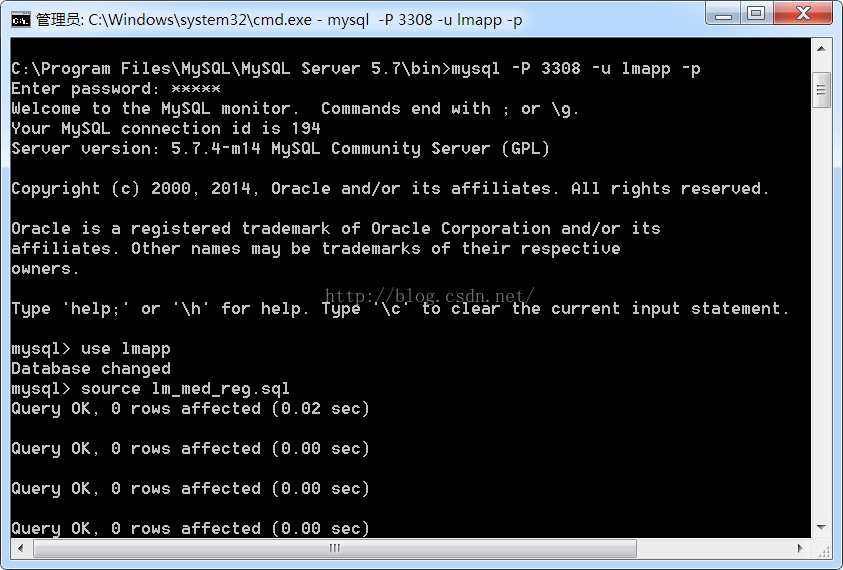
, enterMySQL: mysql -u Username -pFor example, the command line I entered
:mysql -u root -p (After entering the same command line, you will be prompted to enterMySQL# The password of ##)4, create the new one you want to create in
MySQL-Front The database is an empty database at this time. For example, create a new target database named news
5, enter: mysql>use Target database name
For example, the command line I entered :mysql>use news;
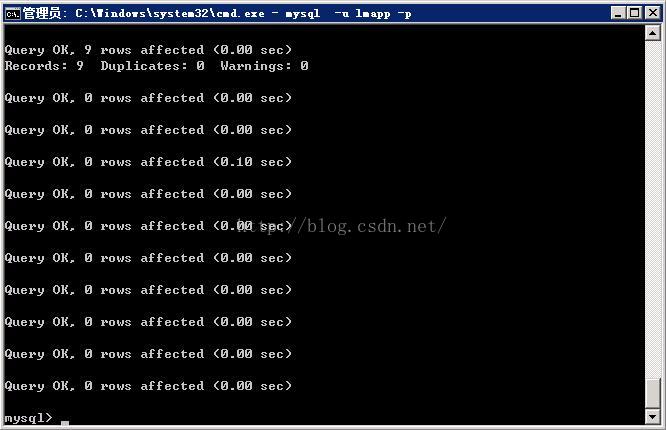
6, import file: mysql>source Imported file name;
For example, the command line I entered: mysql>source news.sql;
Note: Due to the different size and data structure of the imported database , the import time will vary greatly. The database I imported was 123M and took nearly 5 hours. During this period, I thought the machine was down. After careful observation of the command line interface, I found that the import was proceeding normally. The interface after successful import is as follows:
Note: When importing a single data table, use SQL statements similar to use lmapp lm_area and source lm_area.sql. The original data table can exist, and the imported data table will overwrite the existing data table with the same name.
MySQLBackup and restore, all use mysqldump,mysql and source commands to complete.
1. Backup and restore of MySQL under Win32
1.1 Backup
Start Menu | Run | cmd |Use "cd \Program Files\MySQL\MySQL Server 5.0\bin" command to enter the bin folder | Use "mysqldump -u username -p databasename >exportfilename"Export the database to a file, such as mysqldump -u root -p voice>voice .sql, and then enter the password to start exporting.
1.2 Restore
Enter MySQL Command Line Client, enter the password, and enter " mysql>", enter the command "show databases;", press Enter to see what databases there are ;Create the database you want to restore, enter "create database voice;", press Enter; switch to the newly created database, Enter "use voice; ", press Enter; to import data, enter "source voice.sql;", press Enter, start importing, "mysql>" appears again and restore without prompting error success.
2.LinuxBackup and restore of MySQL
2.1 Backup
[root@localhost ~]# cd /var/lib/mysql (Enter the MySQL library directory, according to your own MySQLAdjust the directory for the installation situation)
[root@localhost mysql]# mysqldump -u root -p voice>voice.sql, enter the password.
2.2 Restore
Method 1:
[root@localhost ~]# mysql -u root -p Enter , enter the password and enter the console of MySQL"mysql>", the same as 1.2reduction.
Method 2:
[root@localhost ~]# cd /var/lib/mysql (Enter MySQLLibrary directory, adjust the directory according to your own MySQL installation )
[root@localhost mysql]# mysql - u root -p voice
The above is the content of mysql advanced (13) command line export and import database. For more related content, please pay attention to the PHP Chinese website (www. php.cn)!