 Mobile Game Tutorial
 Mobile Game Guide
 Indiana Jones And The Great Circle: Khmer Cogwheels Location Guide
Compared to the Strange Inscriptions in the Vatican and the Stelae in Gizeh, the Khmer Cogwheels in Sukhothai are the easiest of the regional collectibles to find in Indiana Jones And The Great Circle. After all, you can often find several of them in one place, and Sukhothai is smaller than the other two regions so you have to do less exploring.
2:55
However, the Cogwheels come with an added twist; to get the full reward for finding them - including several Ancient Relics and the Gearhead Achievement - you need to solve several puzzles as well. Here's how to do it.
Remember to always take the Cogwheels with you after solving a puzzle. You need all of them for each successive challenge, and forgetting them means you'll have to backtrack.
Hidden Pyramid Cogwheel Puzzles

Required Cogwheels: 3
The first two Cogwheel puzzles are part of the main story, and take place in the same room. While it is possible to go around collecting the other Cogwheels and do the other challenges first, it's best to visit the Hidden Pyramid, get the three Cogwheels there, then do the rest of the puzzles before returning to Sunan.
A full guide for finding and operating the Gear Trains can be found in our Hidden Pyramid walkthrough.
Each puzzle room from this point forward will have one or more Cogwheels on the ground or in the gear train. Make sure you collect all of them!
Waterfall Ruins Cogwheel Puzzle

Required Cogwheels: 4
The Waterfall Ruins are southwest of Wat Sa Si. The easiest way to get there is either to take the boat up the river in the middle of the map's western edge, or take the bridges from the island between Wat Sa Si and Wat Mahathat. In the latter case, the road goes by a small enemy outpost but is otherwise pretty straightforward; you can even steal a Medicine Bottle from the fascists on your way in or out.
This is one of the more straightforward puzzles. Place a small cogwheel to the left of the main gear at the bottom, then another small cog above that. Put a large cogwheel to the left, then the second large cog directly above. Finally, create another stack of small cogwheels to the left of the large cogwheels, completing the train to the second main gear.
Puil the nearby lever; if your configuration is correct, the gate will open, letting you take the Ancient Relic inside.
Remembr, cogs can only turn each other if they are directly adjacent, either horizontally or vertically.
Village Cogwheel Puzzle

Required Cogwheels: 5
To reach the Village Cogwheel Puzzle, start from Tongdang's shop. Sail southeast in the boat and look for a stone wall with a hole at the bottom. You won't be far from the shop, so if you can't see the back of it you've gone too far.
Equip the Breathing Device and dive under the hole in the wall. Remove the wooden beam blocking your way and swim through. Before you surface, check the riverbed for some sunken coins. Once you're on land, the chamber with the puzzle is directly ahead.
This puzzle is tricky as it requires you to use the outer gears to create separate trains. The starting gear is on the bottom right: place a large cogwheel aboive it, then a small cogwheel to the left, followed by another large cogwheel. This will create a gear train to the bottom-center gear with a white marking.
Before continuing, pull the lever to make sure everything is working properly. All the gears at the bottom shoudl turn, as well as the gear in the upper left, which is also marked with a white symbol and powered by the matching cog.
Place the remaining large cogwheel to the right of the top-left gear, then use your remaining small cogwheels to make a horizontal line to the moss-covered gear in the top right. This will complete the mechanism, allowing you to open the gate and collect the relic.
Wat Mahathat Cogwheel Puzzle

Required Cogwheels: 5
Dock northeast of Wat Mahathat and make your way south through the camp; the puzzle chamber is northeast of the map's southernmost restricted area. Getting there is easiest if you have the Royal Army Uniform from Voss's camp.
The three vine-covered gears on the left side of the mechanism are functional, but can't be moved. You can use them to connect the two halves of the gear train.
Start at the top, placing a small cogwheel under the main gear. Place another small cogwheel, followed by a large one, to the left, creating a chain to the topmost of the green gears.
Next, connect a small cogwheel to the bottom green gear in the only available slot (the second from the bottom), then place another small cog under it. Put a large cogwheel in the space to the right, bridging the gap, then work your way upward with a small cogwheel and a large cogwheel directly above. Finally, set the last large cogwheel between your most recent placement and the main gear on the right side. Pull the lever to complete the puzzle.

Wat Si Sawai Cogwheel Puzzle

Required Cogwheels: 6
This chamber is well-hidden behind Wat Si Sawai in the southwest corner of the map. If you haven't already rescued Aran, it's best to complete this puzzle at the same time so that you don't have to come all the way back.
When you enter the temple, there will be a room full of sleeping enemies on the left. Defeat the heavy (the only one who's awake) and make your way to the far side and follow the path to the rear of the building. When you reach the water, keep going clockwise along the shoreline to find the puzzle chamber.
This puzzle is deceptively simple - it just has a high cogwheel requirement and several red herrings to ignore. Start by making a row of three small cogwheels above the bottom-left gear. Place a large cog above the rightmost in the row, then connect a small cogwheel followed by a large cogwheel to the right of that. Finally, connect two small cogwheels upward to the green gear that powers the main cog in the top right.
The green gears at the center right and bottom right are not used.
Hidden Platform Cogwheel Puzzle

Required Cogwheels: 7
Take the boat southeast of Voss' camp and look for a large metal container submerged in the water. Just south of that is a stone wall with a hole that you can swim through. Do so, then follow the path uphill to the puzzle chamber. When you're done, you can just jump back down into the water and swim to the boat.
The gear in the center is completely non-functional, overgrown as it is with roots. If the gear train is connected to it, the entire mechanism won't work; you won't even be able to pull the lever. This means that you need to avoid connecting to the two small green gears to the left of it, as well.
To begin, place a small cogwheel on the right side of the row of green gears at the bottom of the puzzle. Next, place a large cogwheel in the bottom-right corner, continuing the chain. Make a train upward to the top-right corner with a small cogwheel, a large cogwheel, then another small cogwheel.
From there, make your way left using a small cogwheel, then two large cogwheels, then another small one. The large wheels will look like they're touching the broken gear, but since they aren't directly adjacent they're fine.
Finally, make a horizontal row of two small cogwheels under the leftmost gear that you just placed, connecting to the small green gear that powers the main cog on the left.
River Bank Cogwheel Puzzle

Required Cogwheels: 10
The final puzzle chamber is on a riverbank north of Wat Chana Songkhram and east of the entrance to the lagoon leading to the Hidden Pyramid. There isn't a dock, but you'll be able to see a shore that you can easily disembark to from the boat.
It's only about midway up the river on the north-center part of the map; if you go all the way north, you'll find a back entrance into Voss' camp that could prove useful.
This puzzle requires you to use white-glyph gears and avoid some particularly ill-placed broken ones, and requires all ten small cogwheels from around Sukhothai.
The main gear at the bottom-left has a green gear already attached to it. Place two more in a vertical line above it, then put a large cogwheel to the left of the top one. Put another vertical line of small cogwheels above the large cogwheel to connect the train to the white glyph gear, all while avoiding the broken cog at the top.
This is a good time to pull the lever and check that everything is working.
Place a large cogwheel below the other white glyph gear, at the top-right of the board. This will power the small green gear to the left; from there, make a vertical line consisting of a small, then a large, then another small cogwheel.
Finally, place small cogwheels moving to the right and down until you reach the bottom-right main gear with your last cog. The whole thing requires very precise placements, so if the mechanism doesn't work, double-check everything from bottom to top.
Solving all of the Cogwheel puzzles and collecting the Ancient Relics they protect will unlock the Gearhead Achievement.

The above is the detailed content of Indiana Jones And The Great Circle: Khmer Cogwheels Location Guide. For more information, please follow other related articles on the PHP Chinese website!
 NYT Mini Crossword Answers And Hints - April 27, 2025Apr 27, 2025 pm 12:05 PM
Stuck on today's NYT Mini Crossword? Need a fresh perspective on those tricky clues? Don't worry, we've got you covered! We understand that pop culture references can be elusive, so we're offering alternative hints and, if needed, the answers thems
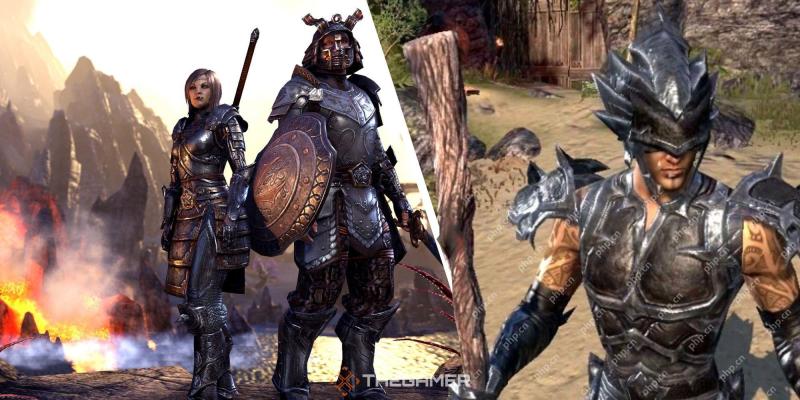 The Elder Scrolls Online - How To Get The Oakfather's Retribution SetApr 27, 2025 pm 12:04 PM
The Elder Scrolls Online's PvP scene boasts powerful gear sets, significantly impacting combat performance. Many are found in Cyrodiil, the game's large-scale PvP zone. This guide focuses on Oakfather's Retribution, a potent light armor DPS set idea
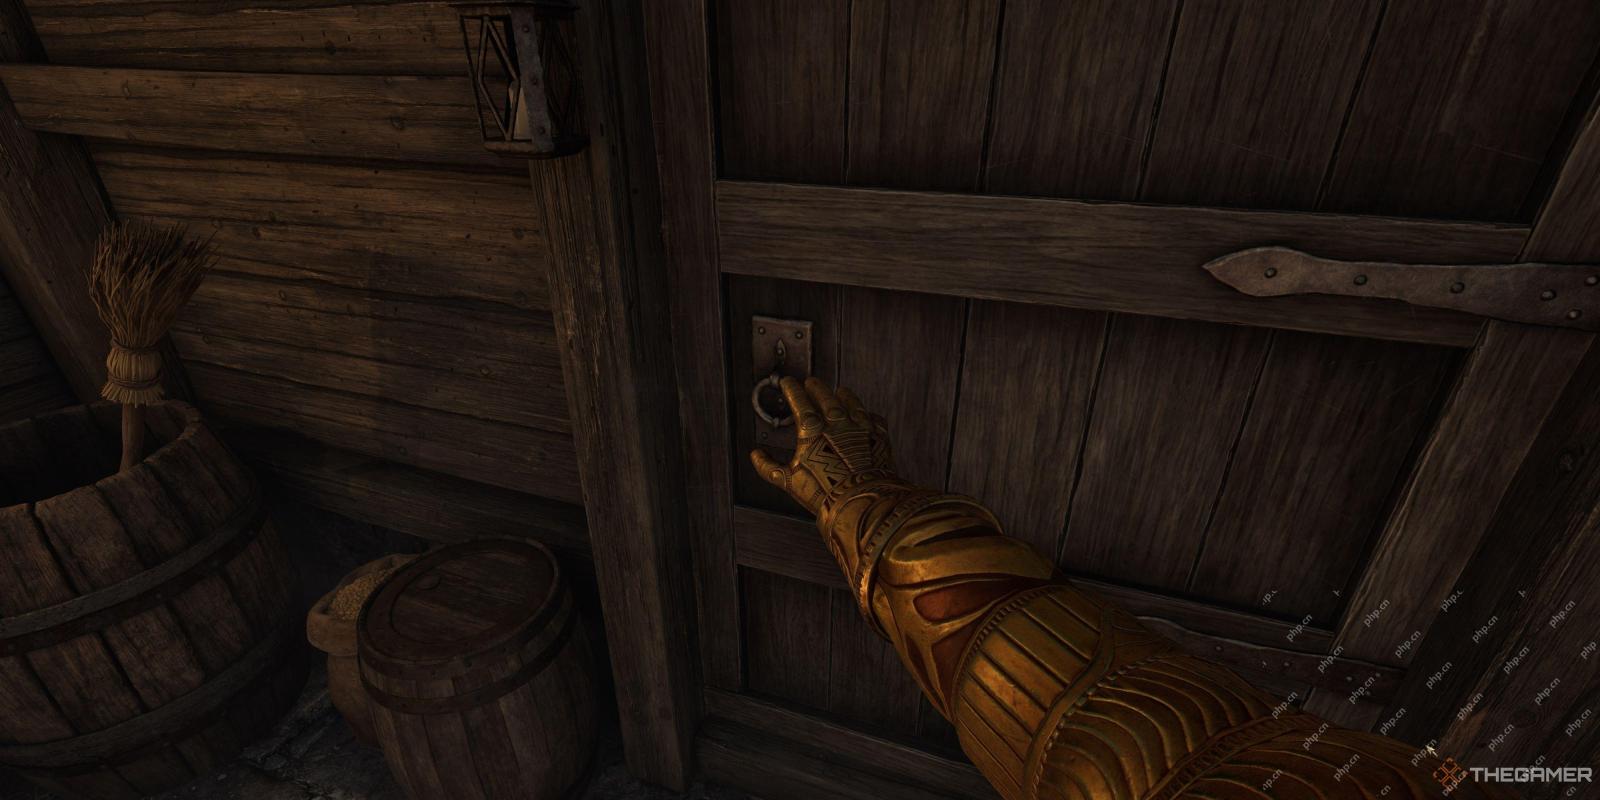 Oblivion Remastered: Unfriendly Competition Quest WalkthroughApr 27, 2025 pm 12:03 PM
In The Elder Scrolls IV: Oblivion: Game of the Year Edition, "Unfriendly Competition" is an early quest, easily tackled even in the remastered version. While mostly dialogue-driven, a challenging final fight awaits. The rewards, however,
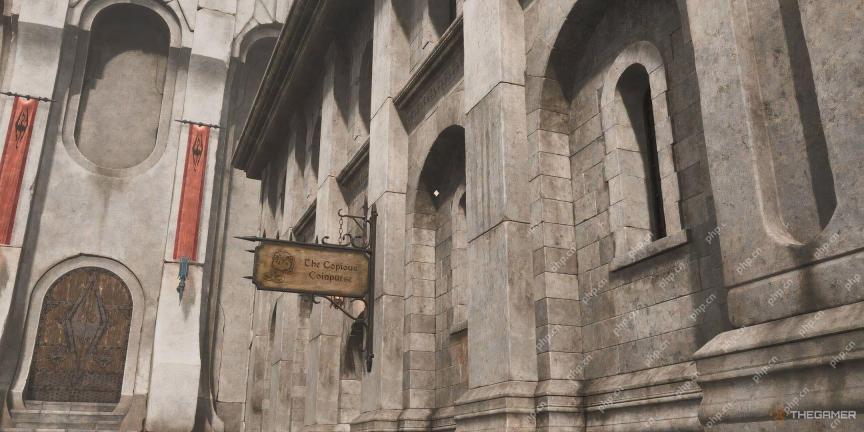 Oblivion Remastered: Imperial Corruption Quest WalkthroughApr 27, 2025 am 10:09 AM
In The Elder Scrolls IV: Oblivion, the Imperial Corruption quest is less about combat and more about using persuasion. This early quest, available once you reach the Imperial City, presents a series of social challenges and requires patience. While
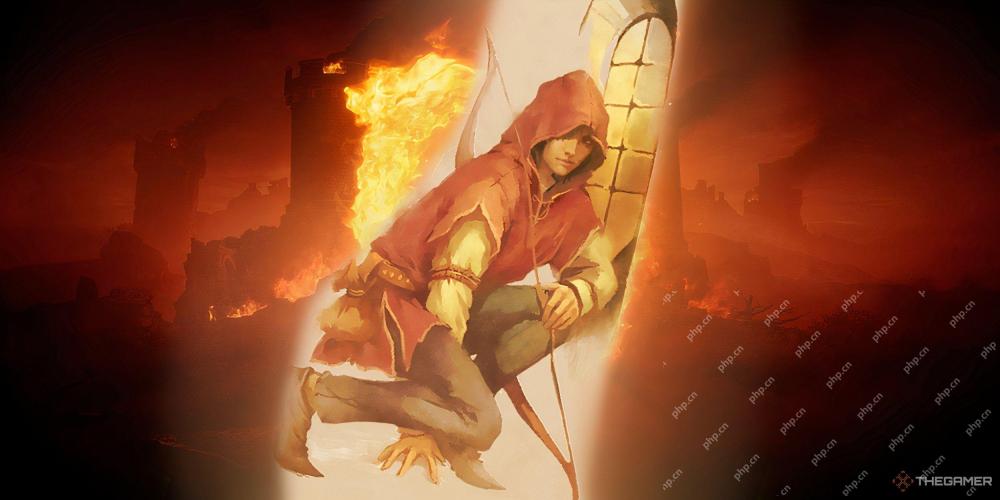 Oblivion Remastered: Paranoia Quest WalkthroughApr 27, 2025 am 10:08 AM
This guide details how to complete the "Paranoia" side quest in The Elder Scrolls IV: Oblivion Remastered, a quest testing the player's morality and stealth skills. The quest involves investigating whether three NPCs are spying on Glarthir
 Oblivion Remastered: The Elven Maiden Quest WalkthroughApr 27, 2025 am 10:04 AM
Embark on the "Elven Maiden" quest in Oblivion Remastered, a pivotal mission within the Thieves Guild storyline. This guide details how to complete this early quest, which involves theft, deception, and uncovering a guild traitor. Unlocki
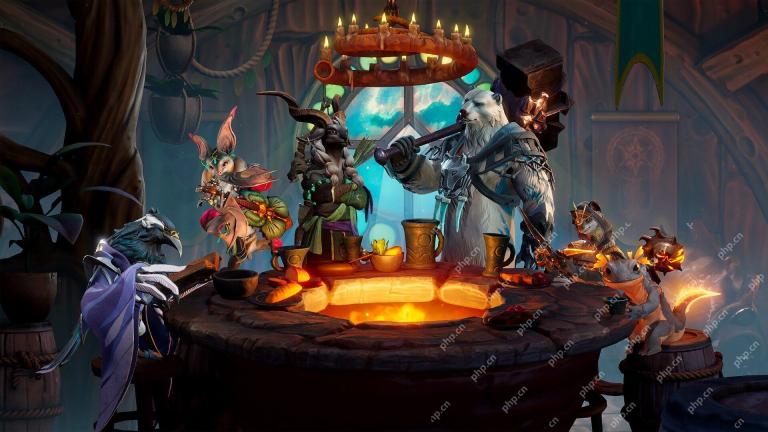 Sunderfolk: All ClassesApr 27, 2025 am 09:48 AM
Sunderfolk offers a diverse roster of classes, each with unique combat styles. This guide helps you choose the class that best suits your preferred playstyle. Berserker: The Unstoppable Juggernaut The Berserker is a frontline powerhouse, built for
 Why Did Sophie Die in Clair Obscur Expedition 33?Apr 27, 2025 am 09:44 AM
Sophie's death in "Dark Bright: Adventure 33" is not an accidental tragedy, but is closely linked to the core mechanisms of the operation of the game world. In the world of "Dark and Bright", people are not dead. Every year, the mysterious painter would paint a number on her stele. Anyone of the age matches that number will turn into dust, which is called "skinning." Sophie, like many others, is just a victim of this cruel system. When the painter marked "33", the 33-year-old Sophie ushered in her end. But things are much more complicated than that. Sophie's disappearance is not fate. The entire world of painting is actually a creation—the emotional sustenance created by Erin, the mother of Virso, Alicia (Mer) and Cleia in the real world. Rumiere's


Hot AI Tools

Undresser.AI Undress
AI-powered app for creating realistic nude photos

AI Clothes Remover
Online AI tool for removing clothes from photos.

Undress AI Tool
Undress images for free

Clothoff.io
AI clothes remover

Video Face Swap
Swap faces in any video effortlessly with our completely free AI face swap tool!

Hot Article

Hot Tools

Dreamweaver Mac version
Visual web development tools

SublimeText3 Mac version
God-level code editing software (SublimeText3)

SAP NetWeaver Server Adapter for Eclipse
Integrate Eclipse with SAP NetWeaver application server.

MinGW - Minimalist GNU for Windows
This project is in the process of being migrated to osdn.net/projects/mingw, you can continue to follow us there. MinGW: A native Windows port of the GNU Compiler Collection (GCC), freely distributable import libraries and header files for building native Windows applications; includes extensions to the MSVC runtime to support C99 functionality. All MinGW software can run on 64-bit Windows platforms.

PhpStorm Mac version
The latest (2018.2.1) professional PHP integrated development tool


