Slitterhead's RE missions continue to be some of its best offerings, with Jar of Poison RE (2nd Loop) allowing you to uncover more mysterious things about the cult and its facility. While the first visit to the facility ended in chaos, do not underestimate just how much more south everything can truly go.

Overall, while this mission follows the same ebbs and flows as others, it's eerie and creepy and delivers on its atmosphere to make it one of our favorites in the game. Even if the boss encounters aren't anything we haven't seen or defeated already but, hey, we'll take it at this point!
Starting Jar Of Poison RE (2nd Loop) In Slitterhead

Since there are no locked characters for the Jar of Poison RE (2nd Loop) mission in Slitterhead, you can choose whichever two Rarities you'd like, allowing you to go in with your best ones. For us, we chose Edo and Julee to clear the mission with, as we love their Burning Edge and Revive All Skills.
Pretty much any character will be fine for this mission, so choose whoever you're most comfortable with. We do recommend having at least Edo or Julee as your companion, but it's not a make-or-break situation. Their Skills are just extremely potent and can carry you quite a lot!
Gather Information On Yin Yue

Your first objective is quite simple: Gather information on Yin Yue from the nearby Followers. Head out of the kitchen and speak to the man just outside of the doorway. From here, turn right and talk to the couple in the hallway. After talking with them, you will learn that he went to visit the Master in the depths of the facility.
Go To Master's Room

Turn left from the couple and head down the hallway, making your way to the staircase that leads to the first floor and following them all the way down. Once here, follow the hallway out until you see the laundry room on your left, with lots of blood pooled up on the floor.
Enter the laundry room and head left. You will find an open door and a trail of blood leading further inside. Follow the trail of blood and jump down into the depths of the facility to find a bloodied and battered body lying on the ground. Inspect the body, then continue pushing even further into the underbelly of the facility.
Investigate The Room

From the body at the base of the facility, follow the pathway through the winding hallways to reach the Master's Room, where you will find three bodies strewn across the floor. Examine all of them first, then examine the mummified corpse of the Master to proceed forward with the mission.
You don't technically have to examine all the bodies, but you will glean some interesting information by doing so, so we highly recommend it. If you just want to move the mission along, interacting with the Master's mummified corpse will be enough.
Follow The Blood Trail

Continue following the blood trail out of the Master's Room and into the cave system to encounter a small group of little Slitterheads. Quickly dispatch them and continue pushing further into the cave to run into a lesser Slitterhead. Make quick work of it and press onward.
Another group of little Slitterheads will ambush you in a large room. While they are annoying and seemingly never stop coming, you can eliminate them easily with just a single hit from your basic attack. After dealing with them, push slightly forward to encounter even more little Slitterheads and a few lesser Slitterheads. Deal with them as you did the others and move on.
Keep following the pathway and head up the staircase to enter the facility's basement again to see Yin Yue standing beside a Slitterhead that's drinking from a vat of blood, triggering a cutscene.
Defeat Slitterheads

After the brief cutscene, you will be thrown into an encounter with the Slitterhead, who was drinking from the vat of blood. Activate Burning Edge and quickly unleash a flurry of Angel Steps onto it to eliminate it quickly and efficiently, summoning another wave of Slitterheads forward.
There will be one standard Slitterhead and a few lesser ones, allowing you to handle it relatively effortlessly, especially if you brought Julee along for the mission. Activate Revive All if things get hairy, then use Burning Edge again to clean things up. If you chose Alex as one of your Rarities, his Blood Well and Bloody Blast combo will also be perfect here!
Go To The Residential Area

Head through the door and follow the pathway further into the basement of the facility to find two normal Slitterheads. Use Burning Edge and Angel Step to make quick work of them, then continue up the stairs to find three lesser Slitterheads. Take them out swiftly with your Blood Weapon.
Next, follow the hallway to another staircase and take it up to another narrow hallway that leads to a door. Go through the door to reach the kitchen of the Residential Area of the facility, triggering a cutscene with Tommy and other Followers, ultimately leading to a boss fight.
Defeat Tommy - Warty Frogfish Slitterhead

With Tommy losing his mind and turning into the Warty Frogfish Slitterhead, you must deal with him before moving any further. You have faced this exact same Slitterhead several times already, and yes, it's the same now as it was before, so it shouldn't pose too much of a threat.
This Slitterhead has one attack you must keep your head on a swivel for, and that's its Sweep Attack, which cannot be guarded against or parried. This move is telegraphed by the Slitterhead flashing a bright red light, giving you the sign to run as far away from it as possible. Or simply switch to a Follower or your other Rarity that's far enough away to avoid taking damage.
Aside from that, you shouldn't struggle too much during this encounter. If you have Edo on your team, activating Burning Edge and utilizing his Angel Steps will demolish its health in mere seconds. We also strongly urge you to keep switching to nearby followers to get behind it to land attacks, as that will stun it faster!
Chase The Slitterhead

Taking Tommy down will have a woman turn into a Slitterhead from the sheer emotional trauma, having her flee the kitchen, forcing you to chase after her. She will run off into the courtyard of the facility, allowing you to simply jump into it from the second floor's balcony.
Additionally, you can take the stairway down to the first floor and exit through the side door, allowing you to explore the facility further to gather Memory Fragments or even tackle a Shrine. Whichever you choose to do, you will ultimately have to fight this Slitterhead, so be prepared.
Defeat Warty Frogfish Slitterhead

Nope, you didn't read that incorrectly. The final boss encounter of this mission is another Warty Frogfish Slitterhead. And, no, it doesn't offer anything different whatsoever, making it another easy encounter that you can bulldoze through with Edo's Burning Edge and Angel Step combo.
Julee can also use Edo's Burning Edge to make her deal even more damage than ever before, enabling her to stagger it extremely fast and then follow up with her Sonic Claws to keep applying nonstop pressure and damage. Overall, this encounter is not anything you haven't seen before or have already dealt with, which is unfortunate.
Deal with it the exact same way you finished the ones from previous missions or the one you fought mere minutes ago in the kitchen to complete the mission!
Jar Of Poison RE (2nd Loop) Rewards

Wrapping up Jar of Poison RE (2nd Loop) for the first time will grant you 24 Skill Tokens to level up any Blood Weapon, Active Skill, or Passive Skill for any Rarity you like. As you likely know by now, these Skill Tokens are shared between all Rarities, so don't waste them.
Lastly, you will unlock more 'Talk' options, so be sure to go through all of them to unlock more Missions and draw nearer to the game's conclusion!

The above is the detailed content of Slitterhead: Jar Of Poison RE (2nd Loop) Walkthrough. For more information, please follow other related articles on the PHP Chinese website!
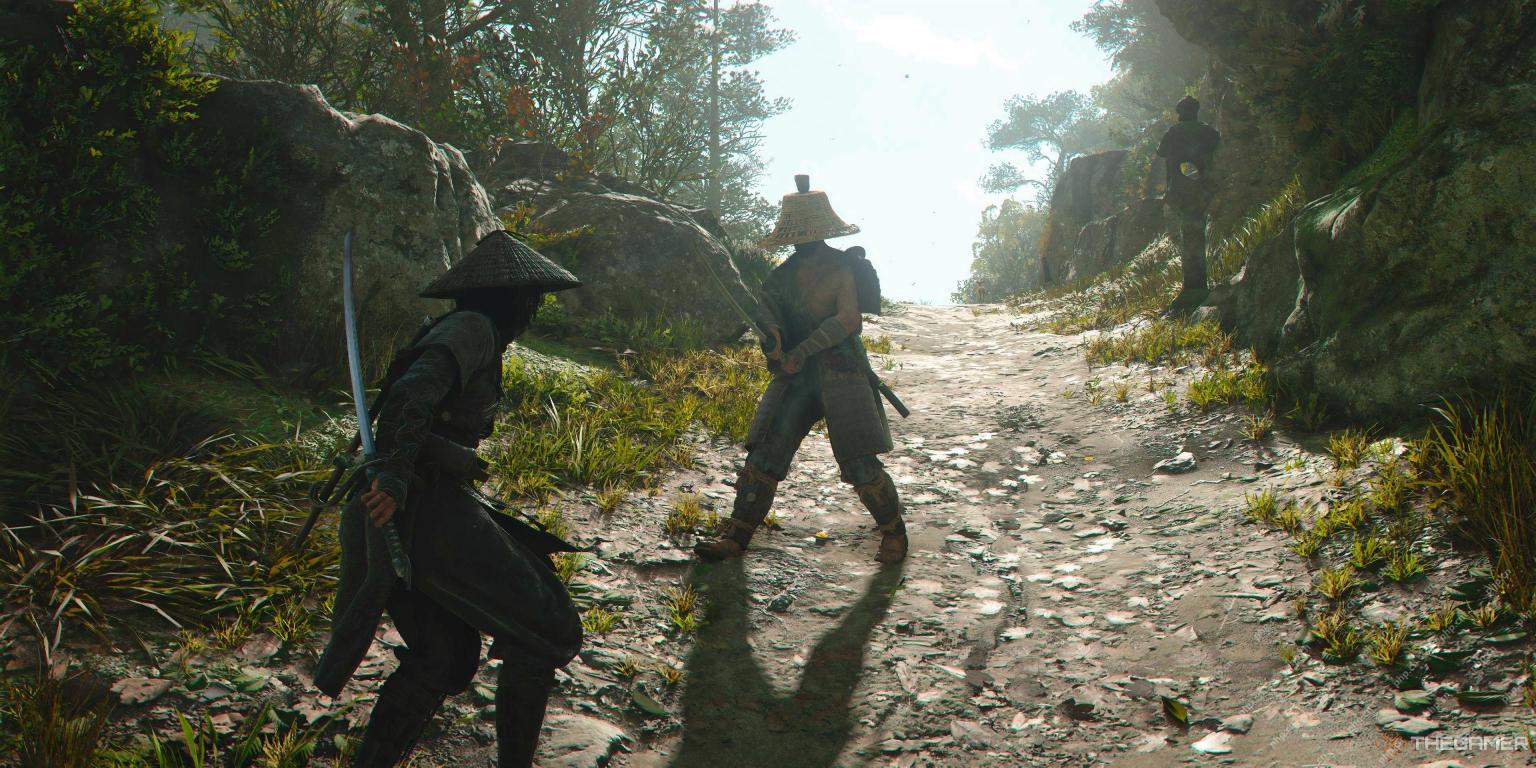 Assassin's Creed Shadows: Stealing Samurai Quest WalkthroughApr 26, 2025 pm 04:03 PM
In Assassin's Creed: Shadows of Death, honor isn't always a samurai's strong suit. The "Stealing Samurai" side quest throws you into a situation where you'll confront dishonorable samurai, unlike the noble Yasuke. This quest offers substan
 Fatal Fury: City Of The Wolves - Complete Guide To Every MechanicApr 26, 2025 pm 02:55 PM
This concise guide covers every mechanic in Fatal Fury: City of the Wolves. While the game offers in-game tutorials, this guide provides a comprehensive overview and context for each mechanic. This guide breaks down each mechanic for easy reference
 Fatal Fury: City Of The Wolves - Tizoc GuideApr 26, 2025 pm 12:10 PM
Fatal Fury: City of the Wolves's Tizoc: A Comprehensive Guide for Grappling Glory Tizoc, the avian grappler in Fatal Fury: City of the Wolves, transcends the typical Zangief-esque archetype. This guide provides a deep dive into his moveset, offering
 Oblivion Remastered: Best Melee BuildApr 26, 2025 pm 12:09 PM
Oblivion Remastered: The Ultimate Weapon-Focused Melee Build Looking to create a devastating melee character in Oblivion Remastered? This guide focuses on a pure-carnage, weapon-heavy build, emphasizing choices that maximize damage output. While spec
 NYT Mini Crossword Answers And Hints - April 26, 2025Apr 26, 2025 pm 12:08 PM
Stuck on today's NYT Mini Crossword? Need a fresh perspective on those tricky clues? Don't worry, we've got you covered! Sometimes a different hint is all you need to unlock that satisfying "aha!" moment. Whether you're looking for alter
 Pokemon Go: Growing Up Event GuideApr 26, 2025 pm 12:07 PM
Pokemon Go's "Growing Up" Event: A Celebration of Starter Pokemon! Get ready for a new Pokemon Go event focusing on the adorable early-stage Pokemon! The "Growing Up" event brings exciting bonuses and encounters. This event runs
 Oblivion Remastered: Alchemy GuideApr 26, 2025 pm 12:06 PM
Oblivion Remastered Alchemy: A Beginner's Guide What exactly is Alchemy in Oblivion Remastered? How does it work? This guide will cover the basics of Alchemy in Oblivion Remastered, explaining its mechanics and how it compares to the original game.
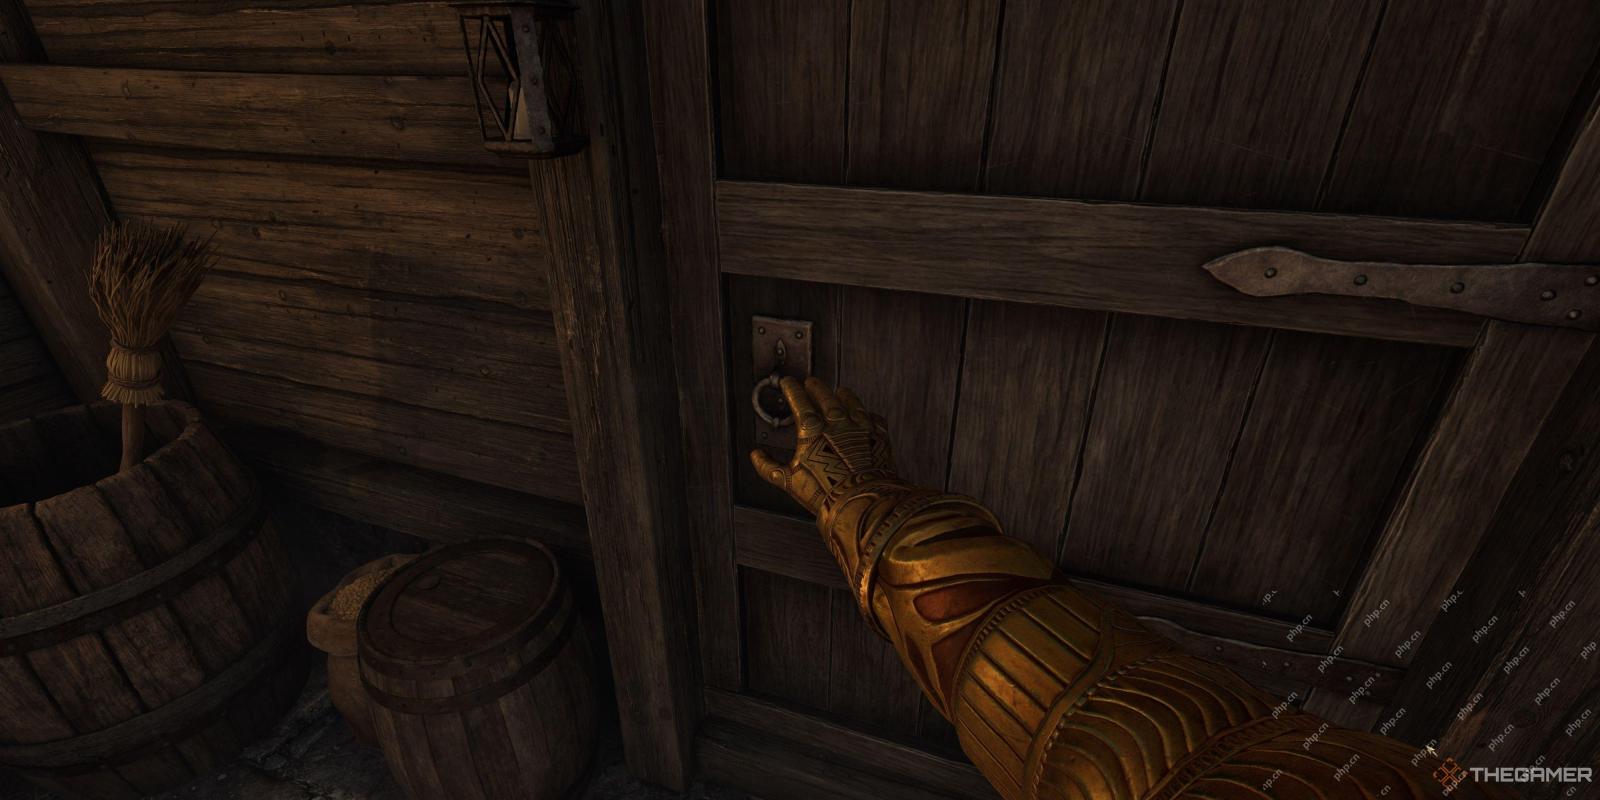 Oblivion Remastered: Fame And Infamy, ExplainedApr 26, 2025 pm 12:05 PM
Oblivion Remastered: Mastering Fame and Infamy – A Comprehensive Guide Fame and infamy are two sides of the same coin in Oblivion Remastered. This guide explores their impact, how to increase them, and their practical applications. Whether you're a


Hot AI Tools

Undresser.AI Undress
AI-powered app for creating realistic nude photos

AI Clothes Remover
Online AI tool for removing clothes from photos.

Undress AI Tool
Undress images for free

Clothoff.io
AI clothes remover

Video Face Swap
Swap faces in any video effortlessly with our completely free AI face swap tool!

Hot Article

Hot Tools

MinGW - Minimalist GNU for Windows
This project is in the process of being migrated to osdn.net/projects/mingw, you can continue to follow us there. MinGW: A native Windows port of the GNU Compiler Collection (GCC), freely distributable import libraries and header files for building native Windows applications; includes extensions to the MSVC runtime to support C99 functionality. All MinGW software can run on 64-bit Windows platforms.

SAP NetWeaver Server Adapter for Eclipse
Integrate Eclipse with SAP NetWeaver application server.

Safe Exam Browser
Safe Exam Browser is a secure browser environment for taking online exams securely. This software turns any computer into a secure workstation. It controls access to any utility and prevents students from using unauthorized resources.

mPDF
mPDF is a PHP library that can generate PDF files from UTF-8 encoded HTML. The original author, Ian Back, wrote mPDF to output PDF files "on the fly" from his website and handle different languages. It is slower than original scripts like HTML2FPDF and produces larger files when using Unicode fonts, but supports CSS styles etc. and has a lot of enhancements. Supports almost all languages, including RTL (Arabic and Hebrew) and CJK (Chinese, Japanese and Korean). Supports nested block-level elements (such as P, DIV),

Dreamweaver CS6
Visual web development tools


