The goal of Mario & Luigi: Brothership's Merrygo Island is simple: Reach the lighthouse and find Peach. Unfortunately, getting to the lighthouse is a lot easier said than done. At the center of the island is a Circular maze with multiple moving walls, and figuring out how to navigate it can be a real challenge.

If you find yourself more lost in the labyrinth than Jennifer Connelly, this walkthrough will help you find your way to the princess on Merrygo Island. Here's what you need to know.
How To Understand The Maze's Mechanics
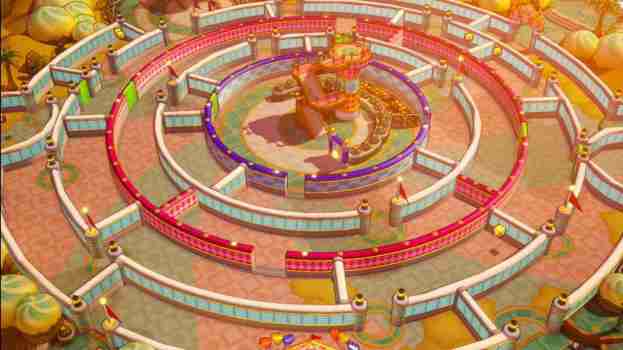
There are two ways to interact with the maze once you're in it.
- At the center of the maze is the Central Lookout Plaza. Here you can rotate the innermost blue circle in order to realign the open pathways.
- On the west side of the maze is the West Lookout Tower. From here you can rotate the outer, red circle. The area that contains this second lookout tower has two entrances, so you'll need to make a series of rotations at both towers to open the way to the exit.
The exit to the maze is the fountain plaza to the east of the maze, just above the entrance. Your first stop will be at the Central Lookout Plaza.
The maze is packed with enemies, which can slow down your progress and make you forget which way you are trying to go. Don't feel bad about fleeing from fights if you get frustrated by all the interruptions.
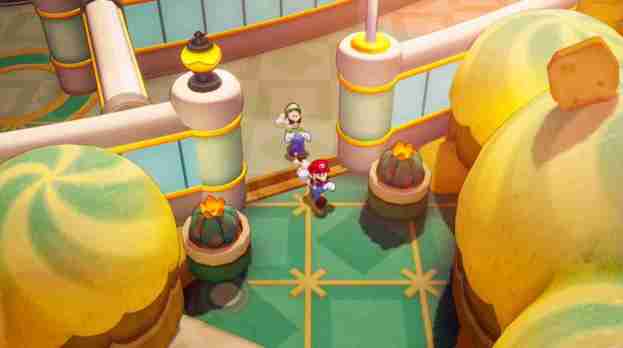
As soon as you enter the maze you should follow the path clockwise. You'll quickly exit out of the maze onto a pathway to the southwest. Continue along this detour walking clockwise, first down the stairs then back up, until you soon re-enter the maze from the southmost entrance.
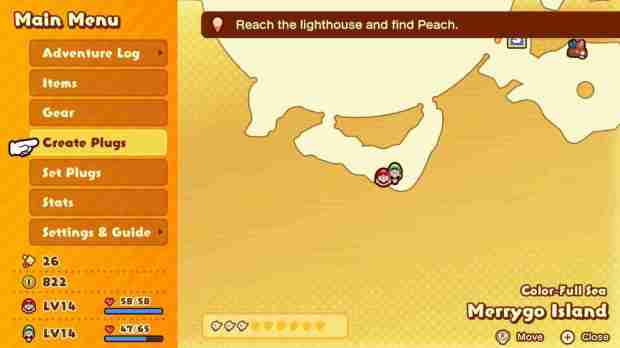
Once you're back in the maze, immediately turn right and follow the path counterclockwise. At the end of the path, you'll find an opening that leads to the next most inner circle. Continue counter-clockwise until you see an opening in the red wall, allowing you to enter the next circle closest to the center.
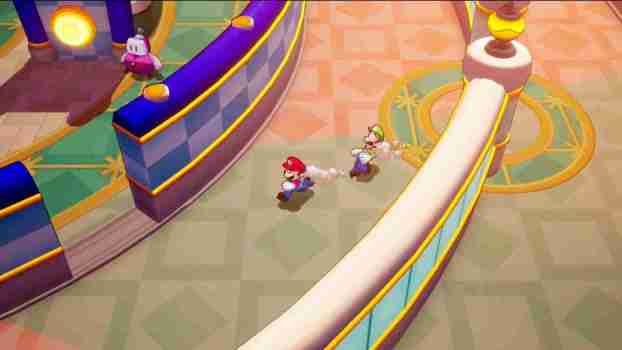
Again, continue counter-clockwise, pass through the opening on the left, then immediately double back, walking clockwise. You'll see an opening in the blue wall that will lead to Central Lookout Plaza.
How To Manipulate The Merrygo Island Maze
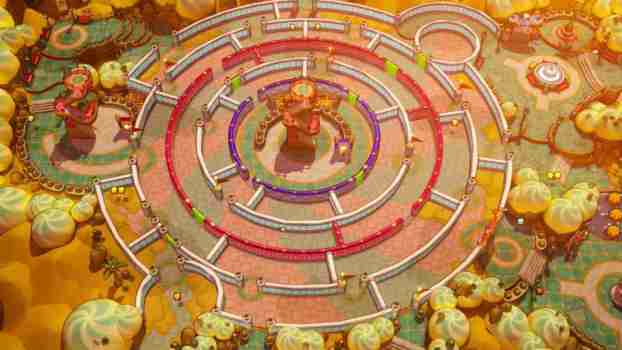
As soon as you enter Central Lookout Plaza, you'll see a switch on a blue wall you can activate with a hammer. If you hit it the blue wall will rotate 45 degrees counter-clockwise, but unfortunately, it's difficult to rearrange the maze correctly from this vantage point.
Here you should press L to make Luigi stand in front of the switch, then walk to the top of the tower to get a full view of the maze. When you're ready to activate the switch and rotate the blue wall, press Y and Luigi will hit the switch with his hammer.
The first NPC you meet in Central Lookout Plaza will inform you that following the red flags will help you find your way through the maze. Keep this in mind as you progress.
Your next stop is the West Lookout Tower. When you look at the blue circle you'll see two blocked green doors and two open pathways. To get to the West Lookout Tower you'll need to line up the two open pathways facing left, with both green doors facing right.
In other words, looking at the maze like a clock, the open doors should be at Eight and ten, while the green doors should be at two and four.
Your exit to the West Lookout Tower is the bottom left exit. Look for the red flag southwest of the tower.
The path to the West Lookout Tower is easy to see from the central tower. Exit through the southwest entrance in the blue wall, then follow the red wall clockwise until you reach an opening. You'll then walk counterclockwise until you reach a red flag, then exit to the outermost ring. You'll see the exit to the West Lookout Tower immediately on your left.
How To Rotate The Red Wall At The West Lookout Tower
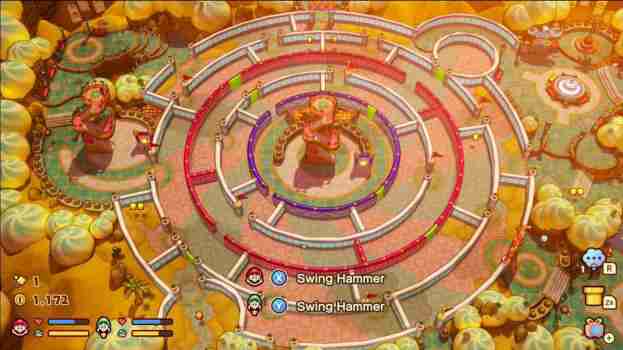
After a cutscene, you'll have access to the West Lookout Tower. Just like before, use L to assign Luigi to the button, then climb the tower to get a better view of the maze.
Your goal is to rotate the red circle to line up the pathways with the exit to the fountain plaza in the east. Like the blue circle, the red circle has two open doors and two closed green doors.
To get out of the maze, you need to rotate the red circle until the open doors are on the northeast and southwest sides of the circle, while the green doors are on the northwest and southeast. In other words, you need an open gap on the top right of the circle, not a green door.
You won't be able to make a clear path from the West Lookout Tower all the way to Fountain Plaza to the east, so don't worry.
You'll need to get back to the Central Lookout Tower first and make one more rotation before you can exit the maze.
Once the maze is lined up like the picture above, you can climb down the tower and meet back up with Luigi. From here, exit through the opening closest to the tower and travel along the red wall counter-clockwise. When you reach the opening, it's a straight shot into the back to the Central Lookout Tower.
There are a lot of optional items to collect throughout the maze.
While this guide doesn't cover these extra items, there's a very easy pair of item boxes you can access by taking a right into an alcove as soon as you leave West Lookout Tower.
How To Rotate The Maze From Central Lookout Tower

Once you return to the Central Lookout Tower you only need to make one more rotation. All you have to do is line up one of the blue circle's openings on the northwest, or top right. This will create a zig-zagging path from the Central Lookout Tower to the Fountain Plaza on the right.
From the switch, walk up to the gap in the blue wall, then walk counter-clockwise until you see the opening with the red flag. From here, follow along the red wall clockwise until you can pass through its opening, then continue clockwise to the next opening with a red flag. The next opening ahead of you will lead to the fountain.

You're nearly out of the maze and finished with Merrygo Island. After a cutscene, exit Fountain Plaza to the north and follow the path until you reach an opening on your right (there's an item box if you take the detour on the left). This opening is the true exit of the maze where you'll find Peach and the Lighthouse.

The above is the detailed content of Mario & Luigi: Brothership - Merrygo Island Maze Guide. For more information, please follow other related articles on the PHP Chinese website!
 Fatal Fury: City Of The Wolves - Complete Guide To Every MechanicApr 26, 2025 pm 02:55 PM
This concise guide covers every mechanic in Fatal Fury: City of the Wolves. While the game offers in-game tutorials, this guide provides a comprehensive overview and context for each mechanic. This guide breaks down each mechanic for easy reference
 Fatal Fury: City Of The Wolves - Tizoc GuideApr 26, 2025 pm 12:10 PM
Fatal Fury: City of the Wolves's Tizoc: A Comprehensive Guide for Grappling Glory Tizoc, the avian grappler in Fatal Fury: City of the Wolves, transcends the typical Zangief-esque archetype. This guide provides a deep dive into his moveset, offering
 Oblivion Remastered: Best Melee BuildApr 26, 2025 pm 12:09 PM
Oblivion Remastered: The Ultimate Weapon-Focused Melee Build Looking to create a devastating melee character in Oblivion Remastered? This guide focuses on a pure-carnage, weapon-heavy build, emphasizing choices that maximize damage output. While spec
 NYT Mini Crossword Answers And Hints - April 26, 2025Apr 26, 2025 pm 12:08 PM
Stuck on today's NYT Mini Crossword? Need a fresh perspective on those tricky clues? Don't worry, we've got you covered! Sometimes a different hint is all you need to unlock that satisfying "aha!" moment. Whether you're looking for alter
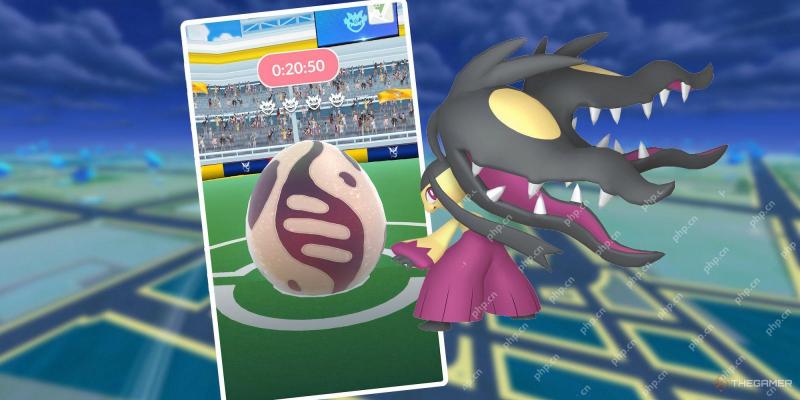 Pokemon Go: Growing Up Event GuideApr 26, 2025 pm 12:07 PM
Pokemon Go's "Growing Up" Event: A Celebration of Starter Pokemon! Get ready for a new Pokemon Go event focusing on the adorable early-stage Pokemon! The "Growing Up" event brings exciting bonuses and encounters. This event runs
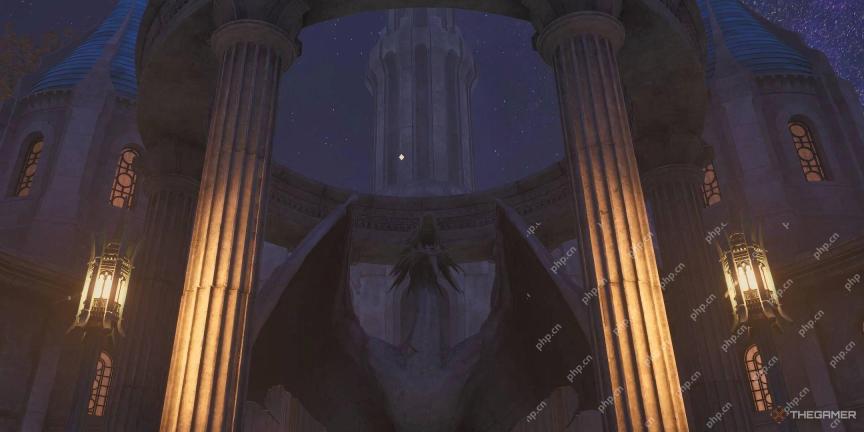 Oblivion Remastered: Alchemy GuideApr 26, 2025 pm 12:06 PM
Oblivion Remastered Alchemy: A Beginner's Guide What exactly is Alchemy in Oblivion Remastered? How does it work? This guide will cover the basics of Alchemy in Oblivion Remastered, explaining its mechanics and how it compares to the original game.
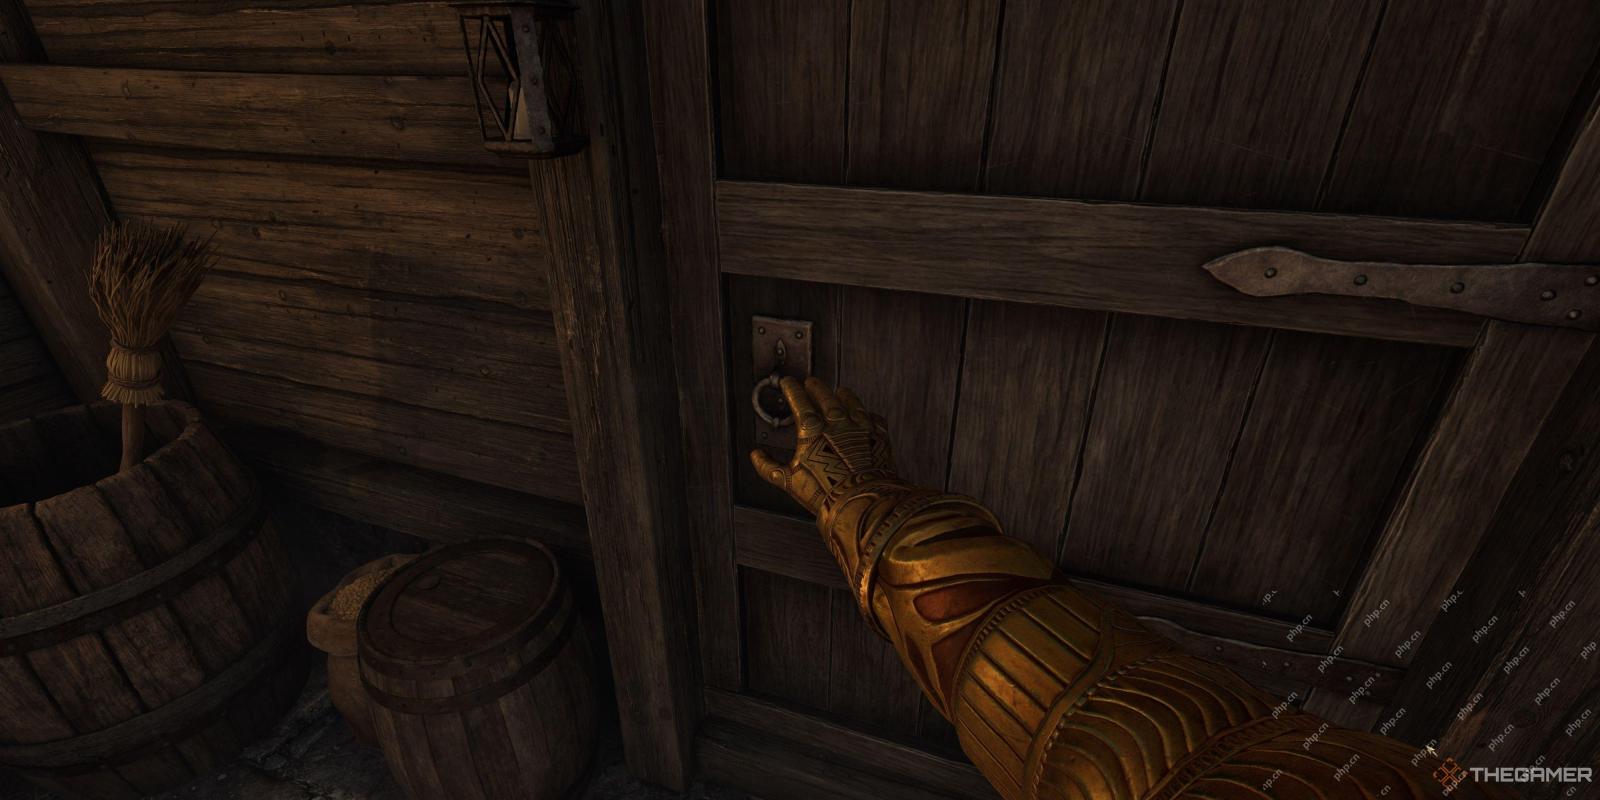 Oblivion Remastered: Fame And Infamy, ExplainedApr 26, 2025 pm 12:05 PM
Oblivion Remastered: Mastering Fame and Infamy – A Comprehensive Guide Fame and infamy are two sides of the same coin in Oblivion Remastered. This guide explores their impact, how to increase them, and their practical applications. Whether you're a
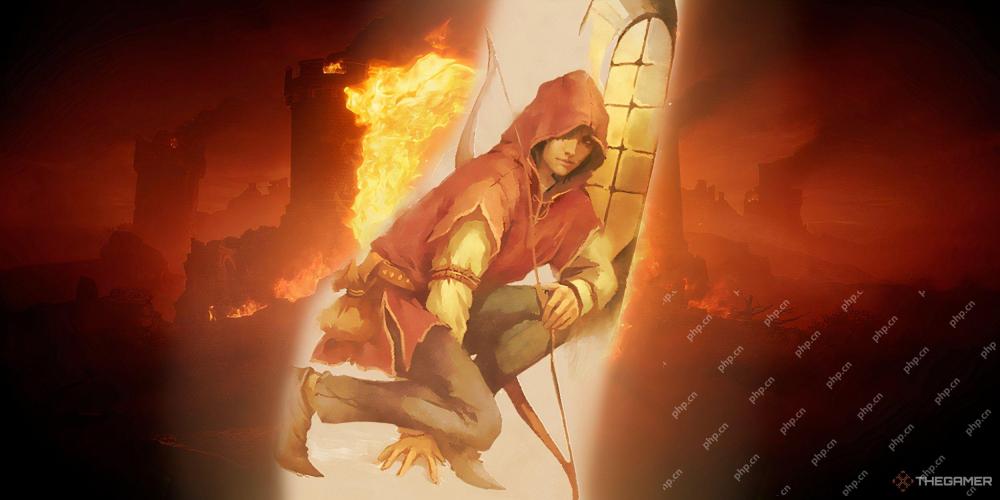 Oblivion Remastered: Best Custom Spells To MakeApr 26, 2025 pm 12:04 PM
Oblivion Remastered: Create the strongest custom spells to conquer the magic world easily! Custom spells are the key to the path to the master of magic in the remake of "The Elder Scrolls IV: Annihilation". Since "The Elder Scrolls V: Skyrim" cancelled its custom spell, many old players have been lamenting this. Custom spells are not only cool, but also powerful, but they can also waste time and resources if planned incorrectly. Therefore, we recommend that you make a thorough plan. This article features the most powerful custom spells from the Elder Scrolls IV: Oblivion remake to help you stand out in the game, gain significant advantages, and make your adventure easier and more convenient. These spell essences are within your fingertips! Best custom spells In "Obsolute"


Hot AI Tools

Undresser.AI Undress
AI-powered app for creating realistic nude photos

AI Clothes Remover
Online AI tool for removing clothes from photos.

Undress AI Tool
Undress images for free

Clothoff.io
AI clothes remover

Video Face Swap
Swap faces in any video effortlessly with our completely free AI face swap tool!

Hot Article

Hot Tools

Dreamweaver Mac version
Visual web development tools

SublimeText3 Mac version
God-level code editing software (SublimeText3)

Safe Exam Browser
Safe Exam Browser is a secure browser environment for taking online exams securely. This software turns any computer into a secure workstation. It controls access to any utility and prevents students from using unauthorized resources.
EditPlus Chinese cracked version
Small size, syntax highlighting, does not support code prompt function

PhpStorm Mac version
The latest (2018.2.1) professional PHP integrated development tool


