Home >Software Tutorial >Computer Software >How to set a nine-square grid fill picture in Word How to make a nine-square grid picture in Word
How to set a nine-square grid fill picture in Word How to make a nine-square grid picture in Word
- WBOYWBOYWBOYWBOYWBOYWBOYWBOYWBOYWBOYWBOYWBOYWBOYWBOriginal
- 2024-08-26 17:39:07446browse
How to create a nine-square grid picture in Word? Making a nine-square grid picture is a common need in Word document editing, but many users are confused about it. PHP editor Baicao provides a simple and easy-to-understand step-by-step guide to help you easily create Jiugongge images. Continue reading this article, we will introduce in detail how to use the table function in Word to create a nine-square grid picture, and provide some tips and suggestions for solving common problems. By following these steps carefully, you will be able to add beauty and clarity to your Word documents.
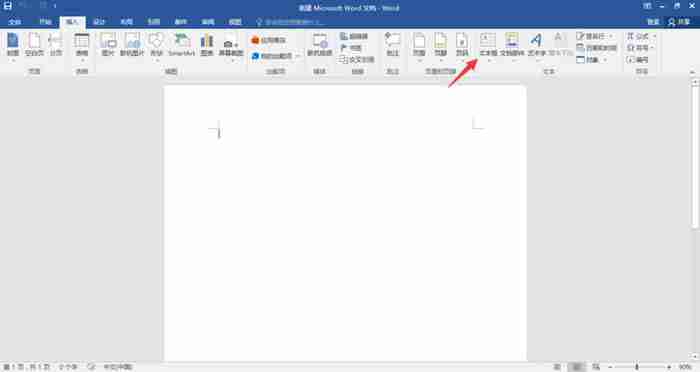
1. First, let’s create a new document in word, click Insert on the menu bar, and then click the text box.
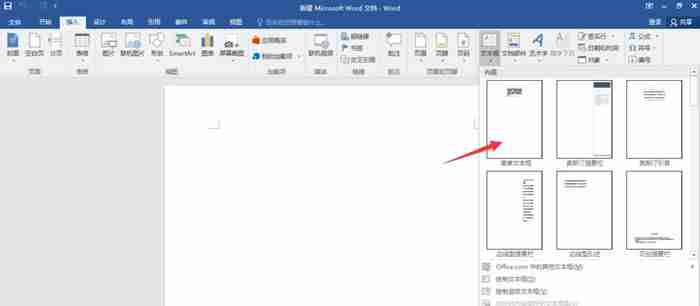
2. After the options pop up, click on the simple text box.
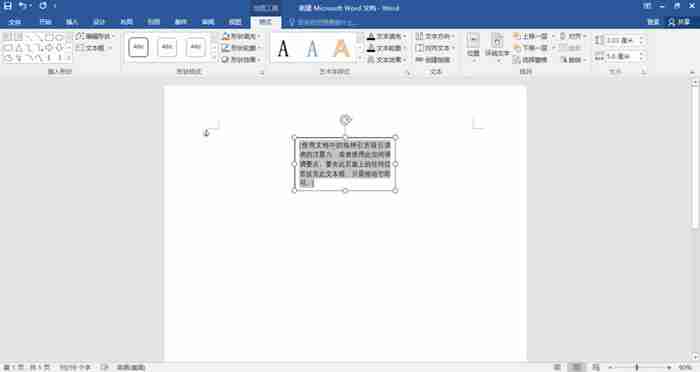
3. Then delete the text in the text box and adjust it to the size you want;
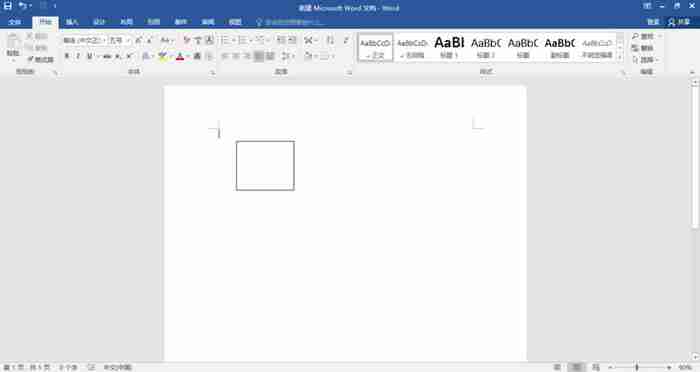
4. After adjusting the text box to a square, select it and copy and paste.
5. After copying 8 boxes, arrange them neatly into a nine-square grid shape.
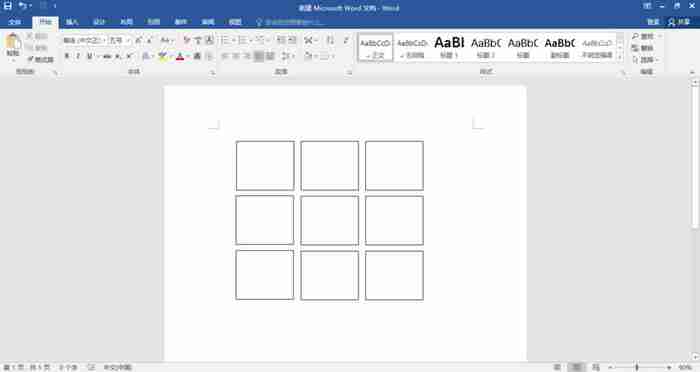
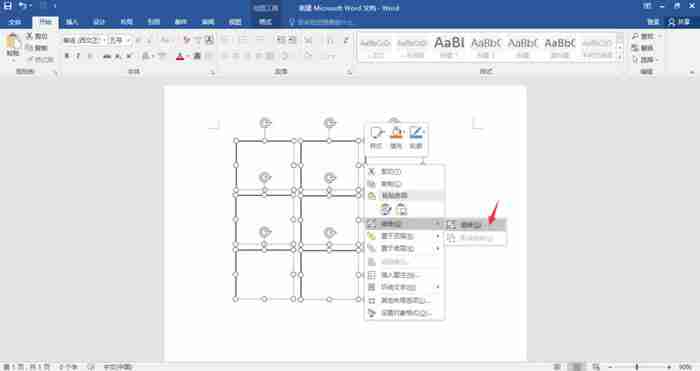
6. Select all the nine-square grid, right-click the mouse, and after the options pop up, click Combine.
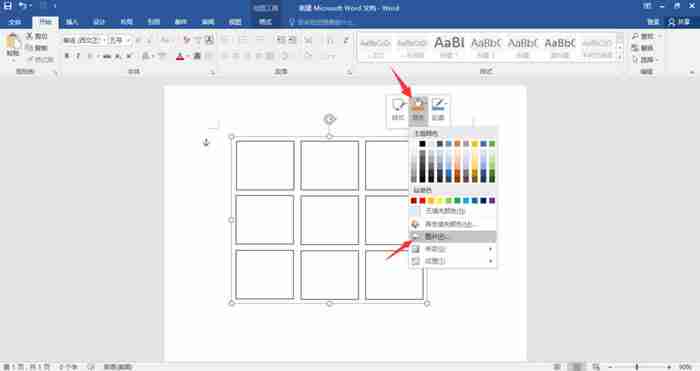
7. Select the nine-square grid again, right-click, and then click Fill-Picture.
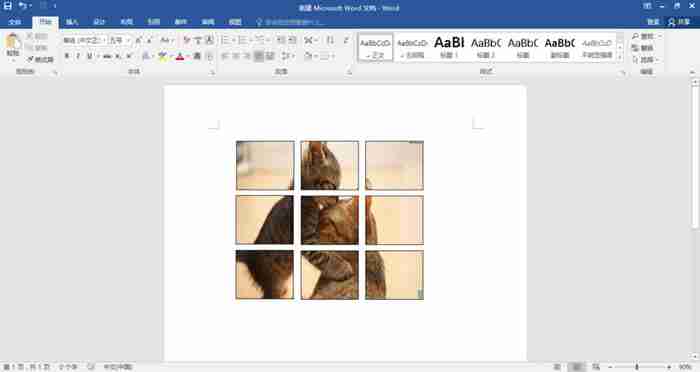
8. Then put the pictures we prepared inside, and the nine-square grid picture is completed.
The above is the detailed content of How to set a nine-square grid fill picture in Word How to make a nine-square grid picture in Word. For more information, please follow other related articles on the PHP Chinese website!
Related articles
See more- How to set the extraction code for network disk? -Network disk setting extraction code method
- Iterative production operation method within the square of the geometric sketchpad
- Detailed method of constructing textured cones with geometric sketchpad
- Beyond Compare compares table data to display row numbers
- How to find all files in Everything How to find all files in Everything

