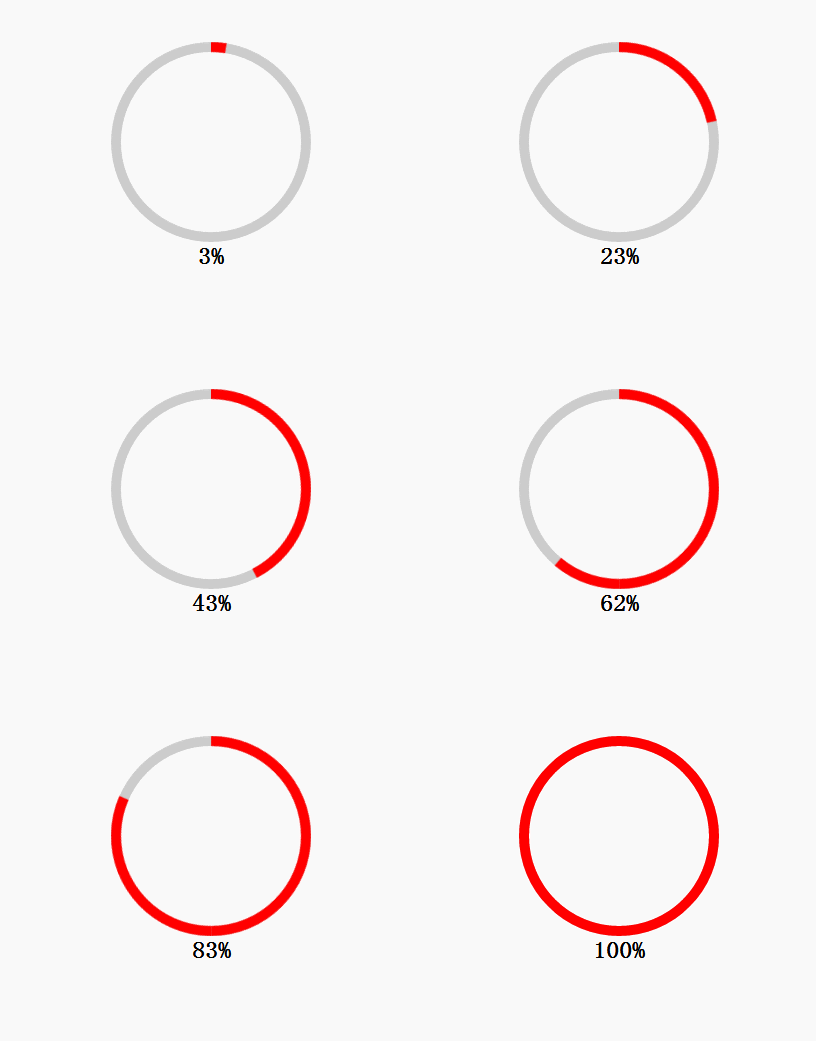
代码结构简单
效果如下图所示

直接上代码
先看html代码
<!DOCTYPE html>
<html lang="en">
<head>
<meta charset="UTF-8">
<meta name="viewport" content="width=device-width, initial-scale=1.0">
<meta http-equiv="X-UA-Compatible" content="ie=edge">
<link rel="stylesheet" href="css/style.css">
<script src="js/jquery-1.11.2.min.js"></script>
<script src="js/index.js"></script>
<title>环形进度条</title>
</head>
<body>
<div class="box">
<div class="pro">
<div class="pro_cont">
<div class="pro_bar left">
<span></span>
</div>
<div class="pro_bar right">
<span></span>
</div>
</div>
</div>
</div>
<h2 style="text-align:center"></h2>
</body>
</html>
下边展示css代码
*{
padding:0;
list-style: none;
margin:0;
}
a{
text-decoration:none;
}
.box{
display: table;
margin:0 auto;
margin-top: 100px;
}
.pro{
width:180px;
height:180px;
border: 10px solid #ccc;
border-radius:50%;;
-webkit-border-radius:50%;
-moz-border-radius:50%;
-ms-border-radius:50%;
-o-border-radius:50%;
position: relative;
}
.pro_cont{
width:200px;
height:200px;
position: absolute;
top:-10px;
left:-10px;
}
.pro_bar{
width:100px;
height:200px;
float:left;
overflow: hidden;
position: absolute;
top:0px;
}
.left{
left: 0px;
}
.right{
right:0px;
}
.pro_bar>span{
width:180px;
height:180px;
display: block;
border:10px solid red;
border-radius:50%;
-webkit-border-radius:50%;
-moz-border-radius:50%;
-ms-border-radius:50%;
-o-border-radius:50%;
transition: all ease 0.1s 0s;
-webkit-transition: all ease 0.1s 0s;
-moz-transition: all ease 0.1s 0s;
-ms-transition: all ease 0.1s 0s;
-o-transition: all ease 0.1s 0s;
}
.left span{
margin-left:0px;
border-left: 10px solid transparent;
border-bottom: 10px solid transparent;
transform: rotate(45deg);
-webkit-transform: rotate(45deg);
-moz-transform: rotate(45deg);
-ms-transform: rotate(45deg);
-o-transform: rotate(45deg);
}
.right span{
margin-left: -100%;
border-right: 10px solid transparent;
border-bottom: 10px solid transparent;
transform: rotate(-45deg);
-webkit-transform: rotate(-45deg);
-moz-transform: rotate(-45deg);
-ms-transform: rotate(-45deg);
-o-transform: rotate(-45deg);
}
关键的js代码来了
$(function(){
// rotate1   右侧旋转
// rotate2   左侧旋转

var pro_val=100;// 实际最终进度值
var rotate_value=0;//初始进度值

// 定时器
auto=setInterval(function(){
rotate_value++;
if(rotate_value>pro_val){
rotate_value=pro_val;
clearInterval(auto);
}
if (rotate_value==100){
clearauto();
}
trans();
},50)

// 旋转函数封装(实际进度)
function trans (){
if (rotate_value>50){
rotate1 = 135;
rotate2 = (rotate_value - 50) * 3.6 + 45;
}else{
rotate1 = rotate_value* 3.6 - 45;
rotate2 = 45;
}
$('.right>span').css('transform', 'rotate(' + rotate1+'deg)')
$('.left>span').css('transform', 'rotate(' + rotate2+'deg)')
$('h2').text(rotate_value+"%")
}
function clearauto(){
clearInterval(auto);
console.log('加载完成...');
}


})
效果思路如下
1.先制作一个灰色的背景圆环,我取名为Pro
2.在背景环内写两个overflow:hidden;属性的容器
3.在容器内各写一个半圆,调整transorm:rotate();属性,以及半圆位置,确保两个半圆可以拼接出一个正圆
4.通过js控制半圆旋转角度

