demo1:
实例
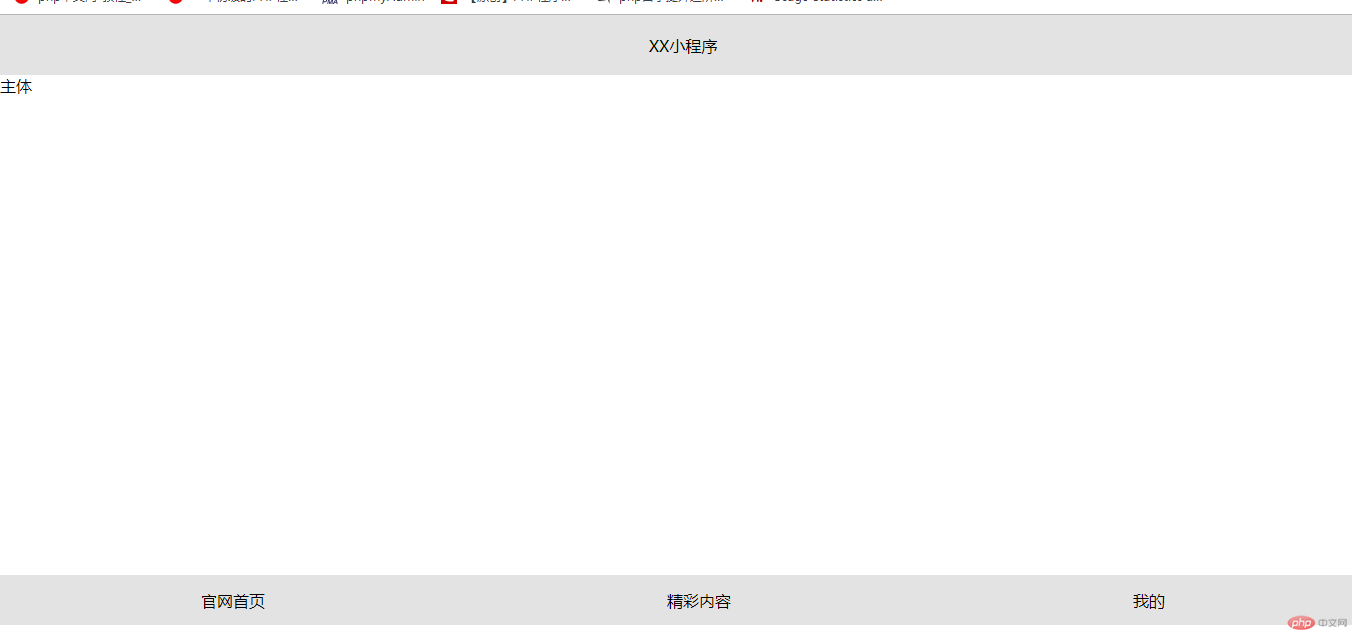
<!DOCTYPE html>
<html lang="en">
<head>
    <meta charset="UTF-8">
    <title>手机端布局</title>
    <style>
        *{
            padding: 0;
            margin: 0;
        }
        body{
            display: flex;
            height: 100vh;
            flex-flow: column nowrap;
        }
        header{
            display: flex;
            height: 60px;
            background-color: #e3e3e3;
            justify-content: center;
            align-items: center;
        }
        main{
            height: 500px;
        }
        a{
            display: flex;
            text-decoration-line: none;
            color: black;
            justify-content: center;
            align-items: center;
        }
        footer{
            background-color:  #e3e3e3;
            display: flex;
            height: 50px;
            justify-content: space-around;
        }
    </style>
</head>
<body>
<header>XX小程序</header>
<main>
    主体
</main>
<footer>
    <a href="">官网首页</a>
    <a href="">精彩内容</a>
    <a href="">我的</a>
</footer>
</body>
</html>
运行实例 »
点击 "运行实例" 按钮查看在线实例

demo2、
实例
<!DOCTYPE html>
<html lang="en">
<head>
    <meta charset="UTF-8">
    <title>flex圣杯布局</title>
    <style>
        body{
            margin: 0;
            padding: 0;
            display: flex;
            flex-flow: column nowrap;
        }
        header,footer{
            box-sizing: border-box;
            background-color: lightcyan;
            height: 70px;
        }
        main{
            display: flex;
            height: 480px;
        }
        main>article{
            background-color: lightcoral;
            flex-grow: 8;
        }
        main>aside{
            background-color: lavenderblush;
            flex-grow: 1.5;
        }
        main>aside:first-of-type{
            order: -1;
        }

    </style>
</head>
<body>
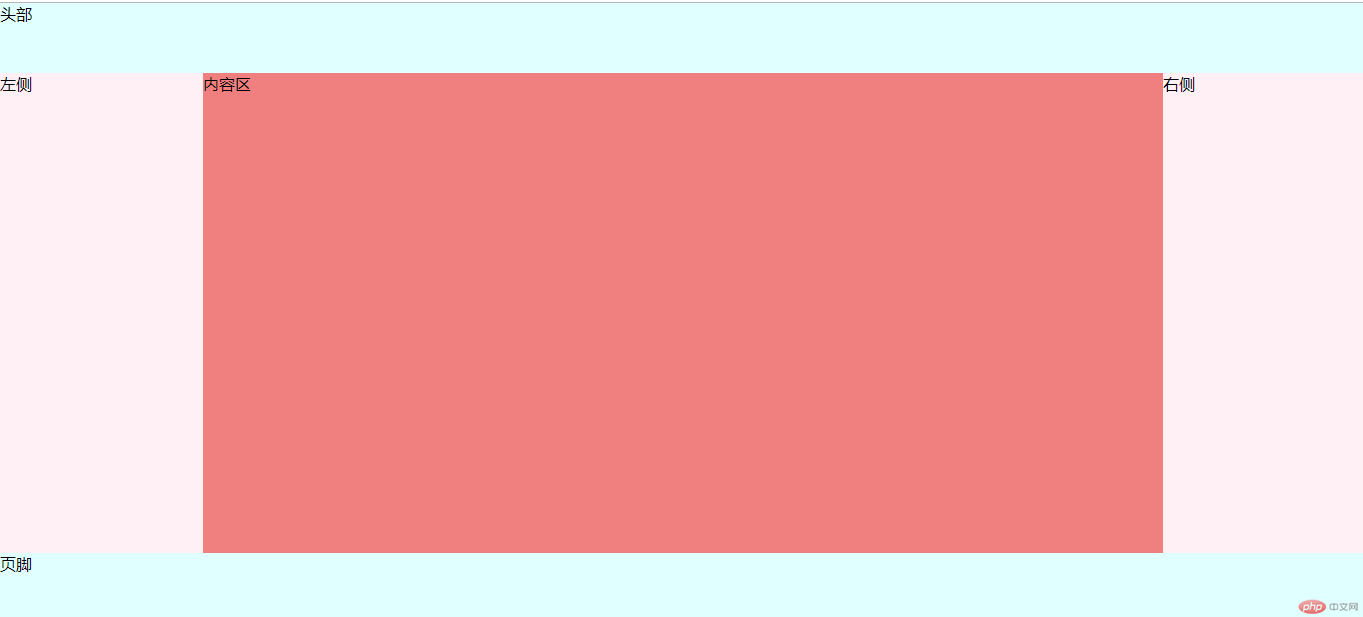
<header>头部</header>
<main>
    <article>内容区</article>
    <aside>左侧</aside>
    <aside>右侧</aside>
</main>
<footer>页脚</footer>
</body>
</html>
运行实例 »
点击 "运行实例" 按钮查看在线实例

demo3、
实例
<!DOCTYPE html>
<html lang="en">
<head>
    <meta charset="UTF-8">
    <title>弹性布局实现登录表单</title>
    <style>
        *{
            padding: 0;
            margin: 0;
        }
        body{
            height: 100vh;
            display:flex;
            flex-flow: column nowrap;
            justify-content: center;
            align-items: center;
            font-weight: lighter;
            background:linear-gradient(to top, lightcyan,white,lightcyan);
            }
        .container{
            box-sizing: border-box;
            width: 300px;
            padding: 20px;
            position: relative;
            top:-60px ;
        }
        .container>h3{
            text-align: center;
            margin-bottom: 15px;
        }
        .container>form{
            display: flex;
            flex-flow: column nowrap;
            border:1px solid #747885;
            border-radius: 4px;
            padding: 15px;
            background:linear-gradient(to bottom,lightskyblue,white);
        }
        .container>form:hover{
            background:linear-gradient(to bottom,lightsalmon,white);
            box-shadow: 1px 1px 5px #888;
        }
        .container>form>div{
            display: flex;
            margin: 10px 0;
        }
        .container>form>div>input{
            flex: 1;
            margin-left: 10px;
            padding-left: 6px;
            border-radius: 4px;
            border: 1px solid #e3e3e3;
        }
        .container>form>div>button{
            flex: 1;
            border: none;
            border-radius: 3px;
            background-color: lightskyblue;
            color: whitesmoke;
            height: 25px;
            letter-spacing: 10px;
        }
        .container>form>div>button:hover{
            background-color: cornflowerblue;
        }
    </style>
</head>
<body>
<div class="container">
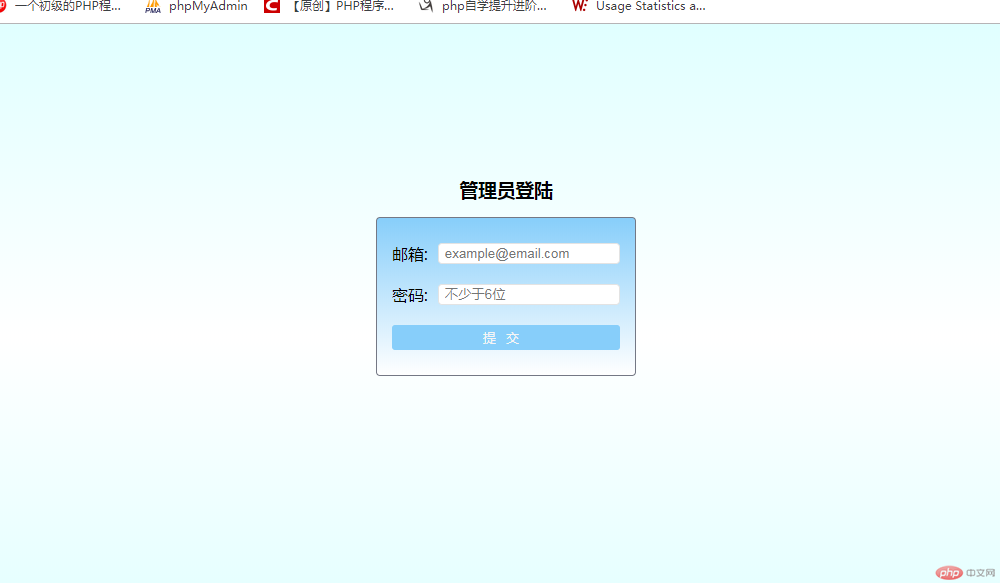
    <h3>管理员登陆</h3>
    <form action="">
        <div>
            <label for="email">邮箱:</label>
            <input type="email" id="email" name="email" placeholder="example@email.com">
        </div>
        <div>
            <label for="password">密码:</label>
            <input type="password" id="password" name="password" placeholder="不少于6位">
        </div>
        <div>
            <button>提交</button>
        </div>
    </form>
</div>
</body>
</html>
运行实例 »
点击 "运行实例" 按钮查看在线实例

demo3、
实例
<!DOCTYPE html>
<html lang="en">
<head>
    <meta charset="UTF-8">
    <title>自制网页</title>
    <style>
        body{
            background-image: url("bg.jpg");
            background-repeat:no-repeat;
            background-size: 100%;
        }
        header{
            display: flex;
            align-content: center;
            justify-content: center;
        }
        img{
            display: flex;
            width: 250px;
            height: 150px;
            border-radius: 10px;
        }
        .box1{
            display: flex;
            justify-content: center;
            margin-top: 50px;
        }
        div img{
            width: 40px;
            height: 40px;
        }
        .logo1{
            margin: 0 50px;
        }
        div a{
            text-decoration-line: none;
            color:whitesmoke;
            display: flex;
            flex-flow: row;
            justify-content: center;
            align-items: center;
        }
        .content{
            display: flex;
            justify-content: center;
            align-items: center;
            margin-top: 40px;
        }
        .box2{
            display: flex;
            justify-content: center;
            align-items: center;
            margin:0 20px;
        }
        .box2 img{
            border-radius: 50%;
        }
        .box3{
            display: flex;
            justify-content: center;
            align-items: center;
            width: 140px;
            height: 190px;
            background:linear-gradient(to top,lightsteelblue,white,lightseagreen);
            border-radius: 10px;
            margin: 0 10px;
        }
        .box3 a{
            text-decoration-line: none;
            color: #5c5c5c;
            display: flex;
            flex-flow: column;
        }
    </style>
</head>
<body>
<header>
    <img src="2.jpg" alt="">
</header>
<div class="box1">
    <div class="logo1">
        <a href="">
        <img src="7.png" alt="">
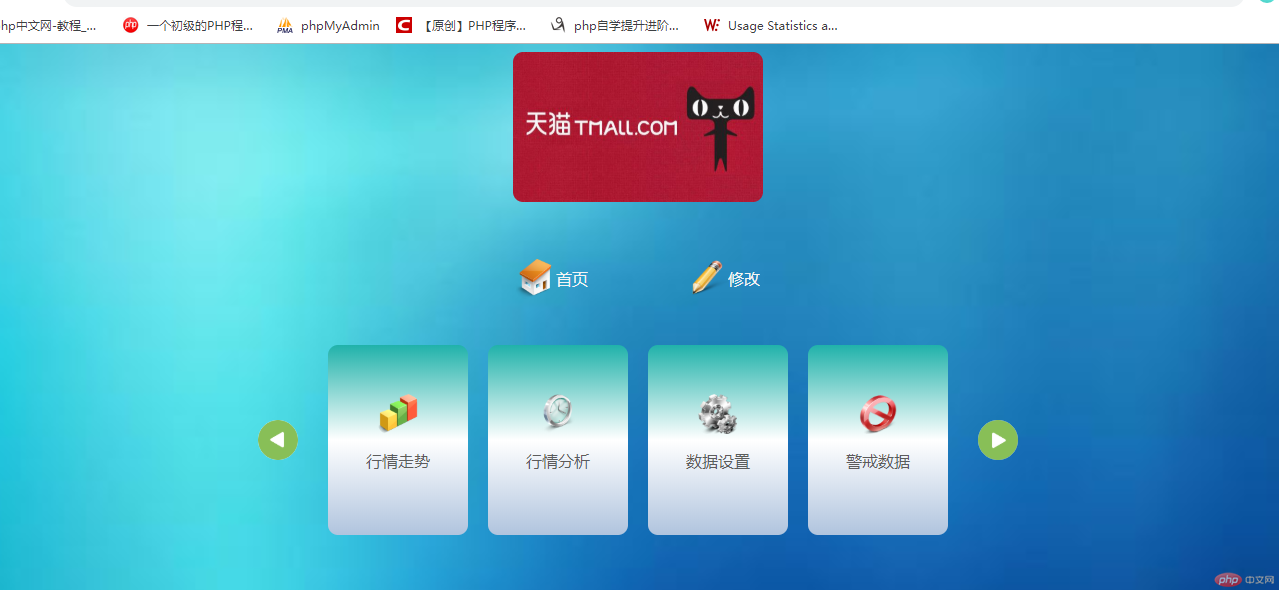
        <p>首页</p>
        </a>
    </div>
    <div class="logo1">
        <a href="">
            <img src="6.png" alt="">
        <p>修改</p>
        </a>
    </div>
</div>
<main class="content">
    <div class="box2">
        <img src="left.jpg" alt="">
    </div>
    <div class="box3">
        <a>
        <img src="1.png" alt="">
        <p>行情走势</p>
        </a>
    </div>
    <div class="box3">
        <a>
        <img src="3.png" alt="">
        <p>行情分析</p>
        </a>
    </div>
    <div class="box3">
        <a>
        <img src="5.png" alt="">
        <p>数据设置</p>
        </a>
    </div>
    <div class="box3">
        <a>
        <img src="4.png" alt="">
        <p>警戒数据</p>
        </a>
    </div>
    <div class="box2">
        <img src="right.jpg" alt>
    </div>
</main>
</body>
</html>
运行实例 »
点击 "运行实例" 按钮查看在线实例

手写作业:


总结:
虽然学习完了基础的css但是感觉当自己写css代码时还是比较乱,没有条理的写下来而是想到什么写什么。导致代码阅读起来可能比较慢,下次继续改进并且尽量使用注释让人可以快速理解。

