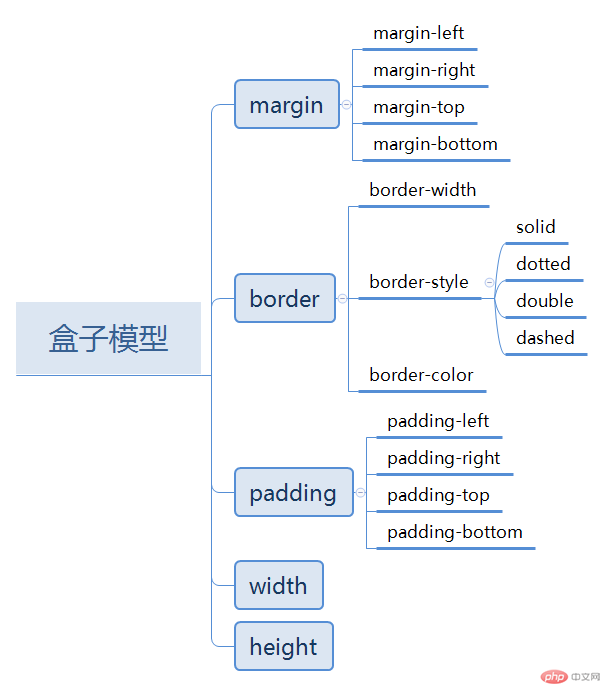
在页面中, 由块级框和行内框围起来封闭区域,在用户看来就像是一个个盒子,所以, 页面中的元素, 我们也可以用一个个不同类型的盒子来表示对应不同的框类型, 盒子也可以行为块级盒子和行内盒子,研究盒模型,主要是用来布局, 而行内盒子无法设置大小,所以只研究块级盒子。
1. 默写盒模型的全部属性,并准确说出他们的应用场景
width(宽度):设置盒子的宽度 height(高度):设置盒子的高度 padding(内边距):设置盒子的内边距
border(边框):设置盒子的边框 margin(外边距):设置盒子的外边距
2. box-sizing 解决了什么问题, 不用它应该如何处理
box-sizing解决了边框和内边距对盒子大小的影响,不用它时,计算盒子大小的时候应当减去内边距和边框。
3. 盒子外边距的合并是怎么回事,并实例演示
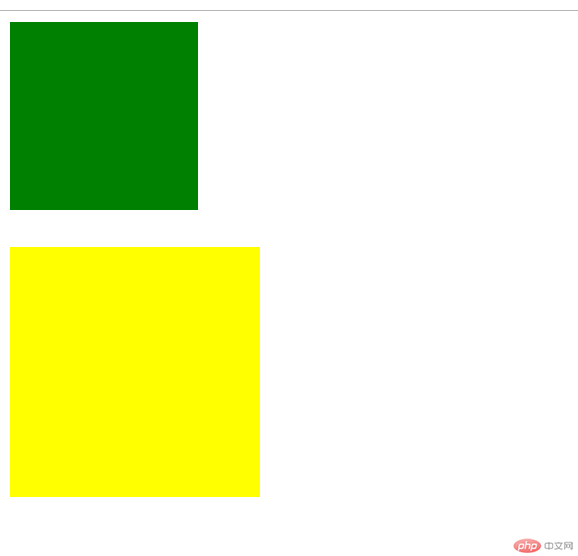
当两个盒子处于同级关系时,设置两个盒子之间的外边距时,会发生合并,这种现象, 也叫外边距的塌陷,两个盒子之间的间距, 最终由以较大值确定。
实例
<!DOCTYPE html>
<html lang="en">
<head>
    <meta charset="UTF-8">
    <title>外边距的合并现象</title>
    <style>
        /*清除内边距与边框对盒子大小的影响*/
        div {
            box-sizing: border-box;
        }
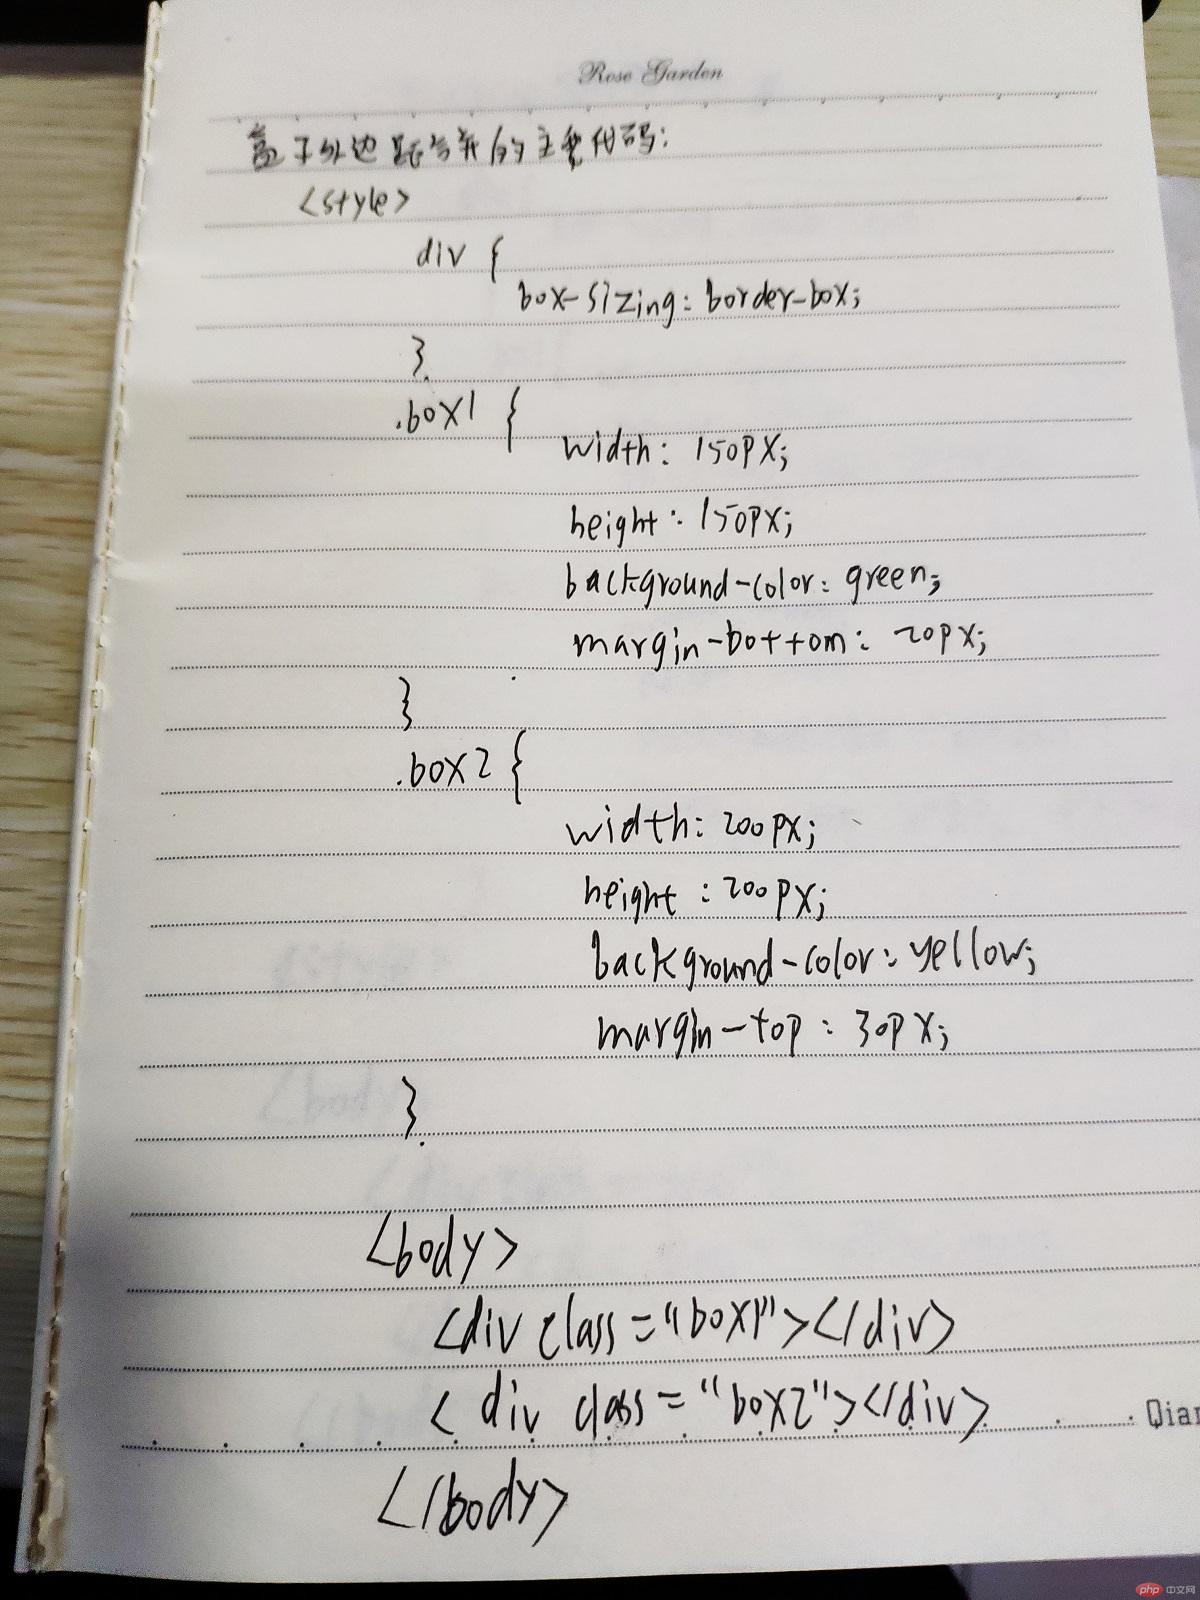
        .box1 {
            width: 150px;
            height: 150px;
            background-color: green;
            margin-bottom: 20px;
        }
        .box2 {
            width: 200px;
            height: 200px;
            background-color: yellow;
            margin-top: 30px;
        }
    </style>
</head>
<body>
<div class="box1"></div>
<div class="box2"></div>
</body>
</html>
运行实例 »
点击 "运行实例" 按钮查看在线实例
4. 嵌套盒子之间内边距与外边距的表现有何不同, 如何处理
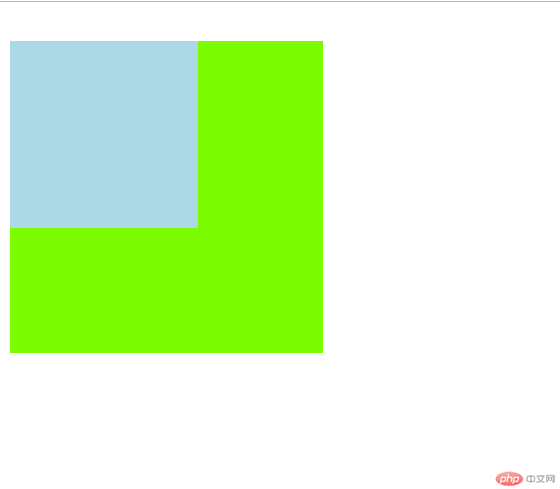
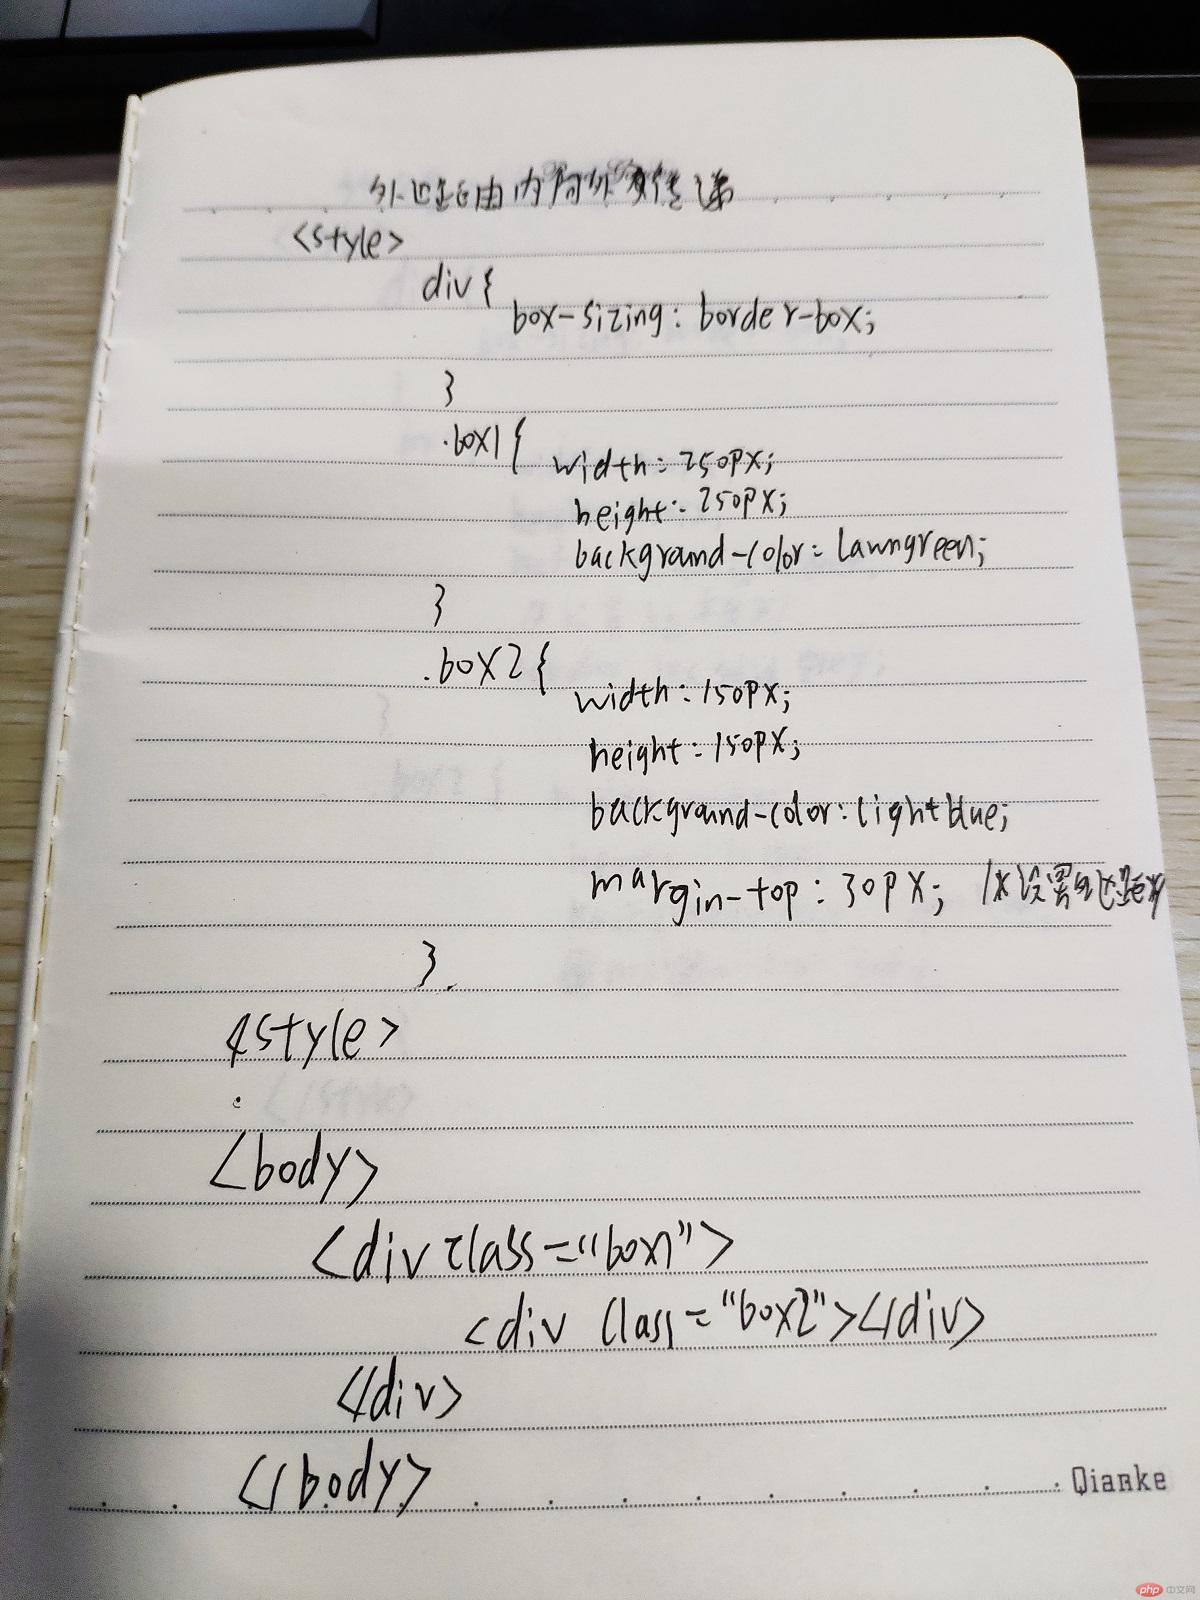
a. 当不给父盒子添加边框的时候,给子盒子设置外边距时,会发生外边距由内向外的传递
实例
<!DOCTYPE html>
<html lang="en">
<head>
    <meta charset="UTF-8">
    <title>嵌套盒子内边距与外边距的表现</title>
    <style>
        div {
            box-sizing: border-box;
        }
        .box1 {
            width: 250px;
            height: 250px;
            background-color: lawngreen;
        }
        .box2 {
            width: 150px;
            height: 150px;
            background-color: lightblue;
            /*子盒子设置外边距*/
            margin-top: 30px;
        }

    </style>
</head>
<body>
<div class="box1">
    <div class="box2"></div>
</div>
</body>
</html>
运行实例 »
点击 "运行实例" 按钮查看在线实例
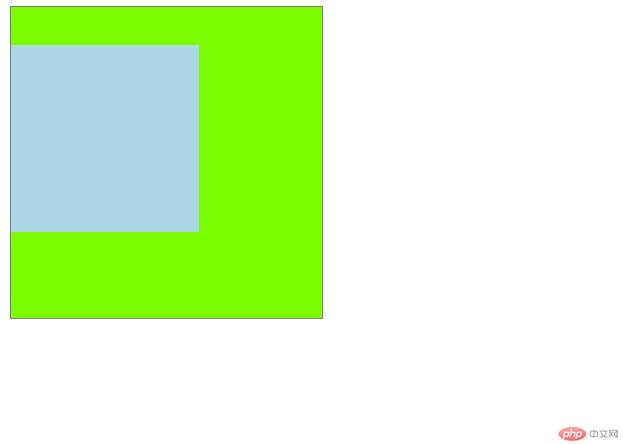
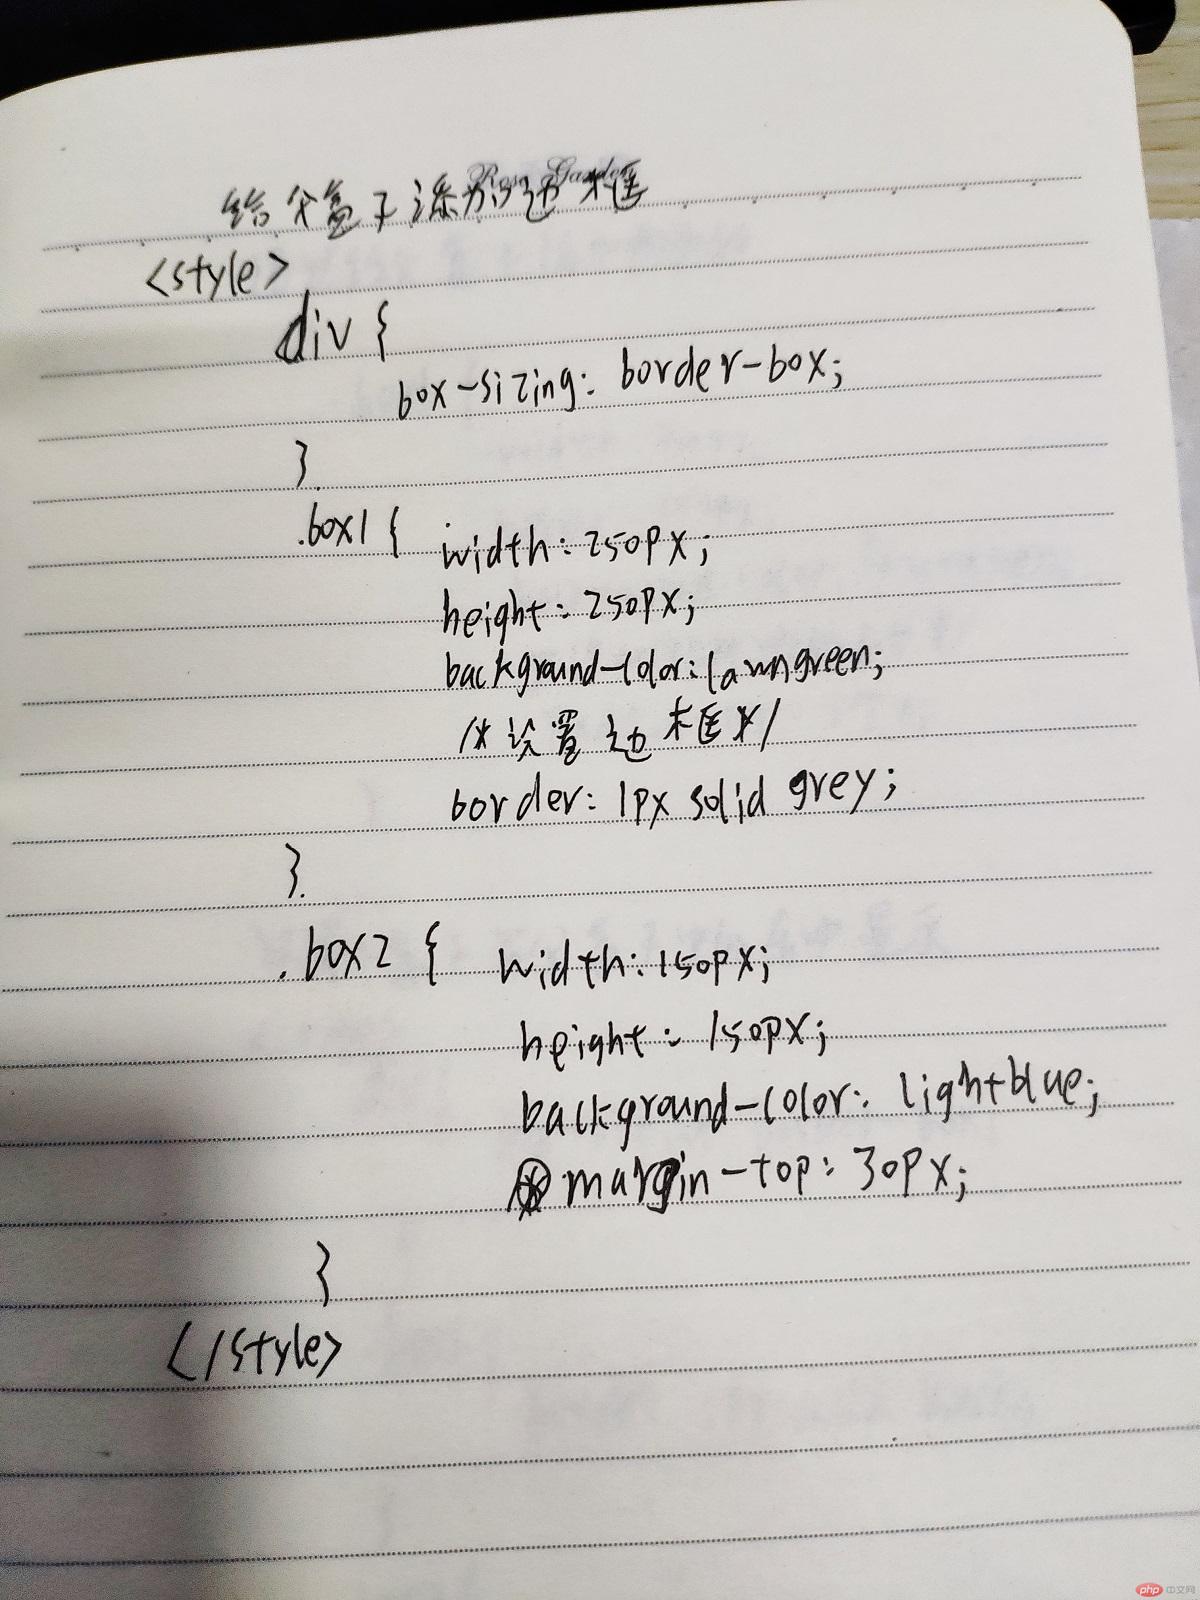
b. 当给父盒子添加边框的时候,给子盒子设置外边距时,则不会发生外边距由内向外的传递
实例
<!DOCTYPE html>
<html lang="en">
<head>
    <meta charset="UTF-8">
    <title>嵌套盒子内边距与外边距的表现</title>
    <style>
        div {
            box-sizing: border-box;
        }
        .box1 {
            width: 250px;
            height: 250px;
            background-color: lawngreen;
            /*设置边框*/
            border: 1px solid grey;
        }
        .box2 {
            width: 150px;
            height: 150px;
            background-color: lightblue;
            /*子盒子设置外边距*/
            margin-top: 30px;
        }

    </style>
</head>
<body>
<div class="box1">
    <div class="box2"></div>
</div>
</body>
</html>
运行实例 »
点击 "运行实例" 按钮查看在线实例
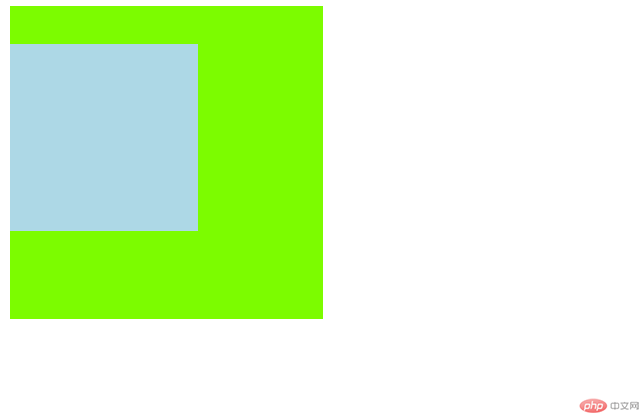
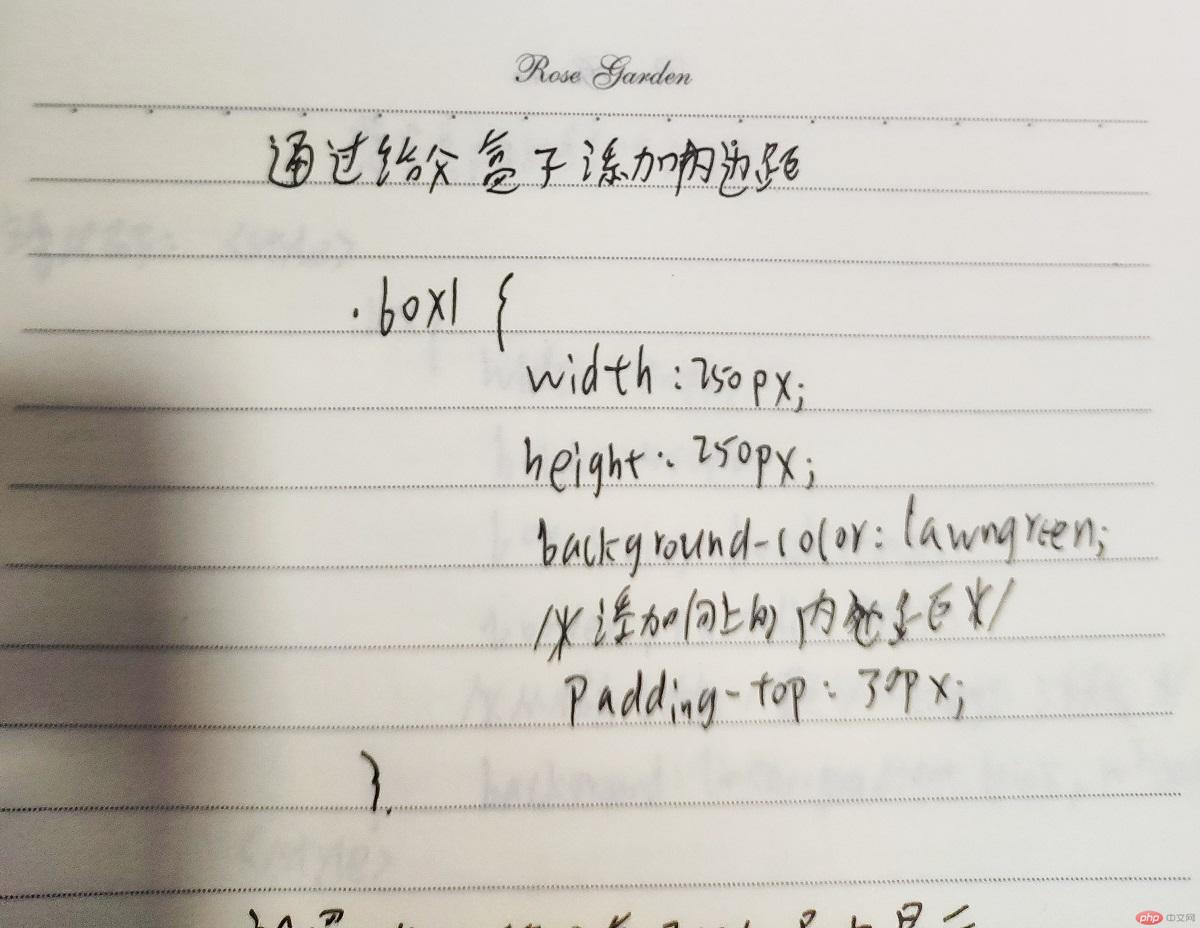
c. 还可以通过给父盒子添加内边距,来避免传递现象
实例
<!DOCTYPE html>
<html lang="en">
<head>
    <meta charset="UTF-8">
    <title>嵌套盒子内边距与外边距的表现</title>
    <style>
        div {
            box-sizing: border-box;
        }
        .box1 {
            width: 250px;
            height: 250px;
            background-color: lawngreen;
            /*添加向上的内边距*/
            padding-top: 30px;
        }
        .box2 {
            width: 150px;
            height: 150px;
            background-color: lightblue;
        }

    </style>
</head>
<body>
<div class="box1">
    <div class="box2"></div>
</div>
</body>
</html>
运行实例 »
点击 "运行实例" 按钮查看在线实例
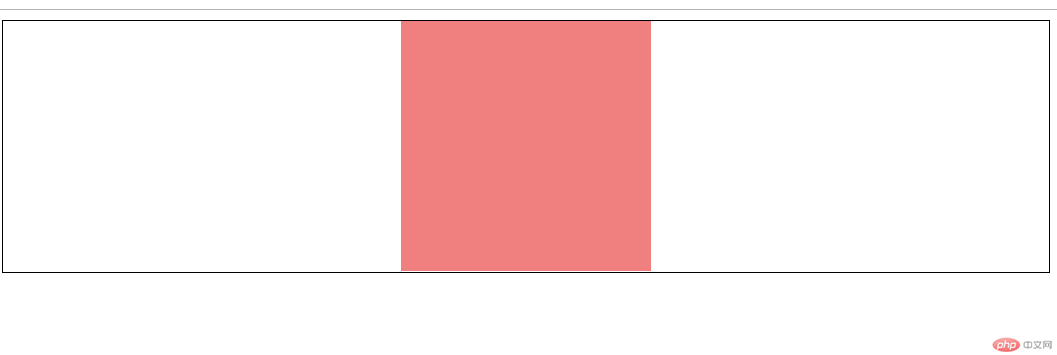
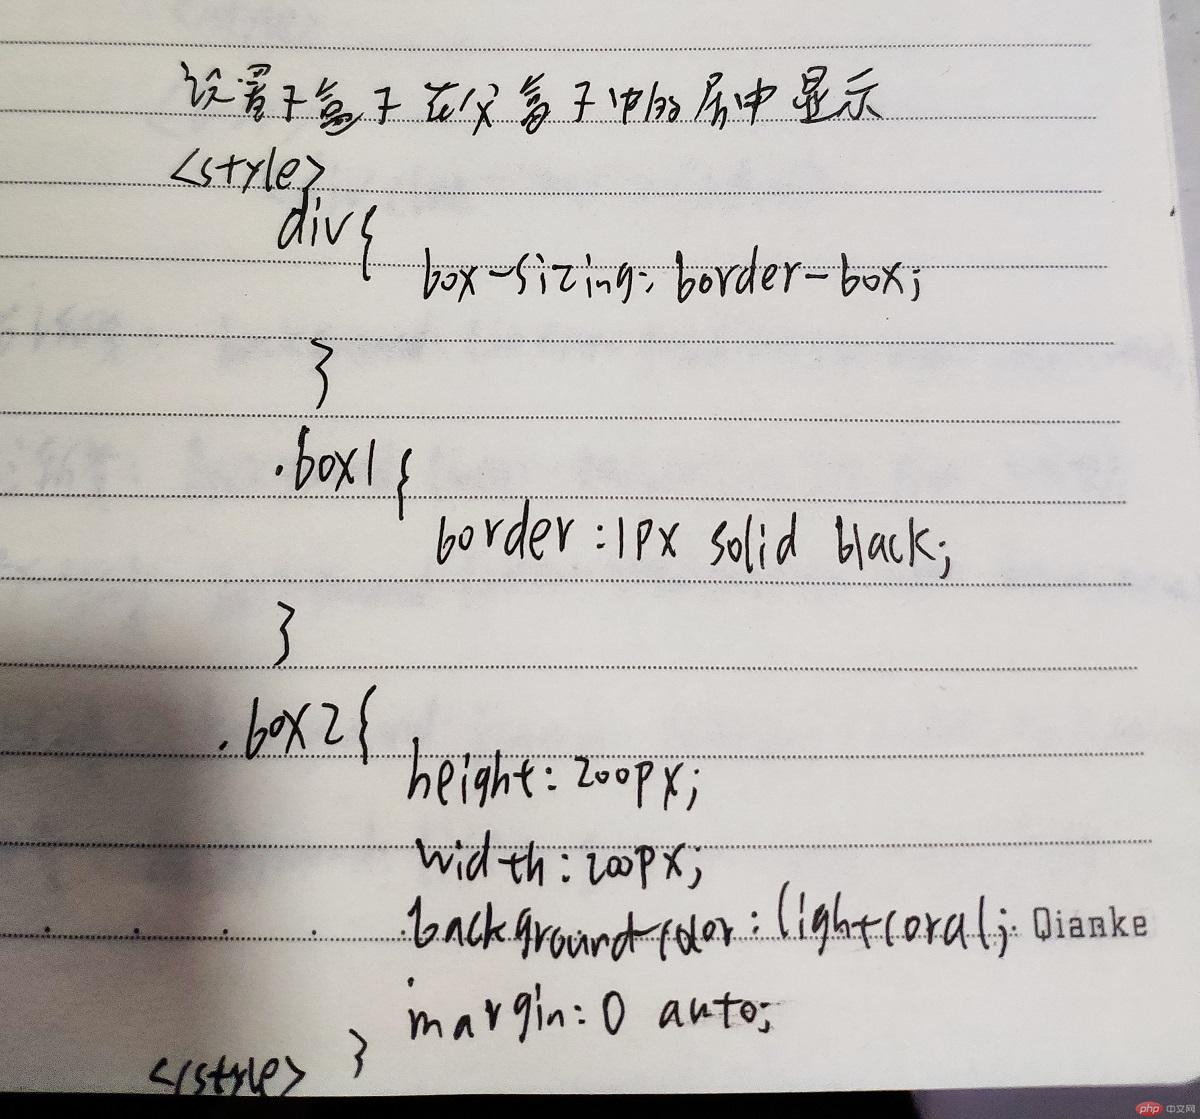
d. 设置子盒子在父盒子中的居中显示
实例
<!DOCTYPE html>
<html lang="en">
<head>
    <meta charset="UTF-8">
    <title>子盒子在父盒子中的居中显示</title>
    <style>
        div {
            box-sizing: border-box;
        }
        .box1 {
            border: 1px solid black;
        }
        .box2 {
            height: 200px;
            width: 200px;
            background-color: lightcoral;
            /*第一个参数是设置上下margin,第二个参数是设置左右margin*/
            margin: 0 auto;
        }
    </style>
</head>
<body>
<div class="box1">
    <div class="box2"></div>
</div>
</body>
</html>
运行实例 »
点击 "运行实例" 按钮查看在线实例
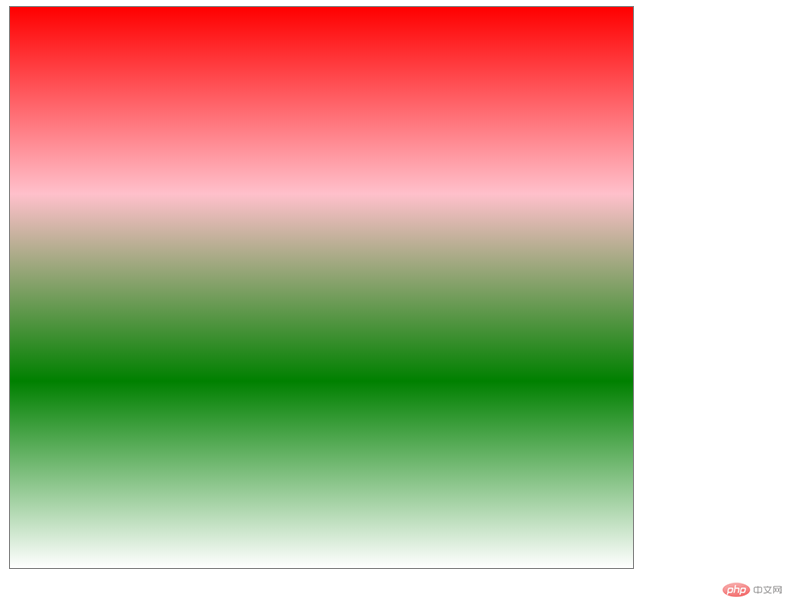
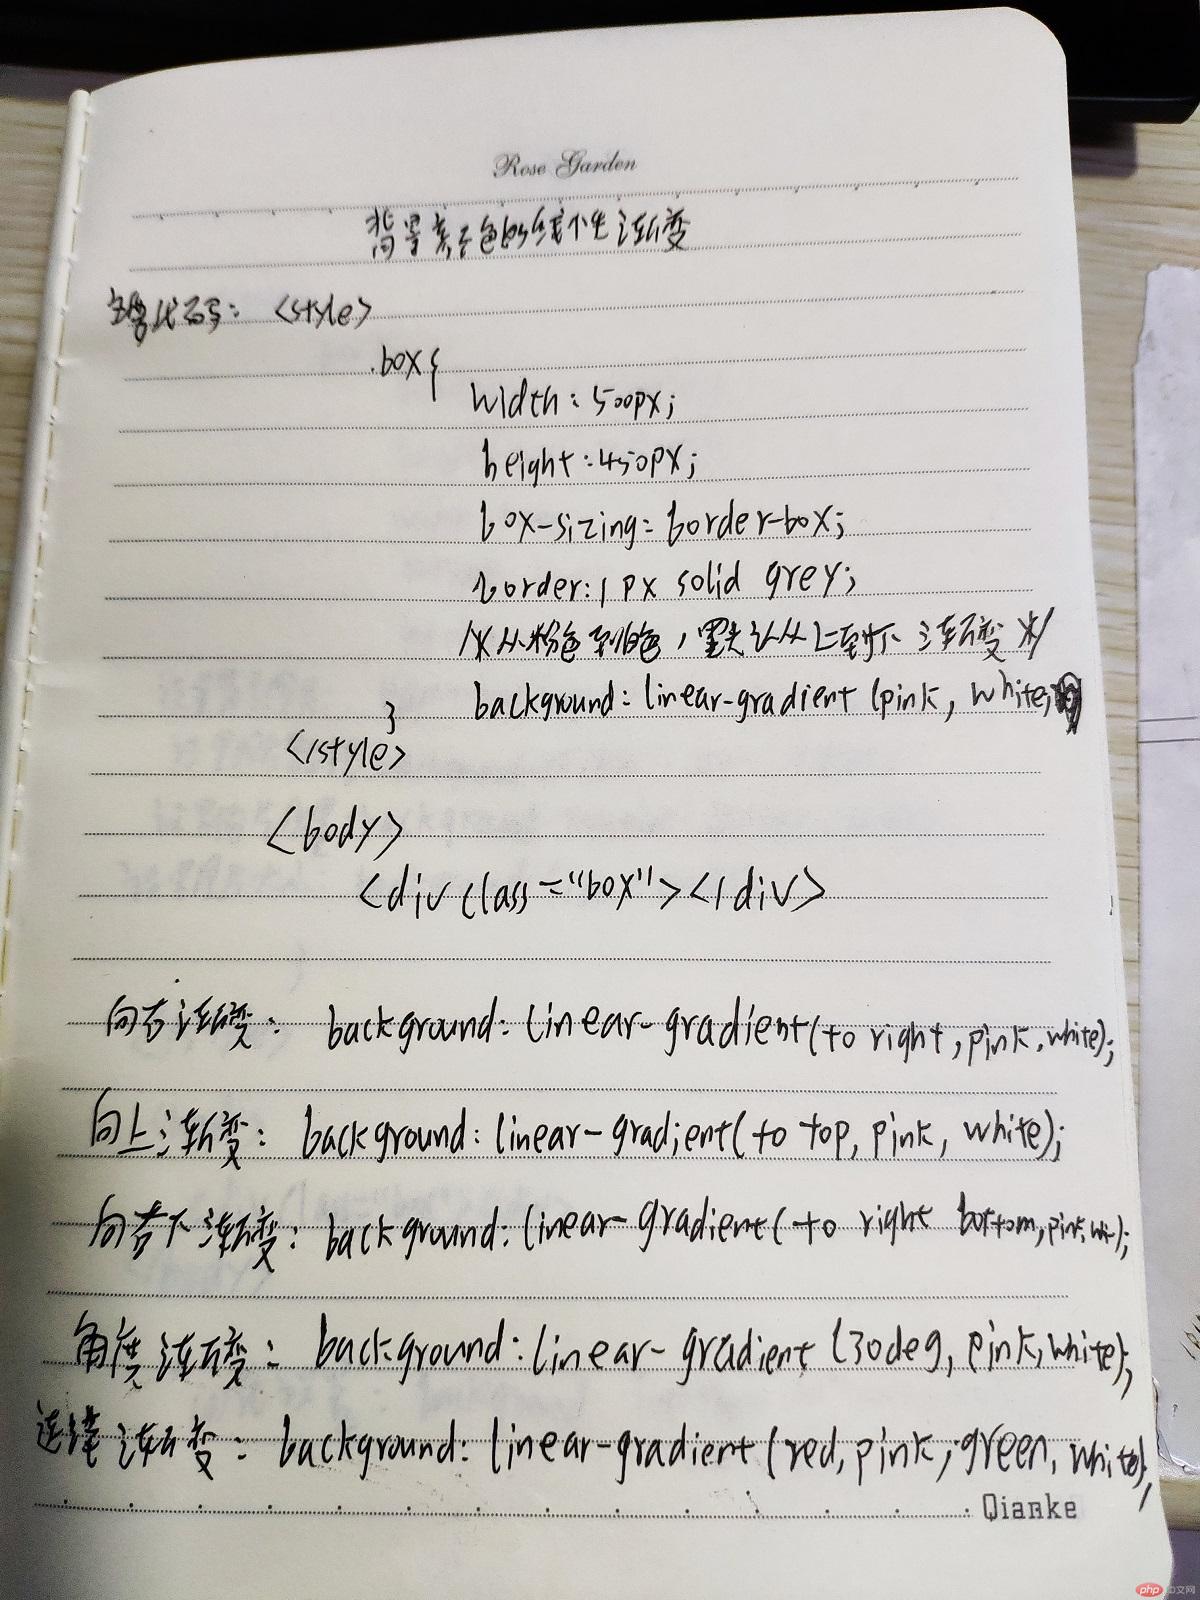
5. 实例演示: 背景颜色的线性渐变
实例
<!DOCTYPE html>
<html lang="en">
<head>
    <meta charset="UTF-8">
    <title>背景颜色的线性渐变</title>
    <style>
        .box {
            width: 500px;
            height: 450px;
            box-sizing: border-box;
            border: 1px solid grey;
            /*从粉色到白色, 默认从上到下方向渐变*/
            /*background: linear-gradient(pink, white);*/
            /*向右渐变*/
            /*background: linear-gradient(to right, pink, white);*/
            /*向左渐变*/
            /*background: linear-gradient(to left, pink, white);*/
            /*向上渐变*/
            /*background: linear-gradient(to top, pink, white);*/
            /*向左下方渐变*/
            /*background: linear-gradient(to left bottom, pink, white);*/
            /*角度渐变*/
            /*background: linear-gradient(30deg, pink, white);*/
            /*连续多种颜色的渐变*/
            background: linear-gradient(red, pink, green, white);
        }
    </style>
</head>
<body>
<div class="box"></div>
</body>
</html>
运行实例 »
点击 "运行实例" 按钮查看在线实例
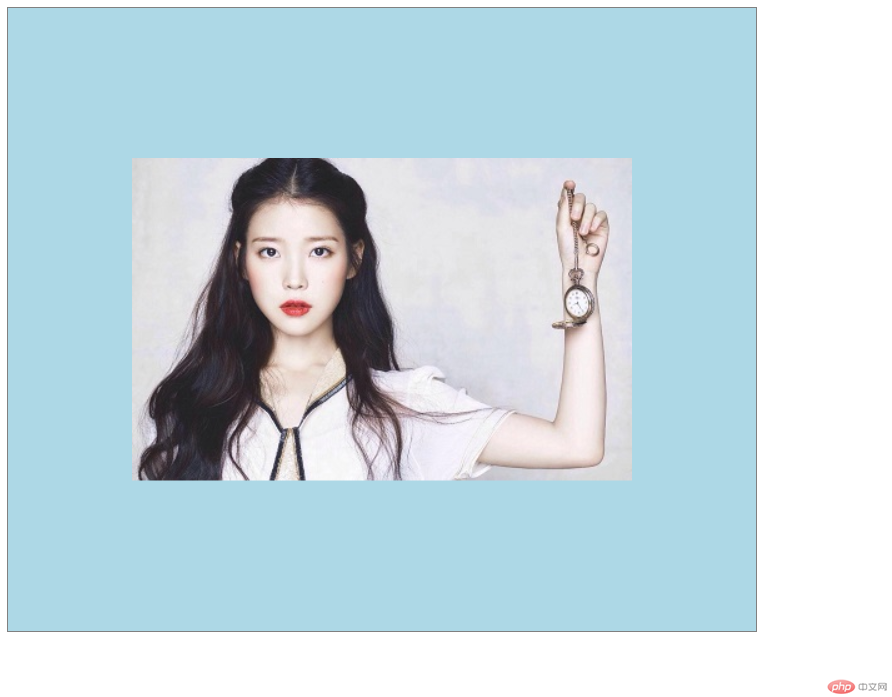
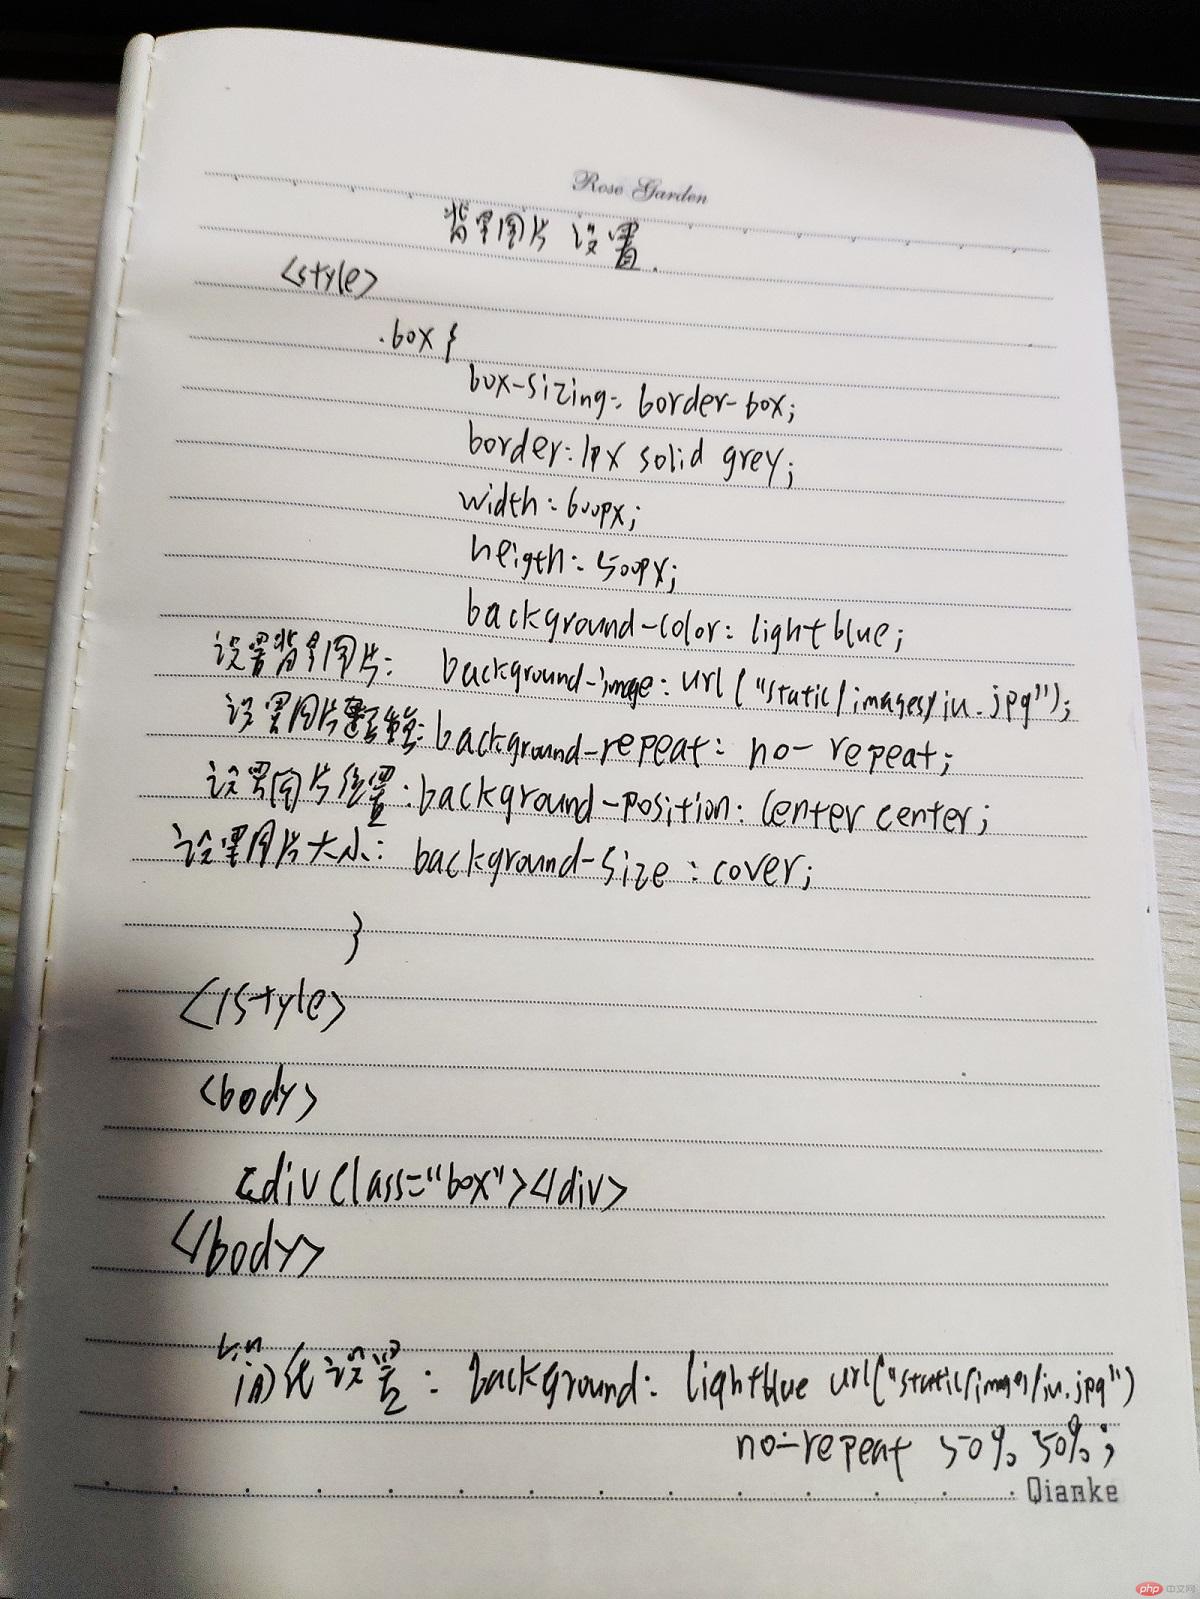
6. 实例演示: 背景图片的大小与位置的设定
实例
<!DOCTYPE html>
<html lang="en">
<head>
    <meta charset="UTF-8">
    <title>背景图片设置</title>
    <style>
        .box {
            box-sizing: border-box;
            border: 1px solid grey;
            width: 600px;
            height: 500px;
            /*background-color: lightblue;*/
            /*设置背景图片*/
            /*background-image: url("static/images/iu.jpg");*/
            /*设置背景重复*/
            /*background-repeat: repeat;*/
            /*设置背景不重复*/
            /*background-repeat: no-repeat;*/
            /*设置背景水平方向重复*/
            /*background-repeat: repeat-x;*/
            /*设置背景垂直方向重复*/
            /*background-repeat: repeat-y;*/
            /*设置背景图片的位置: 水平, 垂直*/
            /*background-position: center center;*/
            /*background-position: left center;*/
            /*background-position: 80px 60px;*/
            /*background-position: 50% 50%;*/
            /*设置背景图片的大小*/
            /*图片拉伸等比例填充,完全覆盖盒子,比例不同可能会有部分图片内容被隐藏*/
            /*background-size: cover;*/
            /*图片完全填充, 比例不同,盒子可能会出现空白区域*/
            /*background-size: contain;*/
            /*以上简化设置*/
            background: lightblue url("static/images/iu.jpg") no-repeat 50% 50%;
        }
    </style>
</head>
<body>
    <div class="box"></div>
</body>
</html>
运行实例 »
点击 "运行实例" 按钮查看在线实例
7. 总结
CSS的盒子模型对页面布局有着重要的作用,通过以上几个实例练习了盒子模型属性应用的几种情况,学会了设置背景颜色和背景图片与背景图片大小与位置的设定,知道了怎样设置背景颜色的线性渐变。

