一、描述html与http是什么,它们之间的关系是什么。
html:是“超文本编辑语言”,是指页面内可以包含图片、链接,甚至音乐、程序等非文字元素。 超文本标记语言的结构包括“头(head)”部分和“主体(body)”部分,其中“头”部提供关于网页的信息,“主体”部分提供网页的具体显示的内容。
http:是“超文本传输协议”,是HyperText Transfer Protocol(超文本传输协议)的缩写,是互联网上应用最为广泛的一种网络协议。是客户端与服务器端之间请求与响应的标准或者规范。
html和http之间的关系:客户端与服务器之间的请求与响应,需要通过http协议,我们使用HTTP协议打开的一个网站 ,而这个网站显示出来的内容可能就是由HTML这种标签语言编写出来的。
二、制作一个导航,要求使用到列表,链接,图片,并使用图片做为链接元素。
1.制作导航之前,先来了解下制作本次导航需要用到的html标签,它们分别是:
<section>...</section>:逻辑区域,是双标签,在今天作业里,可套用在标签外部,也就是无序列表标签的父元素。
<ul><li></li></ul>:无序列表的标签,内容写在<li>与</li>之间。
<a>:超链接标签,双标签,<a href="这里输入链接的域名"></a>
<img>:图像标签,单标签,<img src="这里输入图片的地址" alt="这里输入图片的概述,在图片无法显示时,浏览器显示的就是这部分的内容">
2.实例
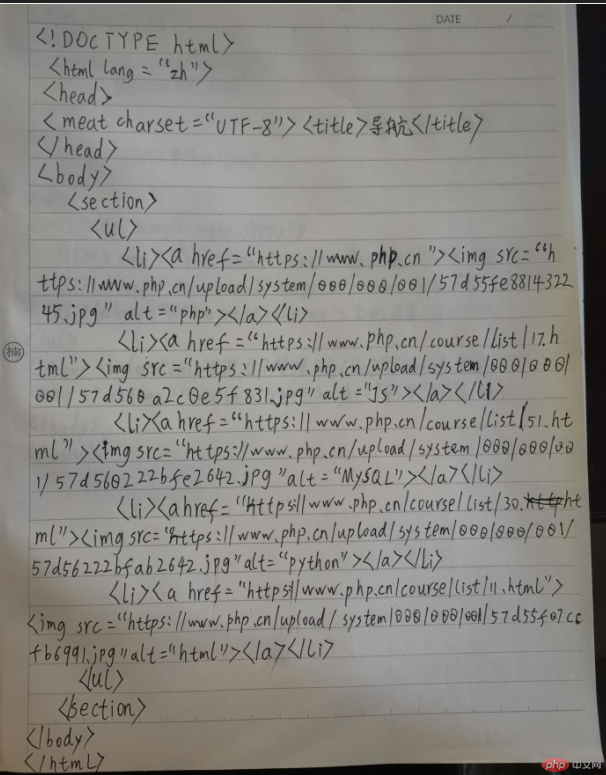
<!DOCTYPE html>
<html lang="zh">
<head>
	<meta charset="UTF-8">
	<title>导航</title>
</head>
<body>
	<section>
		<ul>
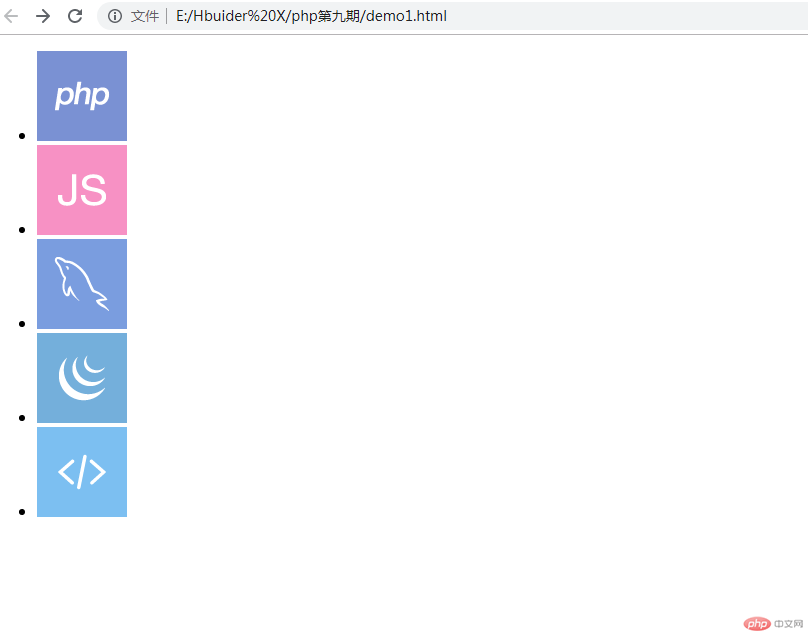
			<li><a href="https://www.php.cn"><img src="https://www.php.cn/upload/system/000/000/001/57d55fe881432245.jpg" alt="php"></a></li>
			<li><a href="https://www.php.cn/course/list/17.html"><img src="https://www.php.cn/upload/system/000/000/001/57d55f537896d439.jpg" alt="JS"></a></li>
			<li><a href="https://www.php.cn/course/list/51.html"><img src="https://www.php.cn/upload/system/000/000/001/57d560a2c0e5f831.jpg" alt="MySQL"></a></li>
			<li><a href="https://www.php.cn/course/list/30.html"><img src="https://www.php.cn/upload/system/000/000/001/57d56222bfab2642.jpg" alt="Python"></a></li>
			<li><a href="https://www.php.cn/course/list/11.html"><img src="https://www.php.cn/upload/system/000/000/001/57d55f07ccfb6991.jpg" alt="html"></a></li>
		</ul>
	</section>
</body>
</html>
运行实例 »
点击 "运行实例" 按钮查看在线实例
效果如下图:
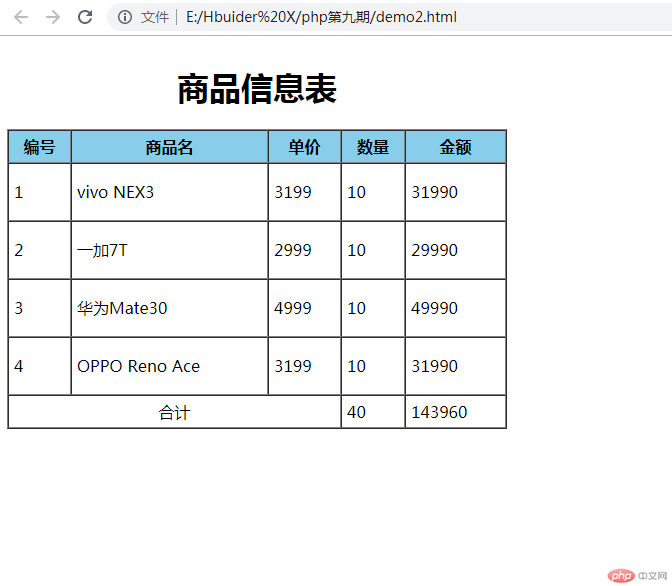
三、制作一张商品信息表, 要求用到标题, 头部与底部, 行与列方向的合并
1.制作信息表之前,先来了解下制作本次信息表需要用到的html标签和属性及属性值,它们分别是:
<h1>...</h1>:标题标签,双标签。
<table>...</table>:表格标签,双标签。
<tr><td>...</td></tr>:表格行、列的标签,双标签。
<thead>...</thead>:表头标签,双标签。
<tbody>...</tbody>:表格主体标签,双标签。
<tfoot>...</tfoot>:表格底部标签,双标签。
接下来是属性和属性值:
<align="center">:文本位置设置为“居中”。
<border="1">:表示表格框线,“1”表示框线粗细为1像素。
<width="500">:表示表格宽度为“500”像素
<height="300">:表示表格高度为“300”像素。
<cellspacing="0">:表示表格框线内部距离为“0”像素。
<cellpadding="5">:表示表格内容与表格框线内边距为“5”像素。
<bgcolor="skyblue">:表示背景颜色为“天蓝色”。
<colspan="3">:表示横向合并“3”个表格。
实例
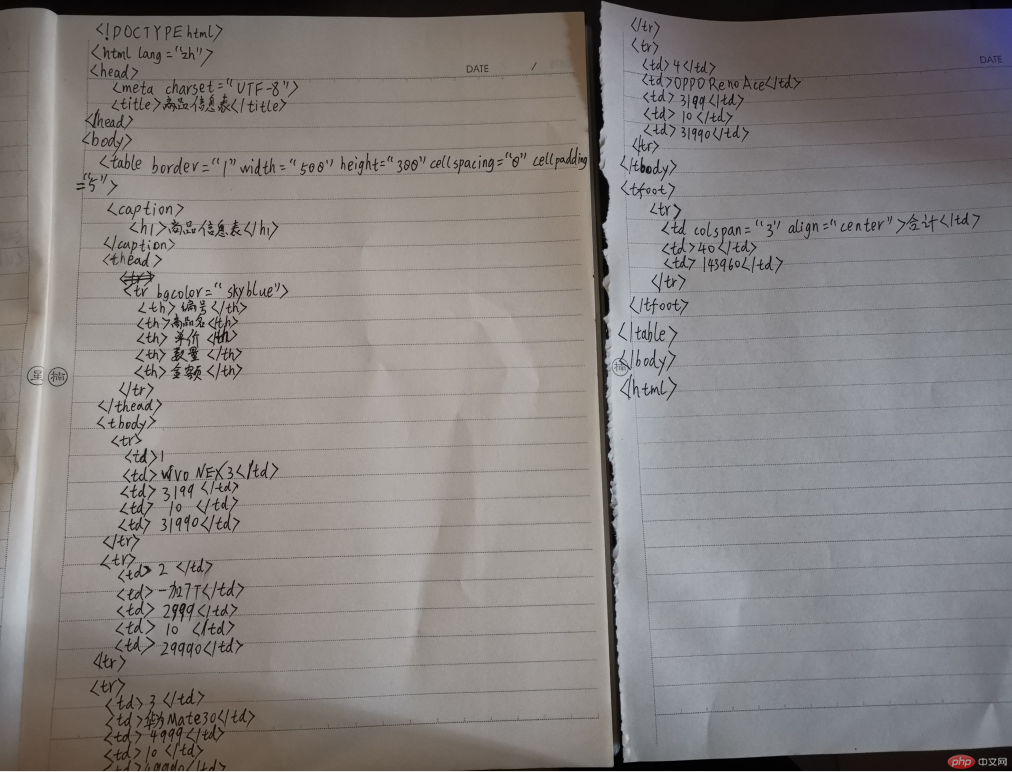
<!DOCTYPE html>
<html lang="zh">
<head>
	<meta charset="UTF-8">
	<meta name="viewport" content="width=device-width, initial-scale=1.0">
	<meta http-equiv="X-UA-Compatible" content="ie=edge">
	<title>商品信息表</title>
</head>
<body>
	<!-- 制作一张商品信息表, 要求用到标题, 头部与底部, 行与列方向的合并 -->
	<table border="1" width="500" height="300" cellspacing="0" cellpadding="5">
		<caption>
			<!-- 标题 -->
			<h1>商品信息表</h1>
		</caption>
		<!-- 表头 -->
		<thead>
			<tr bgcolor="skyblue">
				<th>编号</th>
				<th>商品名</th>
				<th>单价</th>
				<th>数量</th>
				<th>金额</th>
			</tr>
		</thead>
		<!-- 表格主体 -->
		<tbody>
			<tr>
				<td>1</td>
				<td>vivo NEX3</td>
				<td>3199</td>
				<td>10</td>
				<td>31990</td>
			</tr>
			<tr>
				<td>2</td>
				<td>一加7T</td>
				<td>2999</td>
				<td>10</td>
				<td>29990</td>
			</tr>
			<tr>
				<td>3</td>
				<td>华为Mate30</td>
				<td>4999</td>
				<td>10</td>
				<td>49990</td>
			</tr>
			<tr>
				<td>4</td>
				<td>OPPO Reno Ace</td>
				<td>3199</td>
				<td>10</td>
				<td>31990</td>
			</tr>
		</tbody>
		<!-- 表格底部 -->
		<tfoot>
			<tr>
				<td colspan="3" align="center">合计</td>

				<td>40</td>
				<td>143960</td>
			</tr>
		</tfoot>
	</table>
</body>
</html>
运行实例 »
点击 "运行实例" 按钮查看在线实例
效果如下图:
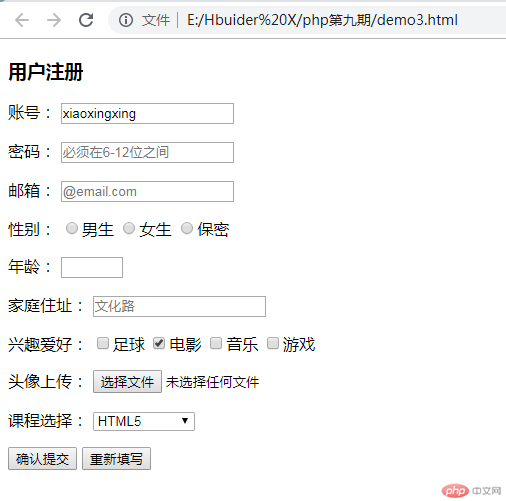
四、制作一张完整的用户注册表单, 要求尽可能多的用到学到的表单控件
1.用到的标签:
<h3></h3>:标题3标签。
<p></p>:段落标签。
<input>:表单标签。
2.用到的属性:
<input>表单、按钮类型:type="..."(submit/提交,reset/重置,text/文本输入,password/密码,radio/单选框,file/文件,email/邮箱,number/数字或年龄,checkbox/复选框,checked/预选)
属性:
<min="...">:最小数值。
<max="...">:最大数值。
实例
<!DOCTYPE html>
<html lang="zh">
<head>
	<meta charset="UTF-8">
	<title>新用户注册</title>
</head>
<body>
	<form action="">
	<!-- 制作一张完整的用户注册表单, 要求尽可能多的用到学到的表单控件 -->
	<h3>用户注册</h3>
	<p>
		<label for="username">账号:</label>
		<input type="text" id="username" name="username" value="xiaoxingxing">
	</p>
	<p>
		<label for="password">密码:</label>
		<input type="password" id="password" name="password" placeholder="必须在6-12位之间">
	</p>
	<p>
		<label for="email">邮箱:</label>
		<input type="email" id="email" name="email" placeholder="@email.com">
	</p>
	<p>
		<label for="male">性别:</label>
		<input type="radio" name="gender" id="male"><label for="male">男生</label>
		<input type="radio" name="gender" id="female"><label for="female">女生</label>
		<input type="radio" name="gender" id="secrecy"><label for="secrecy">保密</label>
	</p>
	<p>
		<label for="age">年龄:</label>
		<input type="number" id="age" name="age" min="12" max="80">
	</p>
	<p>
	        <label for="address">家庭住址:</label>
	        <input type="text" id="address" name="address" placeholder="文化路" readonly>
	</p>
	<p>
		<label for="">兴趣爱好:</label>
		<input type="checkbox" name="hobby" id="footboll"><label for="footboll">足球</label>
		<input type="checkbox" name="hobby" id="movies" checked><label for="movies">电影</label>
		<input type="checkbox" name="hobby" id="music"><label for="music">音乐</label>
		<input type="checkbox" name="hobby" id="game"><label for="game">游戏</label>
	</p>

	<p>
		<label for="photo">头像上传:</label>
		<input type="file" id="photo" name="photo">
	</p>
	<p>
		<label for="">课程选择:</label>
		<!-- 下拉列表 -->
		<select name="" id="">
		    <optgroup label="前端">
		        <option value="html5">HTML5</option>
		        <option value="css3">CSS3</option>
		        <option value="javascript">JavaScript</option>
		    </optgroup>
		    <optgroup label="后端">
		        <option value="php">php</option>
		        <option value="mysql">mysql</option>
		        <option value="larvael">laravel</option>
		    </optgroup>
		</select>
	</p>

	<p>
		<input type="submit" value="确认提交">
		<input type="reset" value="重新填写">
	</p>
	</form>
</body>
</html>
运行实例 »
点击 "运行实例" 按钮查看在线实例
效果图如下:
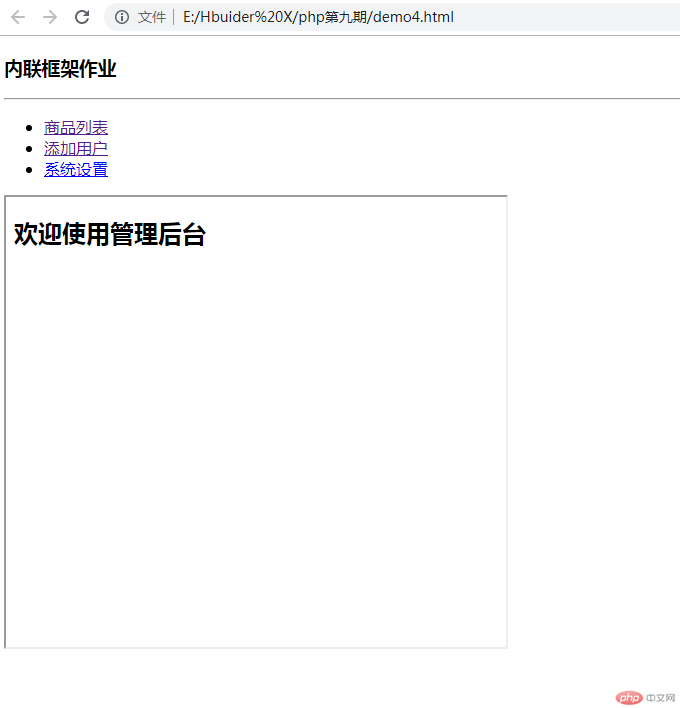
五、制作一个网站后面, 要求使用<iframe>内联框架实现
实例
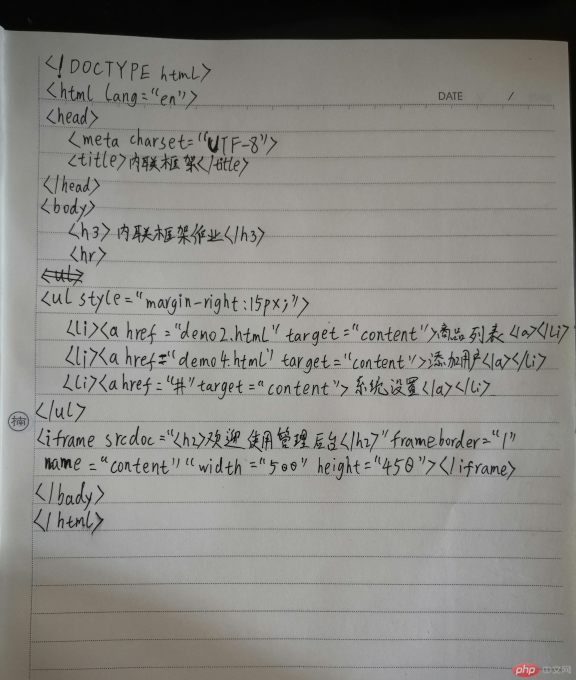
<!DOCTYPE html>
<html lang="en">
<head>
    <meta charset="UTF-8">
    <title>内联框架</title>
</head>
<body>
	<h3>内联框架作业</h3>
	<hr>
<ul style="margin-right:15px;">
    <li><a href="demo2.html" target="content">商品列表</a></li>
    <li><a href="demo4.html" target="content">添加用户</a></li>
    <li><a href="#" target="content">系统设置</a></li>
</ul>

<iframe srcdoc="<h2>欢迎使用管理后台</h2>" frameborder="1" name="content" width="500" height="450"></iframe>
</body>
</html>
运行实例 »
点击 "运行实例" 按钮查看在线实例
效果图如下:
总结: 为什么推荐使用语义化的标签?
1.在没有CSS的时候能够清晰的看出网页的结构,增强可读性。
2.让浏览器或是网络爬虫可以很好地解析,有利于SEO优化,从而获取更多的有效信息,提升网页的权重。
3.便于团队开发和维护,语义化的HTML可以让开发者更容易的看明白,从而提高团队的效率和协调能力。
六、手写代码:
