利用常用标签实现表格制作和跨行合并。
实例
<html>
<head>
     <meta charset="UTF-8">
     <title>表格</title>
</head>
<body>
<h2>购物车</h2>
<ul>
  <li>1.有备无患的奔驰专用机油,1个,800元</li>
  <li>2.能看清鞋子的京东摄像头,2个,300元</li>
  <li>3.带暖手宝功能的笔记本电脑,2台,9000元</li>
</ul>

<hr>
<table border="1" cellspacing="0" cellpadding="5" width="610" align="left">
    <caption>购物车</caption>
    <thead>
    <tr border="lightblue">
         <th>编号</th>
         <th>名称</th>
         <th>类别</th>
         <th>单价</th>
         <th>数量</th>
         <th>金额</th>
    </tr>
    </thead>
    <tbody>
         <tr>
             <td width="100">1</td>
             <td width="300">有备无患的奔驰专用机油</td>
             <td width="100">汽车用品</td>
             <td width="100">800元</td>
             <td width="60">1</td>
             <td width="100">800元</td>
         </tr>
         <tr>
             <td>2</td>
             <td>能看清楚鞋子的京东摄像头</td>
             <td rowspan="2">数码产品</td>
             <td>150元</td>
             <td>2</td>
             <td>300元</td>
         </tr>
         <tr>
             <td>3</td>
             <td>带暖手宝功能的笔记本电脑</td>
             <td>4500元</td>
             <td>2</td>
             <td>9000元</td>
         </tr>
    </tbody>
    <tfoot>
    <tr>
        <td colspan="4" align="center">总价</td>
        <td>5</td>
        <td>10100元</td>
    </tr>
    </tfoot>

</table>
</body>
</html>
运行实例 »点击 "运行实例" 按钮查看在线实例
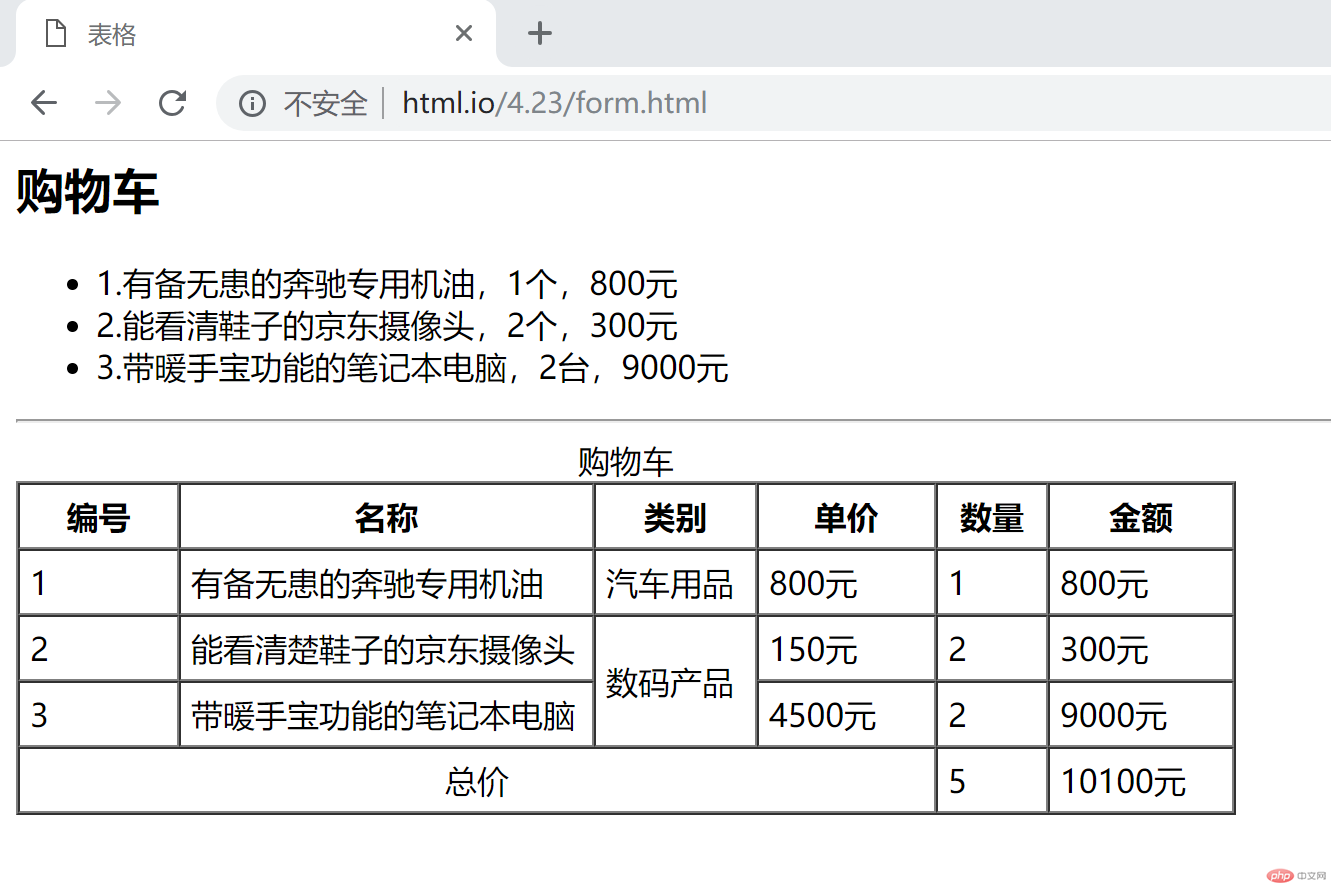 因为类别放在最右一列的话,第五行第六列会出现空格不***,所以把类别调整到第三列显示。
一个简易的用户注册界面。
实例
<!DOCTYPE html>
<html>
<head>
    <meta charset="utf-8">
	<title>用户注册</title>
	<style type="text/css">
	   div{
	   	   width: 200px;
	   	   height: 200px;
	       margin:0 auto;
	   }
	   </style>
</head>
<body>
<div>
<h2>用户注册</h2>
<!-- from暂时没学到Php所以没有写上定义 -->
<form action="" method="post">
    <p>
        <label for="username">账号:</label>
        <input type="text" name="username" id="username" placeholder="不能超过8个字符" autofocus="username" required>
    </p>

    <p>
        <label for="password">密码:</label>
        <input type="password" name="password" id="password" placeholder="6-12的字母和数字组成" required>
    </p>

    <p>
        <label for="email">邮箱:</label>
        <input type="email" name="email" id="email" placeholder="123abc@sina.com" required>
    </p>

    <p>
        <label for="age">年龄:</label>
        <input type="number" name="age" id="age" placeholder="18~80" max="80" min="18" required>
    </p>

    <p>
        <label for="brithday">生日:</label>
        <input type="date" name="brithday" id="brithday" required>
    </p>

    <p>
        <label for="course">课程:</label>
        <select name="course" id="course" size="1" required>

             <option value="0" selected>请选择</option>

             <optgroup label="前端:">
                  <option value="1">HTML5</option>
                  <option value="2">CSS3</option>
                  <option value="3">JavaScript</option>
                  </optgroup>

             <optgroup label="后端:">
                  <option value="4">PHP</option>
                  <option value="5">ThinkPHP</option>
                  <option value="6">Mysql</option>
             </optgroup>
        </select>
    </p>

    <p>
        <label for="porgramme">爱好:</label>

        <input type="checkbox" name="hobby[]" id="game" value="game"><label for="game">打游戏</label>
        <!-- []为php的数组框 -->
        <input type="checkbox" name="hobby[]" id="porgramme" value="porgramme"><label for="porgramme">撸代码</label>

        <input type="checkbox" name="hobby[]" id="movies" value="movies"><label for="movies">看电影</label>
    </p>

    <p>
        <label for="secrecy">性别:</label>

        <input type="radio" name="gender" id="male" value="male"><label for="male">男</label>

        <input type="radio" name="gender" id="female" value="female"><label for="female">女</label>

        <input type="radio" name="gender" id="secrecy" value="secrecy"><label for="secrecy">保密</label>
    </p>

    <p>
        <label for="comment">简介:</label>
        <textarea name="comment" id="comment" cols="23"  rows="10" maxlength="100" style="resize:none" required></textarea>
    </p>

    <p>
        <button type="submit">提交</button>

        <button type="reset">重置</button>
    </p>
</form>
</div>
</body>
</html>
运行实例 »点击 "运行实例" 按钮查看在线实例
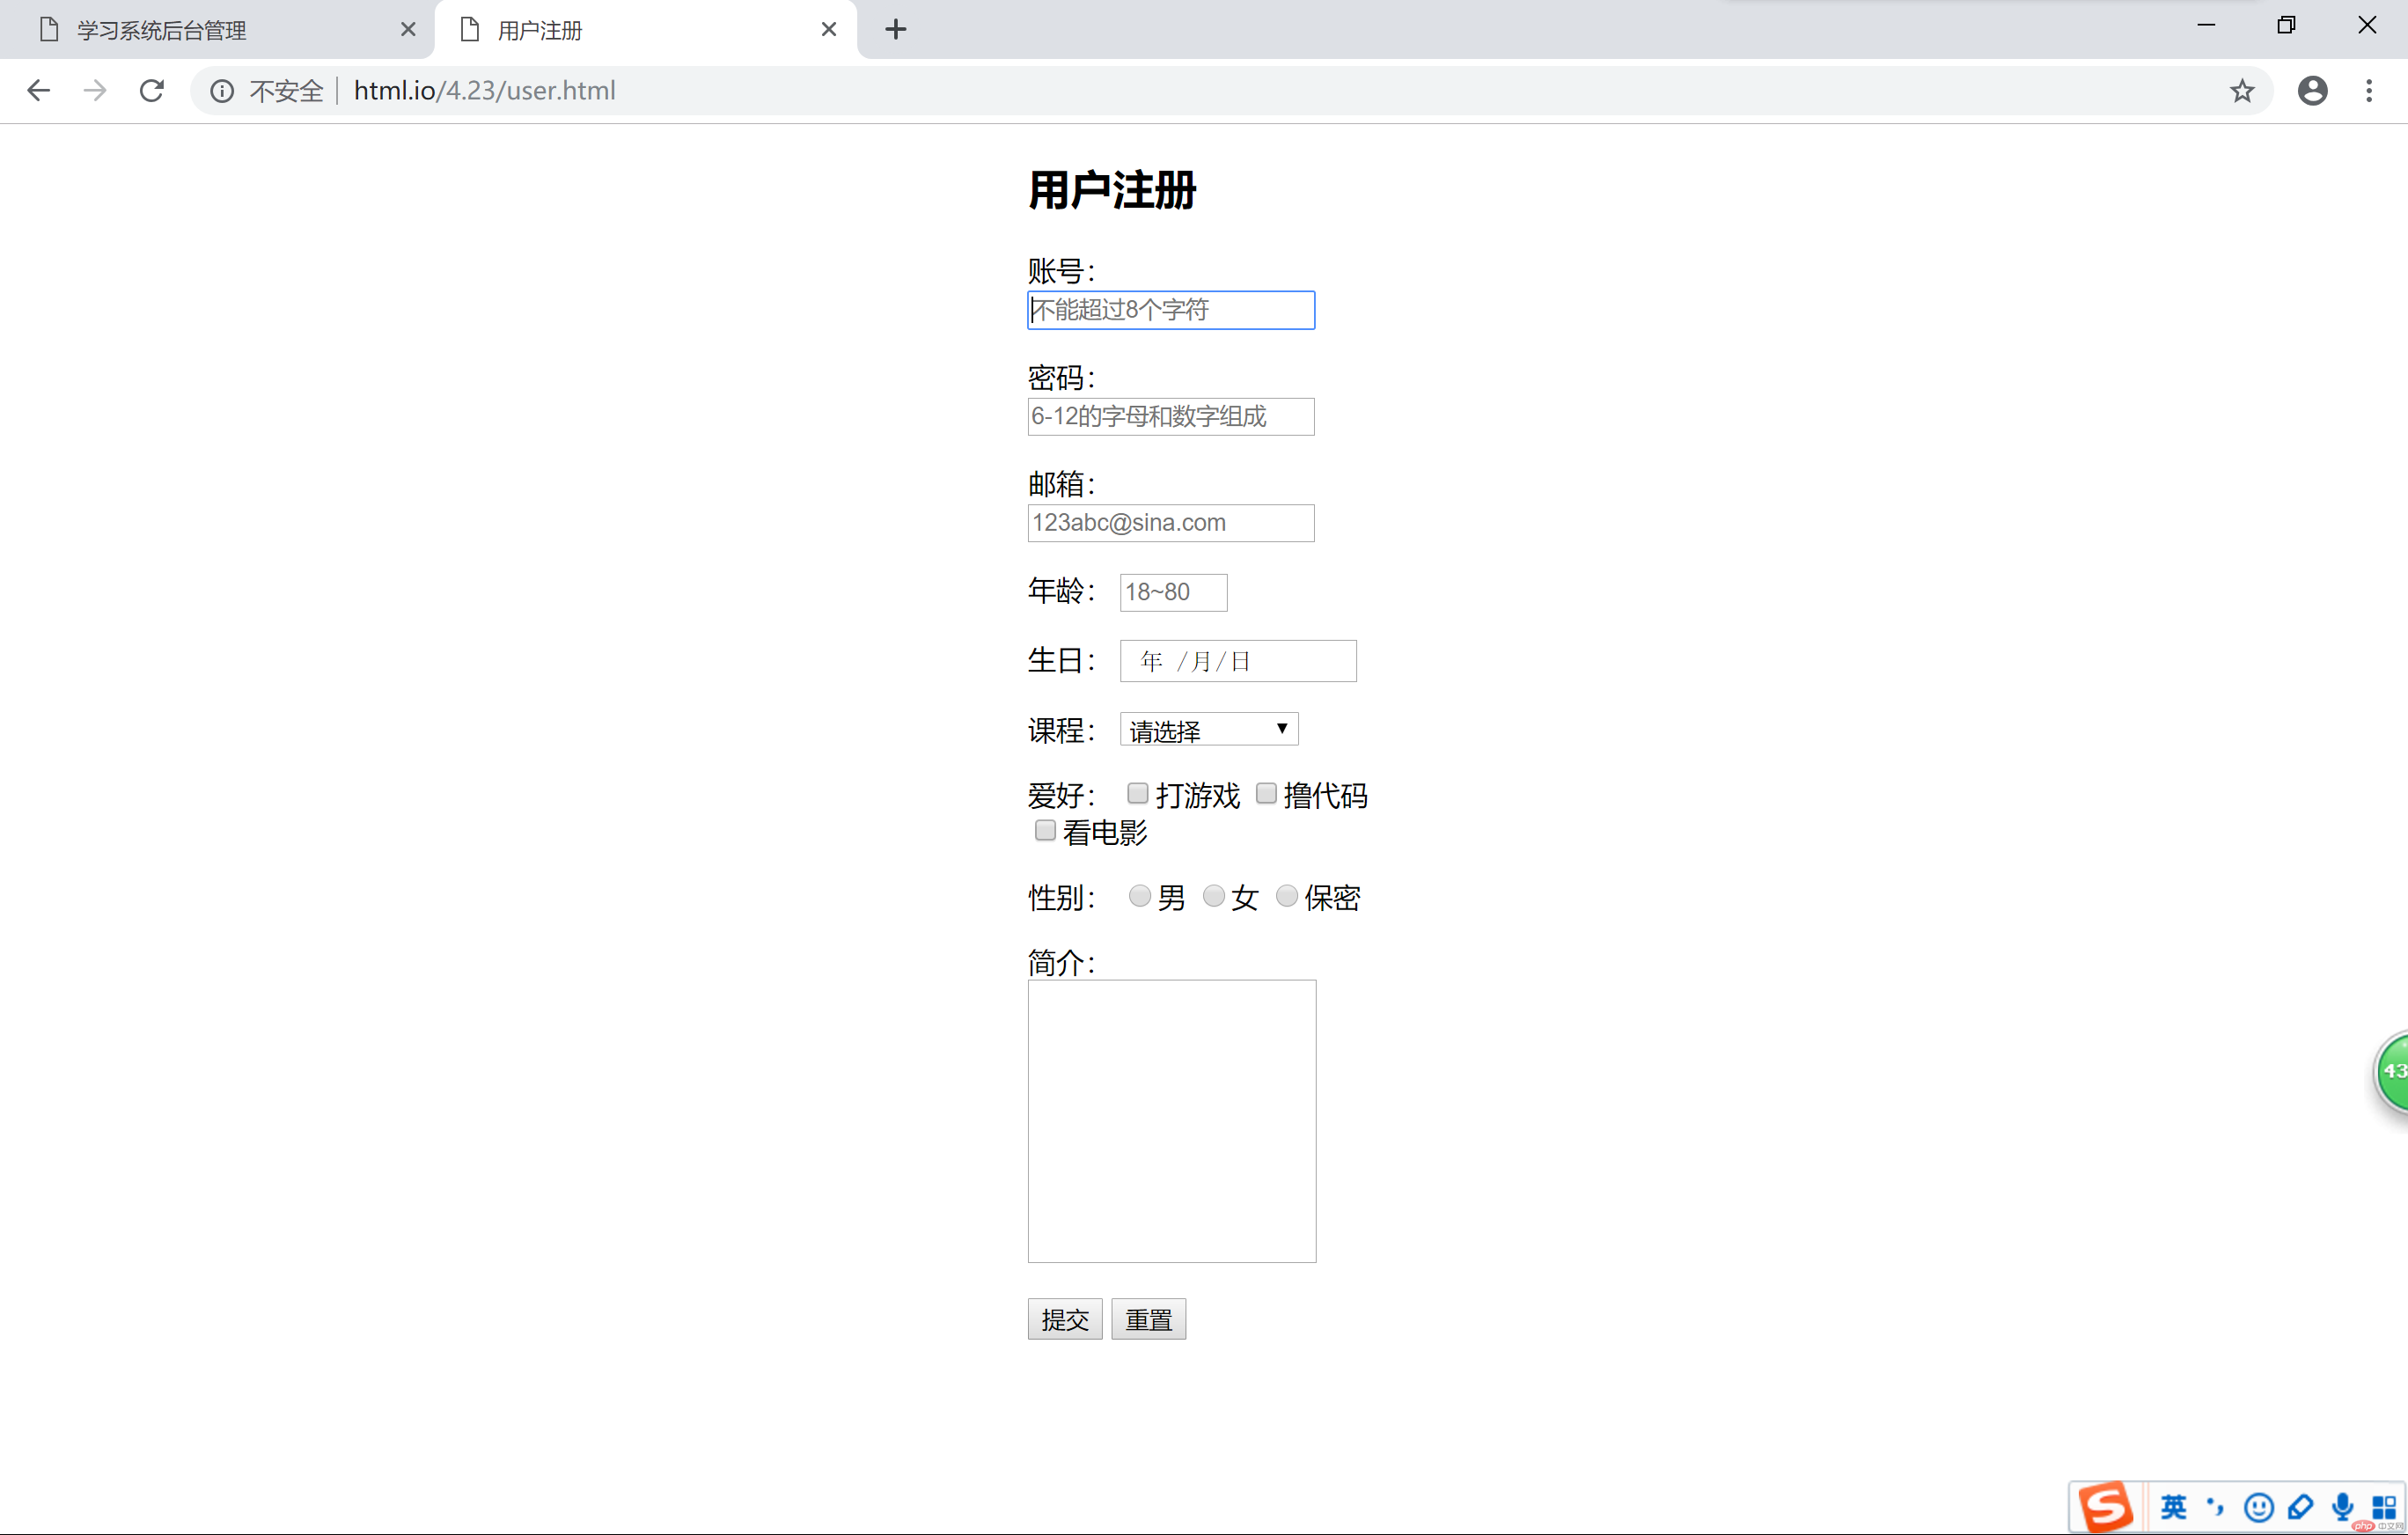 利用<div>定义宽高和边缘为0实现网页主体部分居中;利用<required>设置提交前,除了爱好和性别外的资料全部都需要填写才能提交,按钮用的是<button>标签来定义。
利用标签<iframe>实现一个简易的后台管理
实例
<!DOCTYPE html>
<html>
<head>
    <meta charset="utf-8">
	<title>学习系统后台管理</title>
</head>
<body>
<h2>学习系统后台管理</h2>
<ul style="float: left;">
    <li><a href="index.html" target="main">用户管理</a></li>
    <li><a href="form.html" target="main">分类管理</a></li>
    <li><a href="user.html" target="main">商品管理</a></li>
    <li><a href="image.html" target="_blank">系统设置</a></li>
</ul>

<iframe srcdoc="<h3>网站管理后台</h3>" frameborder="1" width="800" height="500" style="float: left" name="main"></iframe>

</body>
</html>
运行实例 »
点击 "运行实例" 按钮查看在线实例
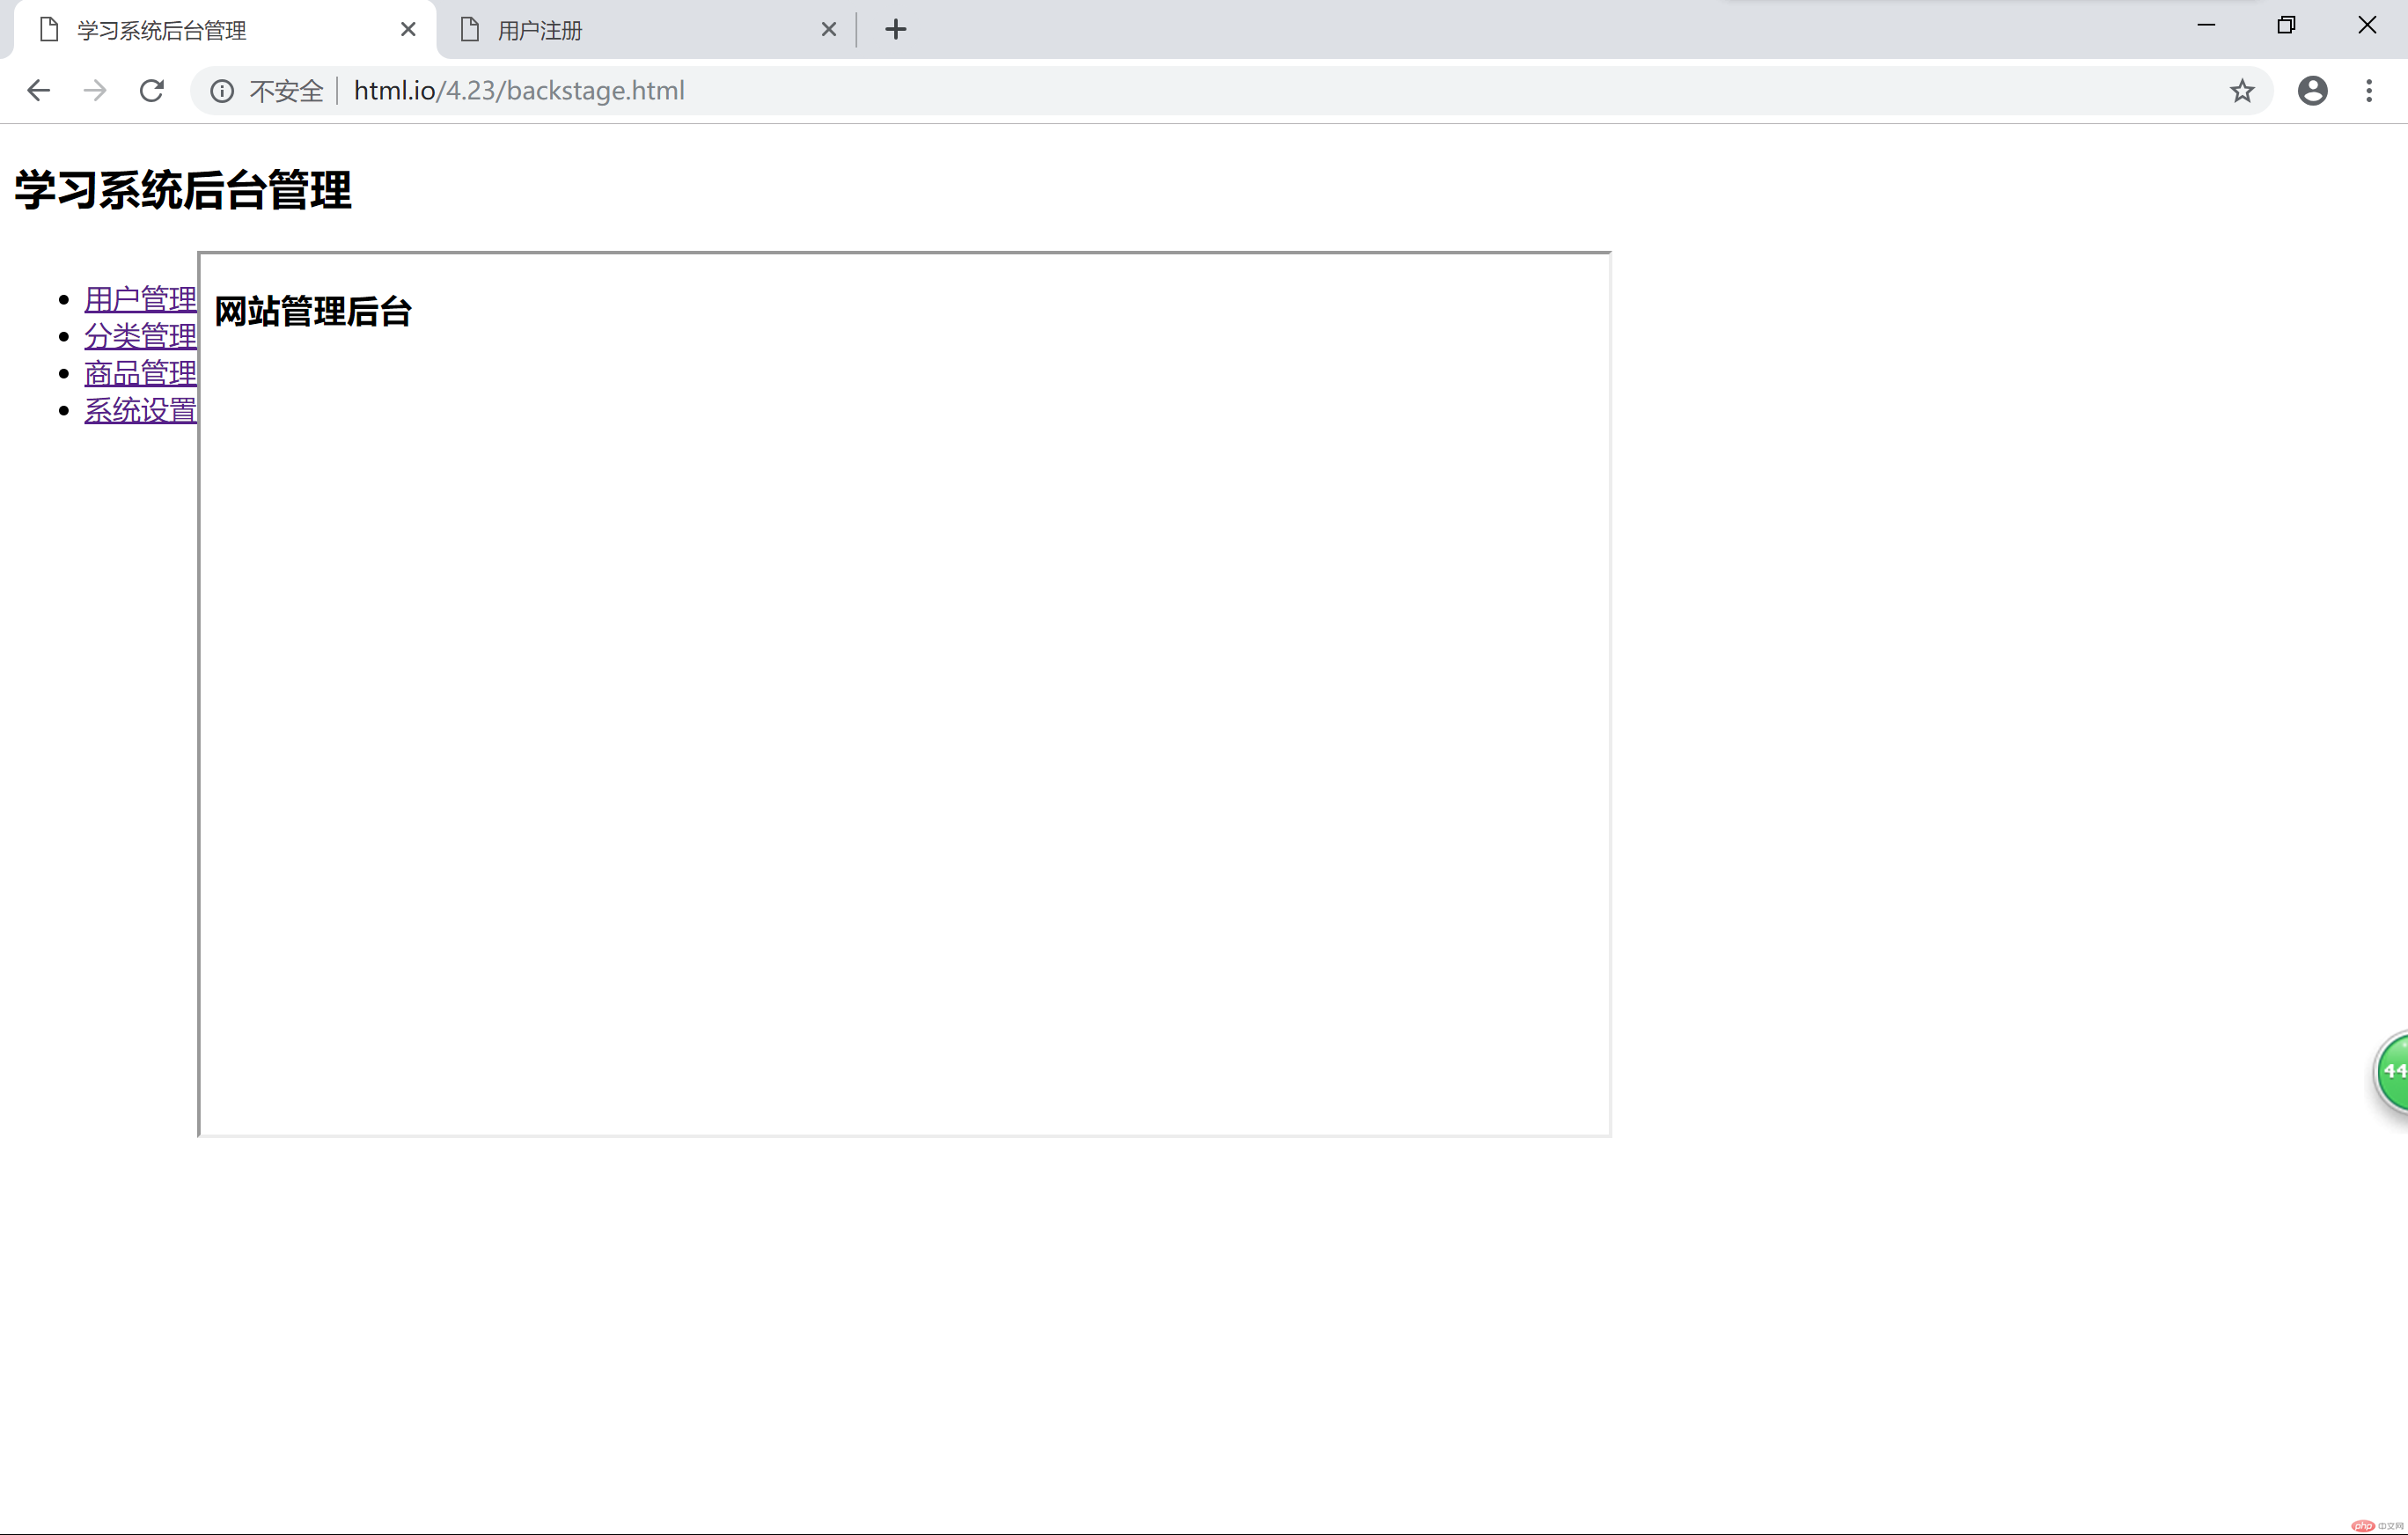 这是访问后台管理页面的主页显示。
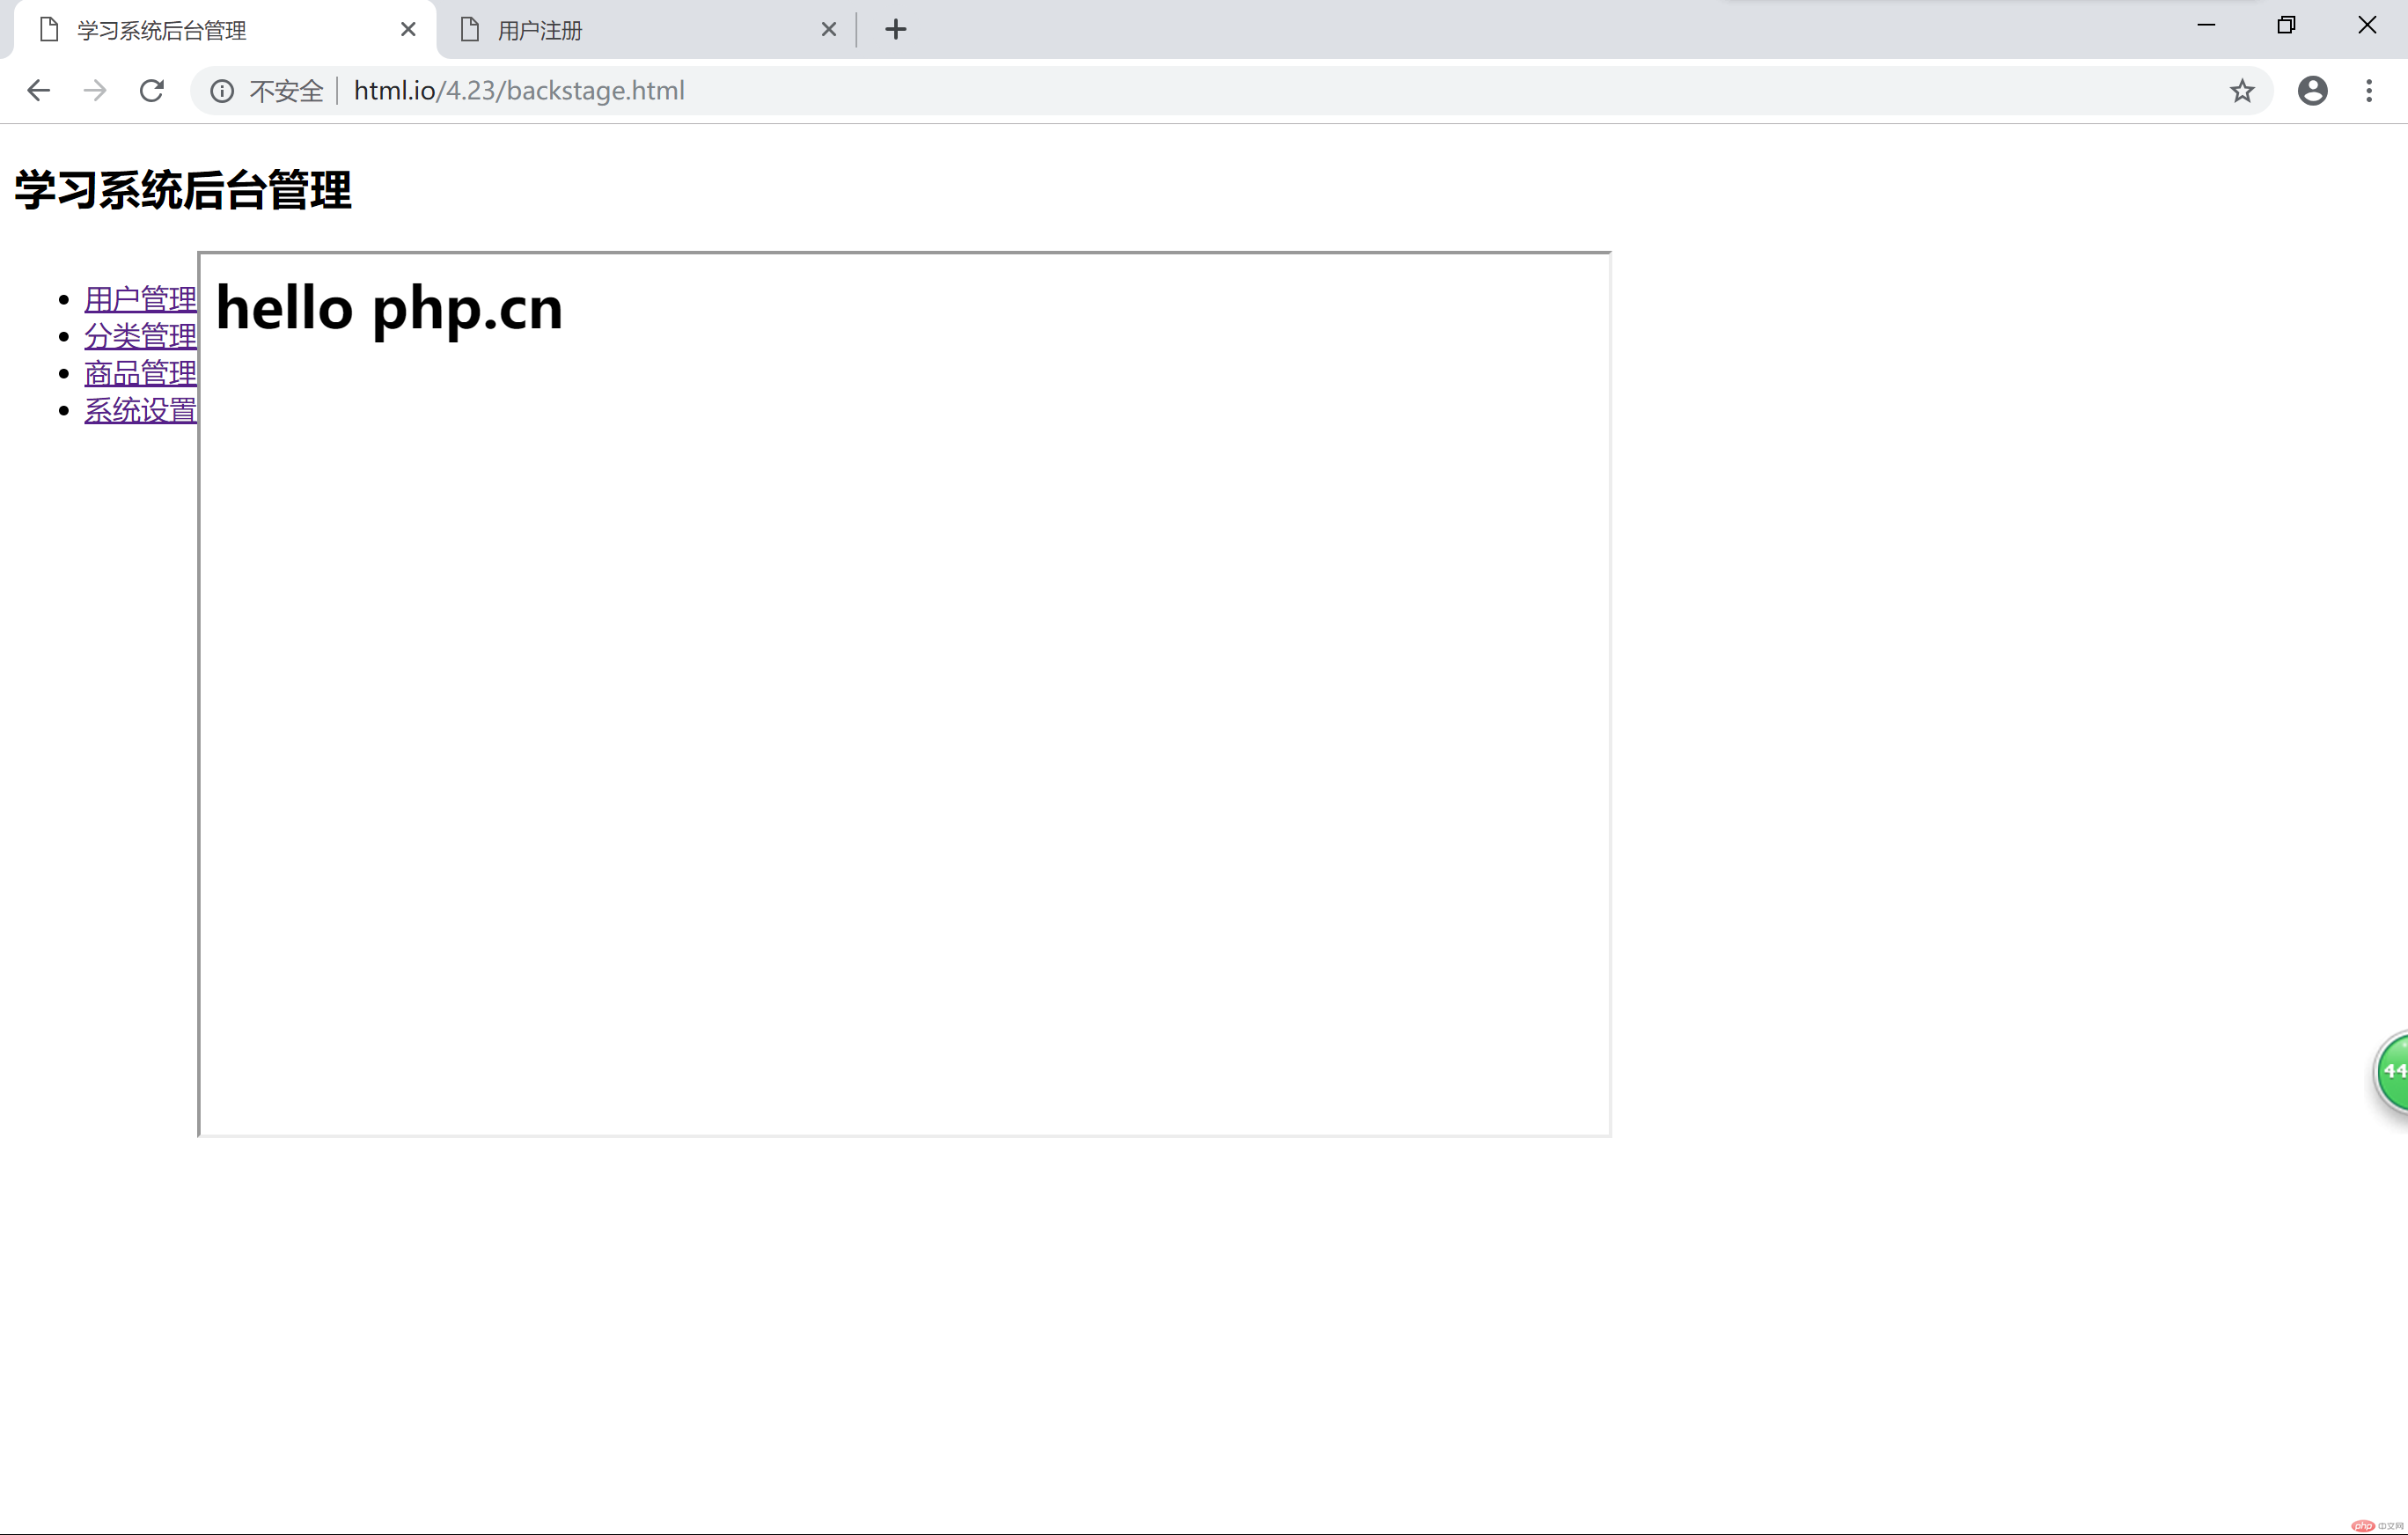 这是按下左边用户管理链接显示出的界面
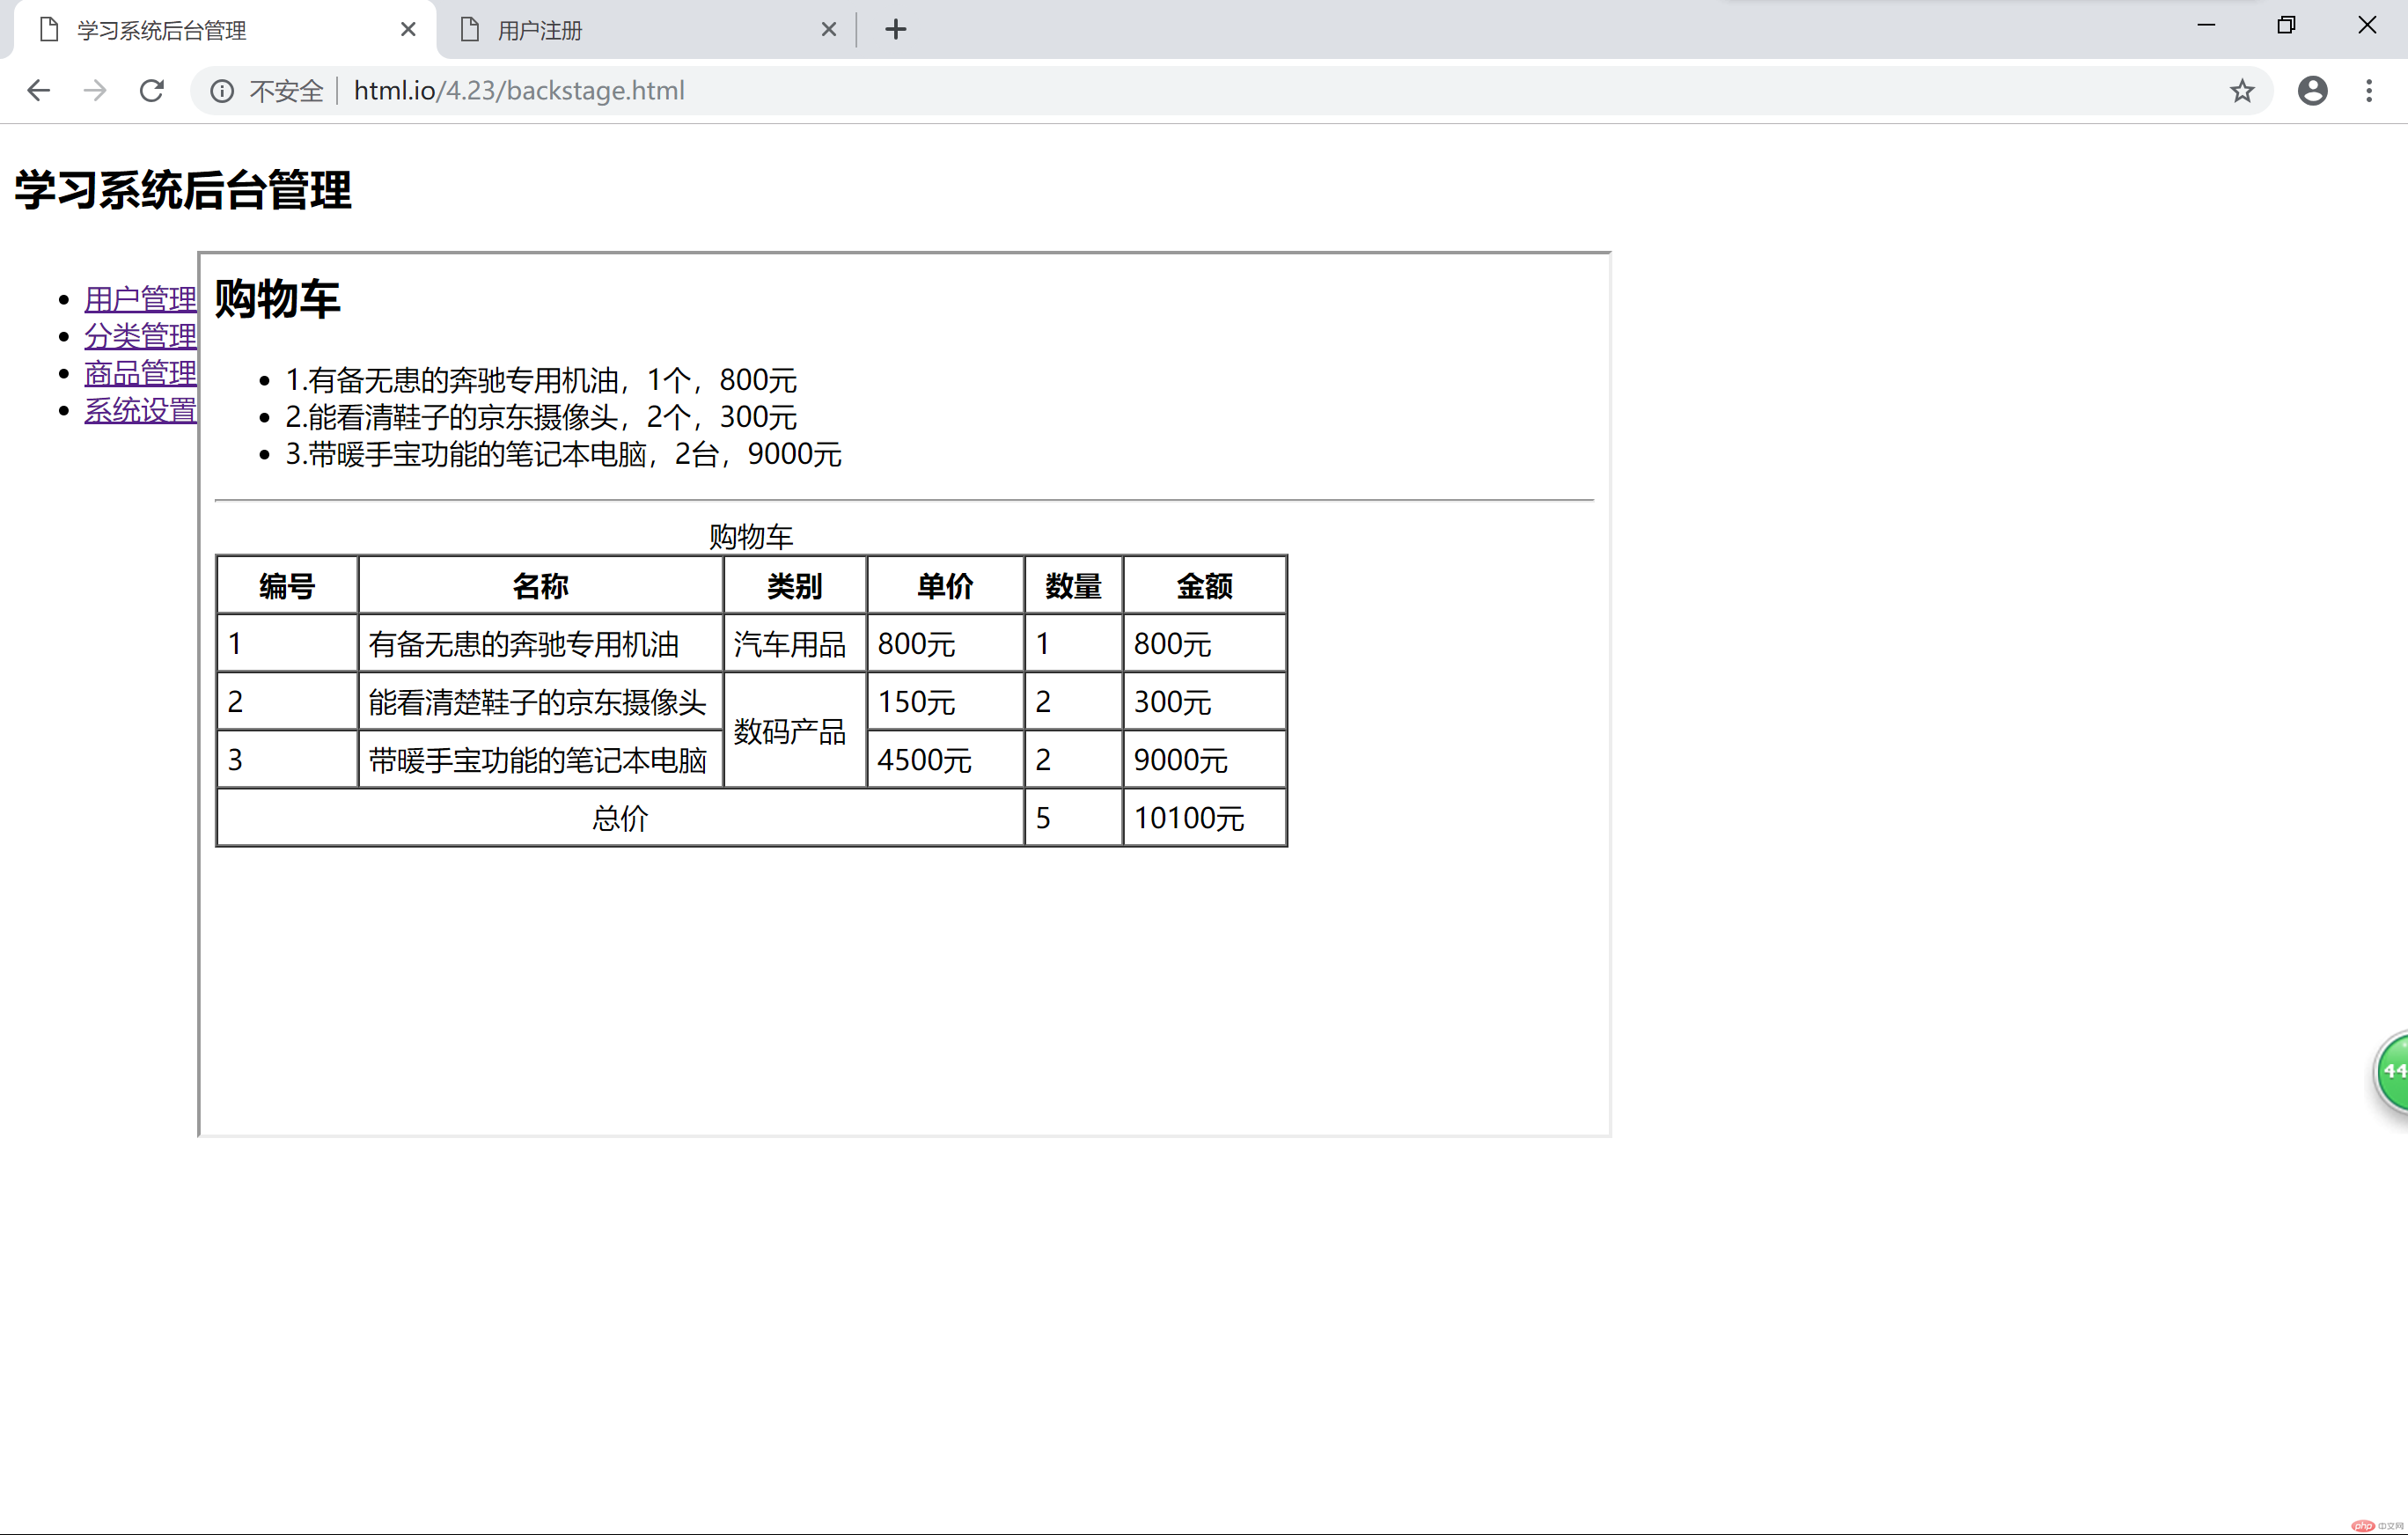 这是按下左边分类管理链接后的界面。
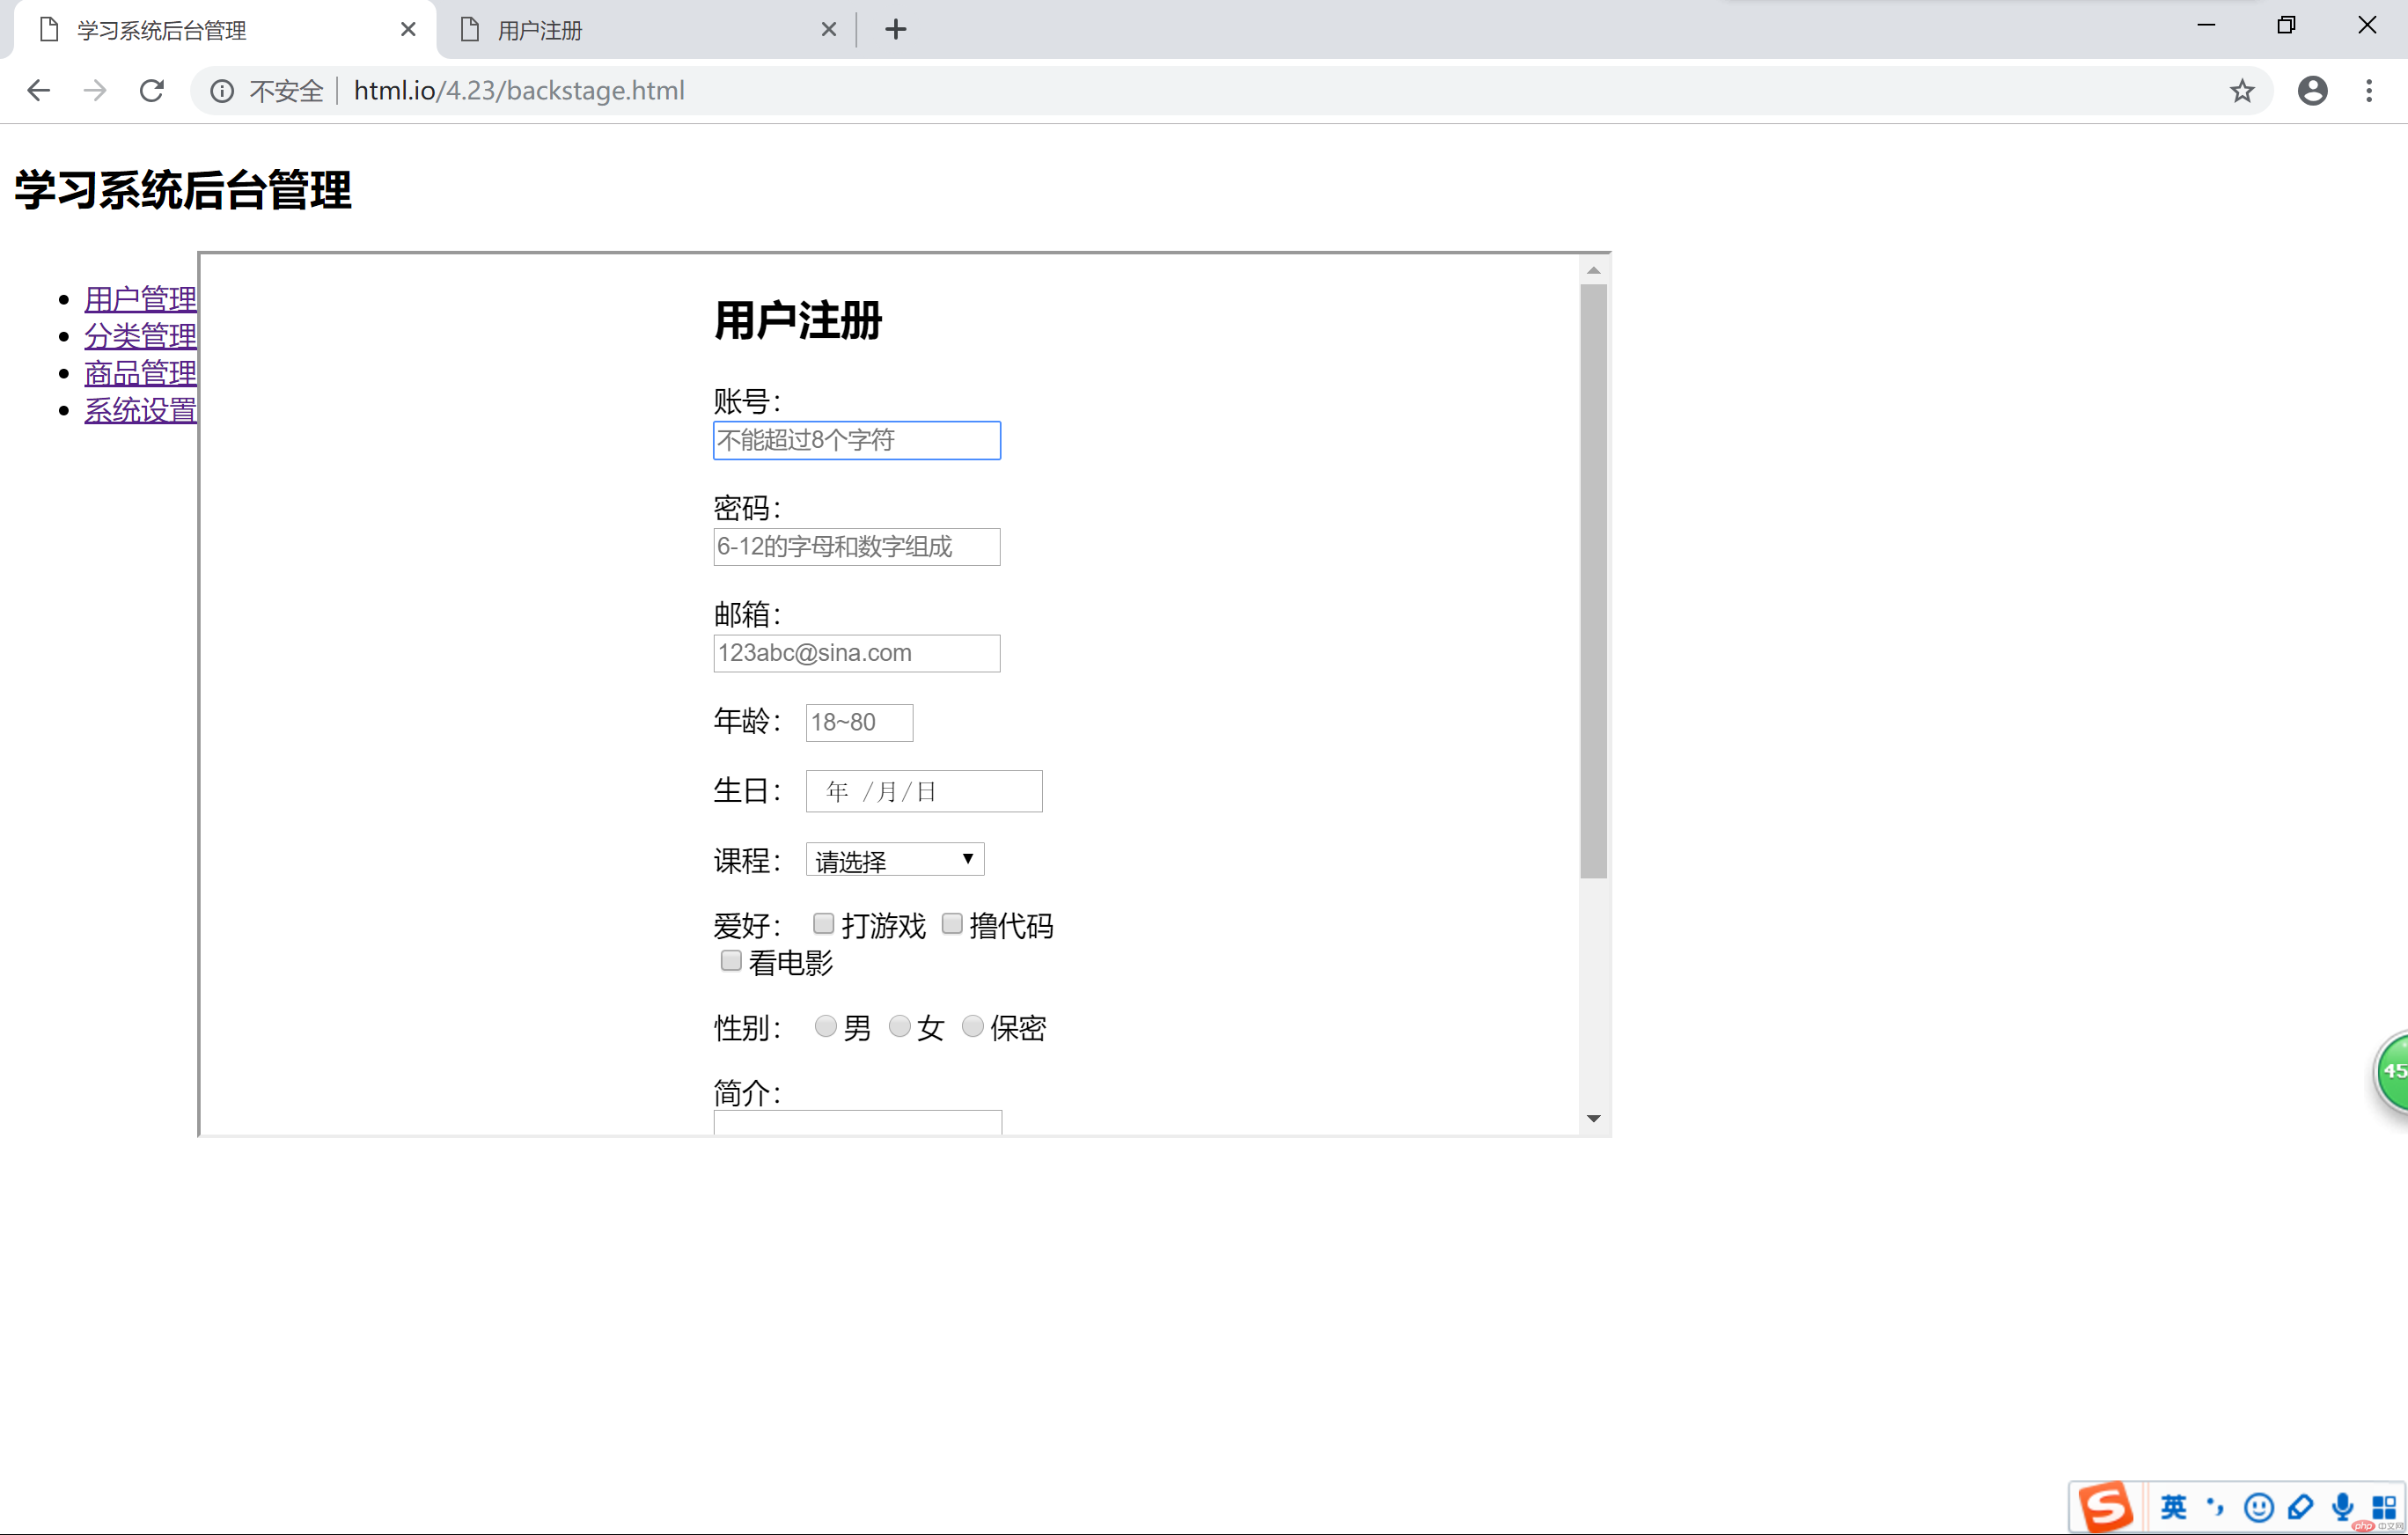 这是按下左边商品管理链接后的界面。
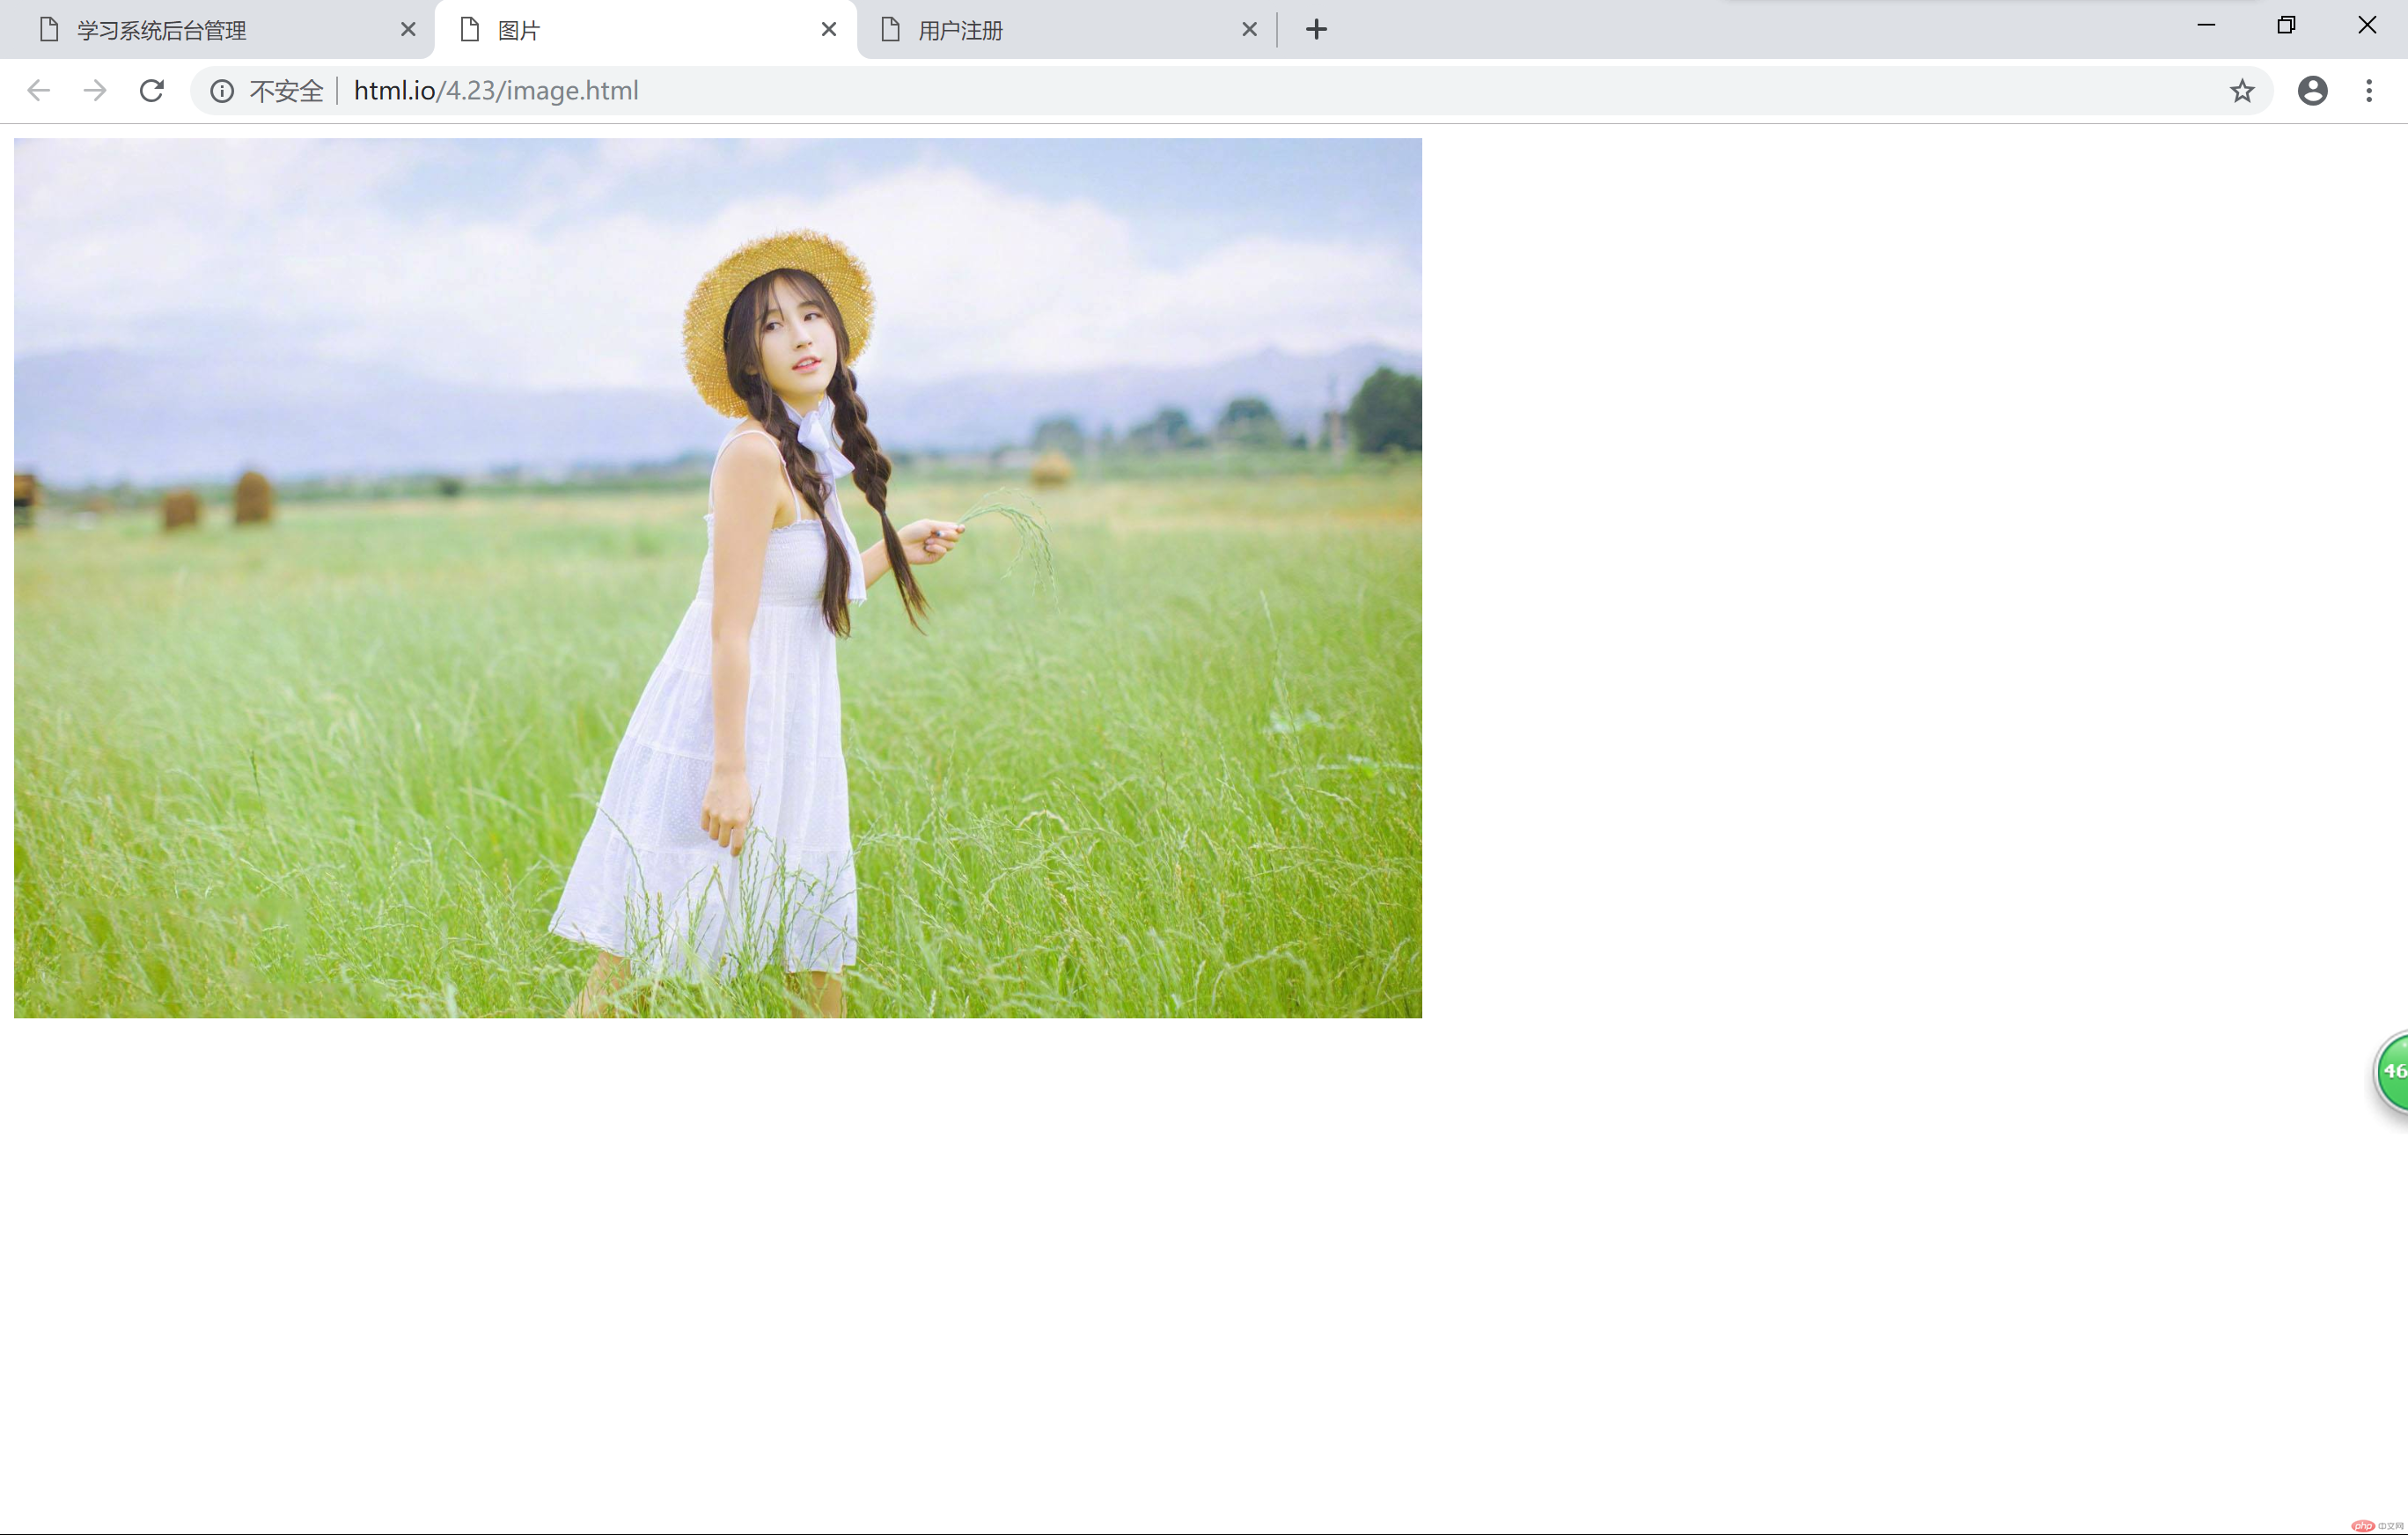 这是按下左边系统设置链接后,在新建窗口中显示的界面。