1. 伪类选择器
根据元素的位置或状态来匹配子元素
1.1 结构伪类
与上下文选择器很相似
后文演示所用 HTML 代码如下:
<!DOCTYPE html><html lang="zh-CN"><head><meta charset="UTF-8" /><meta http-equiv="X-UA-Compatible" content="IE=edge" /><meta name="viewport" content="width=device-width, initial-scale=1.0" /><title>伪类展示</title><link rel="stylesheet" href="rest.css" /><style>/* 此处填充 演示代码 */</style></head><body><ul class="list"><li class="item">item1</li><li class="item">item2</li><li class="item">item3</li><li class="item">item4</li><li class="item">item5</li><li class="item">item6</li><li class="item">item7</li><li class="item">item8</li><li class="item">item9</li></ul></body></html>
1. :nth-child(an+b):获取任意位置的元素
- 参数说明
- a: 系数,[0,1,2,3,…]
- n: 参数, [0,1,2,3,…]
- b: 偏移量, 从 0 开始
规则: 计算出来的索引,必须是有效的(从 1 开始)
例子 1:匹配父元素中的第 n 个子元素,元素类型没有限制。n 可以是一个数字,一个关键字,或者一个公式。
- 代码如下:
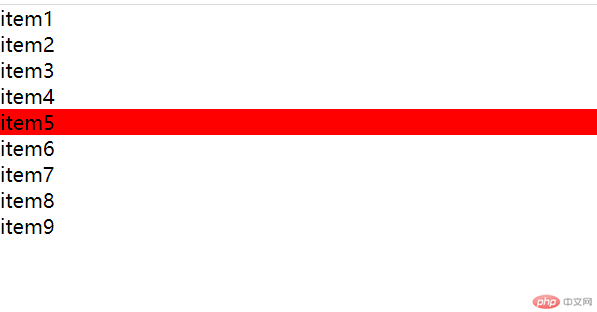
.list > .item:nth-child(5) {background-color: red;}
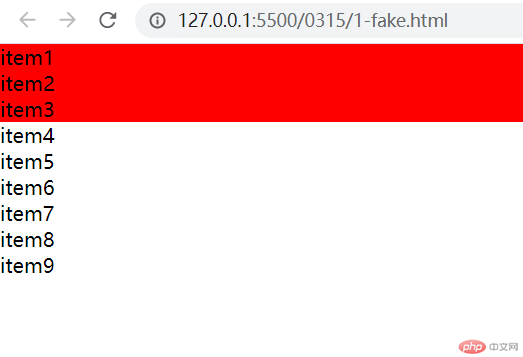
.list > .item:nth-child(-n + 3) {background-color: red;}
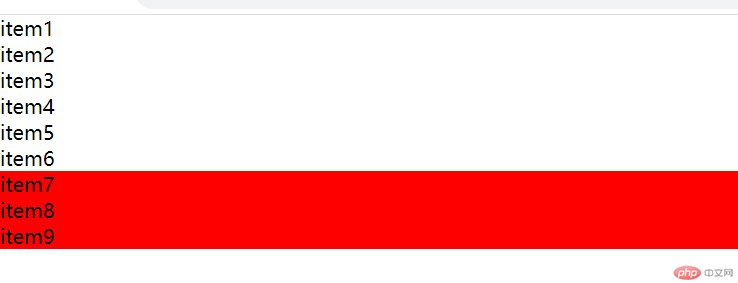
.list > .item:nth-last-child(-n + 3) {background-color: red;}
.list > .item:nth-child(2n + 1) {background-color: red;}
.list > .item:nth-child(2n - 1) {background-color: red;}
可使用参数(odd)进行选择,更加方便快捷明了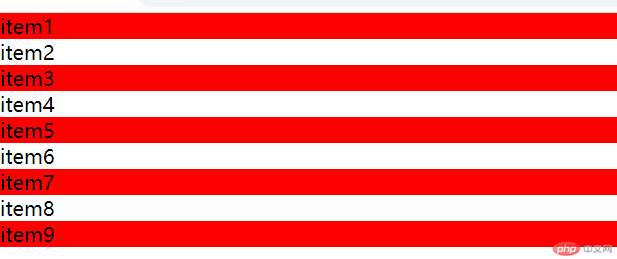
.list > .item:nth-child(odd) {background-color: red;}
- 运行效果
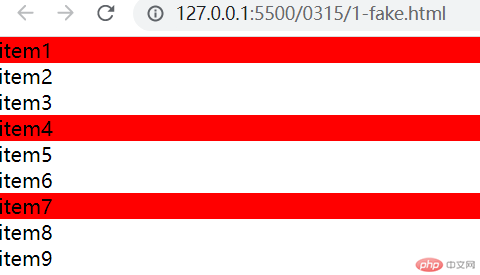
例子 5:选择列表的偶数项,可用参数(even)或(2n)
- 代码如下:
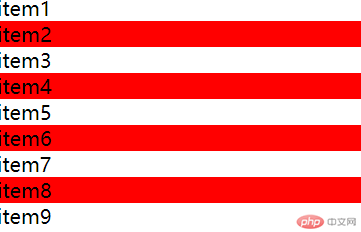
.list > .item:nth-child(even) {background-color: red;}
.list > .item:nth-child(2n) {background-color: red;}
.list > .item:nth-child(3n + 1) {background-color: red;}
- 运行效果
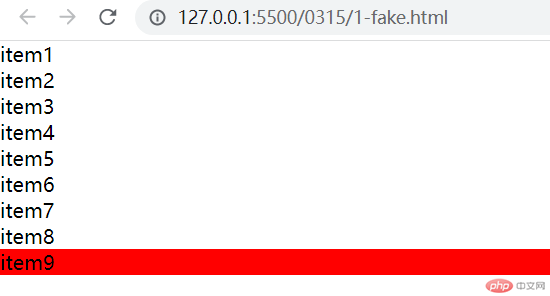
:first-child:选中父元素下的第一个子元素
- 代码如下:
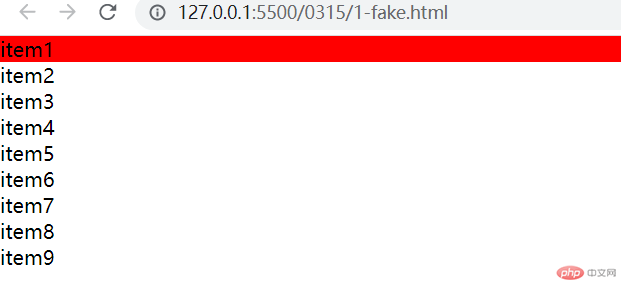
.list > .item:first-child {background-color: red;}
- 运行效果
:last-child:选中父元素下的最后一个子元素
- 代码如下:
.list > .item:last-child {background-color: red;}
<!DOCTYPE html><html lang="zh-CN"><head><meta charset="UTF-8" /><meta http-equiv="X-UA-Compatible" content="IE=edge" /><meta name="viewport" content="width=device-width, initial-scale=1.0" /><title>状态伪类</title><link rel="stylesheet" href="form.css" /><link rel="stylesheet" href="fake-status.css" /></head><body><form action=""><fieldset class="login"><legend class="title">用户登录</legend><label for="uname">呢称:</label><input type="text" name="uname" autofocus required /><label for="email">邮箱:</label><input type="email" name="email" required /><label for="tel">电话:</label><input type="tel" name="tel" /><div class="remember"><input type="checkbox" name="remember" id="rem" /><label for="rem">记住我</label></div><button class="submit">提交</button></fieldset></form></body></html>
- 代码中
form.css为样式代码,fake-status.css为实例操作代码,样式代码如下:
.login {display: inline-grid;grid: auto-flow / 3em 1fr;gap: 10px 0;padding: 1em;}.login input {border: none;border-bottom: thin solid #666;}.login .title {text-align: center;}.login .btn,.login .remember {grid-column: 2;height: 2.2em;}.btn .submit,.btn .reset {width: 40%;height: 2.2em;}
链接,表单
:hover: 鼠标悬停
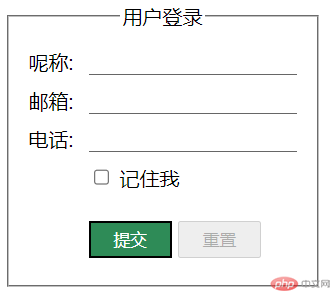
- 代码举例,鼠标悬停在提交按钮上,改变按钮颜色,鼠标变为小手型。
.login > .submit:hover {cursor: pointer;background-color: seagreen;color: white;}
- 运行效果
:enabled: 有效控件
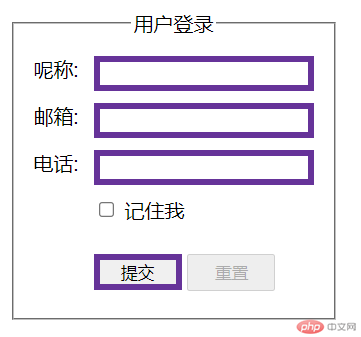
- 代码举例,改变
.login下所有有效控件的边框
.login :enabled {border: solid 5px rebeccapurple;}
- 运行效果
-
:disabled: 禁用控件
- 代码举例,改变
.login下禁用控件的样式。
.login :disabled {background-color: aqua;color: cadetblue;border-color: antiquewhite;}
- 运行效果
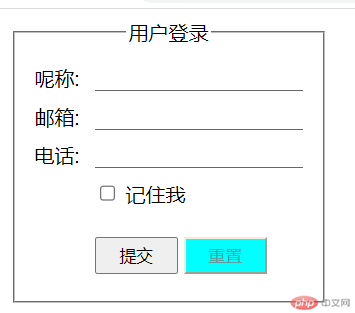
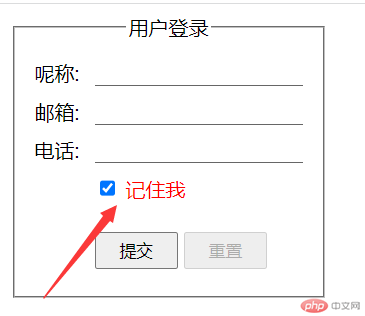
:checked: 选中控件
- 代码举例,复选框选中时将标签的文本描红
.login :checked + label {color: red;}
- 运行效果
:required: 必选控件
- 代码举例,改变表单中,所有具有必填属性元素的背景颜色。
.login :required {background-color: yellow;}
-运行效果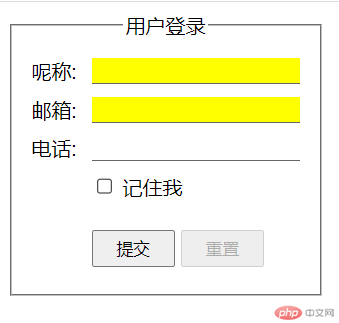
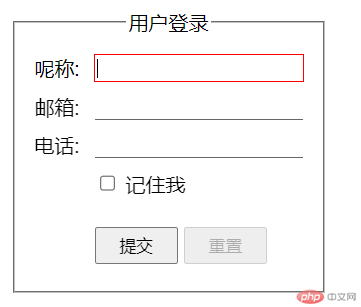
:focus: 焦点控件
- 代码举例,输入框获取焦点后,边框变为红色。
.login :focus {outline: 1px solid red;border-bottom: none;}
- 运行效果
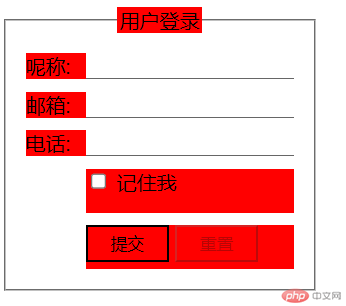
:not(): 过滤掉某些元素
- 代码举例,改变
.login下非input元素的背景颜色。
.login :not(input) {background-color: red;}
- 运行效果
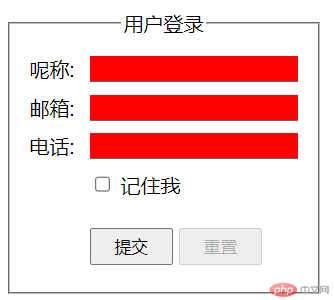
:empty: 选择页面中为空的元素
- 代码举例,将表单中,没有内容的元素,用红色标出。
.login :empty {background-color: red;}
- 运行效果
关于更多伪类知识请查询 MDN
2. 选择器优先级权重
优先级就是分配给指定的 CSS 声明的一个权重,它由 匹配的选择器中的 每一种选择器类型的 数值 决定。
而当优先级与多个 CSS 声明中任意一个声明的优先级相等的时候,CSS 中最后的那个声明将会被应用到元素上。
当同一个元素有多个声明的时候,优先级才会有意义。因为每一个直接作用于元素的 CSS 规则总是会接管/覆盖(take over)该元素从祖先元素继承而来的规则。
- 原子选择器: tag,class,id
- 原子选择器权重: tag(1),class(10),id(100)
可简单理解为: 标签是个位, class 是十位, id 是百位
- 权重示例:
<div class="demo" id="test"><span class="text" id="title">爱你直到永远!</span></div>
/* 权重100 */#title {color: green;}/* 权重010无法覆盖绿色值 */.text {color: red;}/* 权重110,可以覆盖绿色值! */#title.text {color: yellow;}/* 权重020无法覆盖绿色值 */.demo > .text {color: aqua;}/* 权重224,为span元素的顶级权重 */html > body > div#test.demo > span#title.text {color: brown;}
3. 盒模型
3.1 一切皆”盒子”
- 盒子是页面中可见的”矩形区域”
- 一个网站由多个盒子布局构成。
3.2 五大属性
width: 宽height: 高padding: 内边距border: 边框margin: 外边距
- 可见属性
- 可设置
width,style,color
- 举例代码
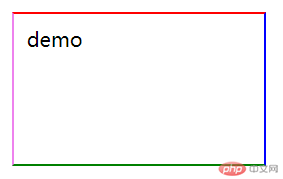
<div class="test"><span>demo</span></div>
.test {width: 180px;height: 100px;/* 为每条边框设置不同的颜色 */border-top-width: 2px;border-top-style: solid;border-top-color: red;border-top: 2px solid red;border-right: 2px solid blue;border-bottom: 2px solid green;border-left: 2px solid violet;/* 四条边框相同,可简写 *//* border: 2px solid red; */}
- 不可见属性
- 仅可设置:
width - 大多数内置元素都有默认
padding/margin - 建议全部重置为 0,以方便自定义布局
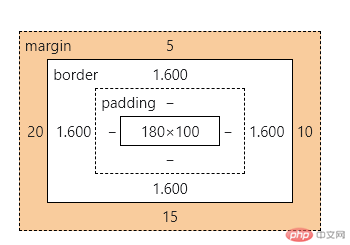
- 若为元素设置四个值的外边距,应当遵循 上、右、下、左,顺时针顺序原则。例如:
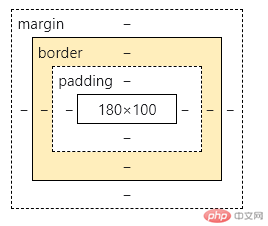
.test {width: 180px;height: 100px;/* 为每条边框设置不同的颜色 */border-top-width: 2px;border-top-style: solid;border-top-color: red;border-top: 2px solid red;border-right: 2px solid blue;border-bottom: 2px solid green;border-left: 2px solid violet;/* 四条边框相同,可简写 *//* border: 2px solid red; */margin: 5px 10px 15px 20px;}
- 边距查看
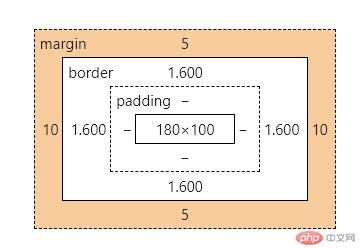
两个值的边距设置,第一个为上下,第二个为左右。例如:
margin: 5px 10px;边距查看
- 三个值,顺序为 第一个值为上,第二个值为左右,第三个值为下。例如:
margin: 5px 10px 30px; - 边距查看
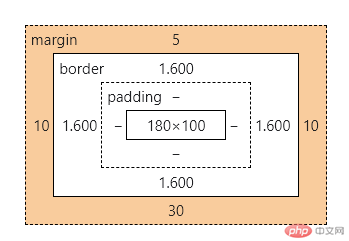
内边距设置同样如此,在二值和三值的情况下,左右永远在第二个位置。
width,height
- 默认不包含
padding,border
.test {width: 180px;height: 100px;}
box-sizing: 设置盒模型计算边界content-box: 默认值,仅包括内容区- 测试:
.test {width: 180px;height: 100px;margin: 5px;padding: 5px;border: solid 2px red;}
- 结论
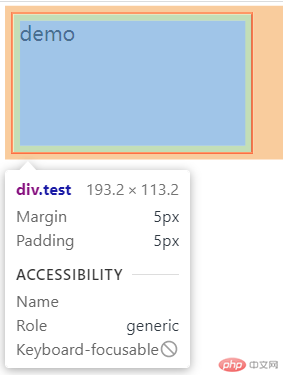
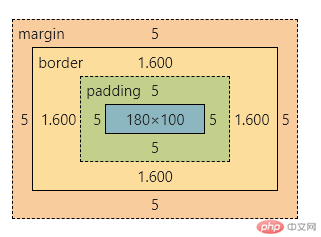
此模式下,盒子大小改变,宽高超出范围不利于计算。
border-box: 推荐值,宽高扩展到可视边框- 测试:
.test {width: 180px;height: 100px;margin: 5px;padding: 5px;border: solid 2px red;box-sizing: border-box;}
- 结论
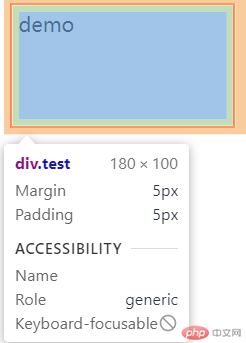
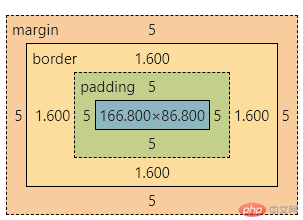
此模式下,边距往内扩展,盒子大小不变。
* {margin: 0;padding: 0;box-sizing: border-box;}


