一、JSON与JS的转换
JSON的特点:
1. 通用,轻量, 利于交互和传输2. 独立于语言,主流语言都提供了与 json 的编程接口3. json 本质上就是一个格式化字符串4. 类型: `number`,`string`,`boolean`,`null`,`array`,`object`5. 注: 没有 `undefined`
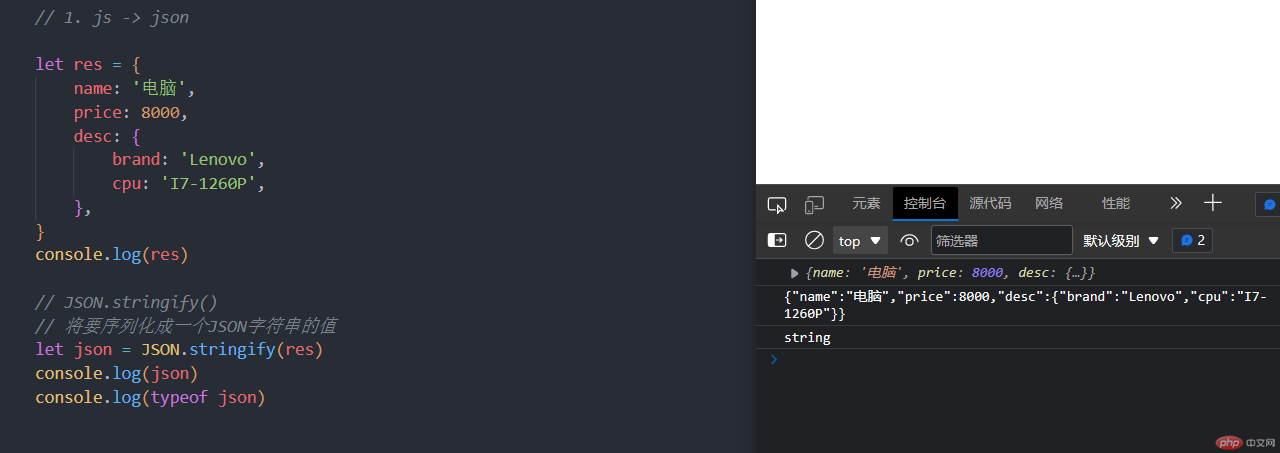
1.1、js -> json
let res = { name: '电脑', price: 8000, desc: { brand: 'Lenovo', cpu: 'I7-1260P', }, } console.log(res) // JSON.stringify() // 将要序列化成一个JSON字符串的值 let json = JSON.stringify(res) console.log(json) console.log(typeof json) // 格式化:(res, null, 4:空格符) json = JSON.stringify(res, null, 4) console.log(json) // 过滤 json = JSON.stringify(res, ['name', 'price'], 4) console.log(json)

1.2、json -> js
json = ` { "course" : "PHP", "score" : 90, "content" : ["HTML","CSS","JavaScript"] } ` // JSON.parse(): // JSON格式字符串转换为js对象(属性名没有双引号) obj = JSON.parse(json) console.log(obj) console.log(typeof obj)
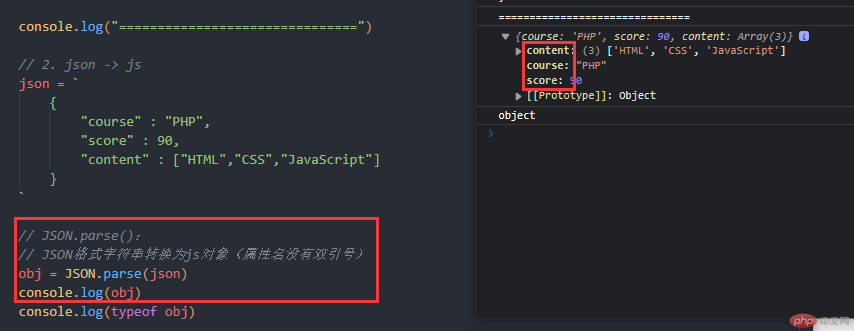
// 渲染 let str = ` <ul> <li>课程:${obj.course}</li> <li>分数:${obj.score}</li> <li>科目:${obj.content}</li> </ul> ` document.body.innerHTML = str

二、JSONP跨域
CORS1. CORS: 跨域资源共享(Cross-origin Resource Sharing)2. 突破了浏览器同源访问的安全策略方案1. JSONP: `JSON with Padding` (用 JSON 填充参数)2. 服务器允许: `Access-Control-Allow-Origin`
2.1、cors-1: jsonp
html文件
<button onclick="getData()">跨域请求</button> <script> // 函数声明 function hello(user){ console.log(user) } // 同源:调用 // http://127.0.0.1:5000 // const user = { name:'吴克', email: 'wk@php.cn'} // hello(user) // jsonp跨域的本质,是利用了一些html标签,天生具有跨域的特征 // jsonp 是利用了<script src>进行跨域 function getData(){ // 动态创建 // 创建script标签 const script = document.createElement('script') // 设置url script.src = 'http://jsonp.edu/cors1.php?fn=hello' document.body.append(script) } </script>
服务器文件:
<?php// jsonp 跨域// 要获取的数据和函数调用语句,全部在要跨域的服务器上创建出来$data = json_encode(['name'=>'如来','email'=>'rl@qq.com']);$fn = $_GET['fn'];echo "$fn($data)";
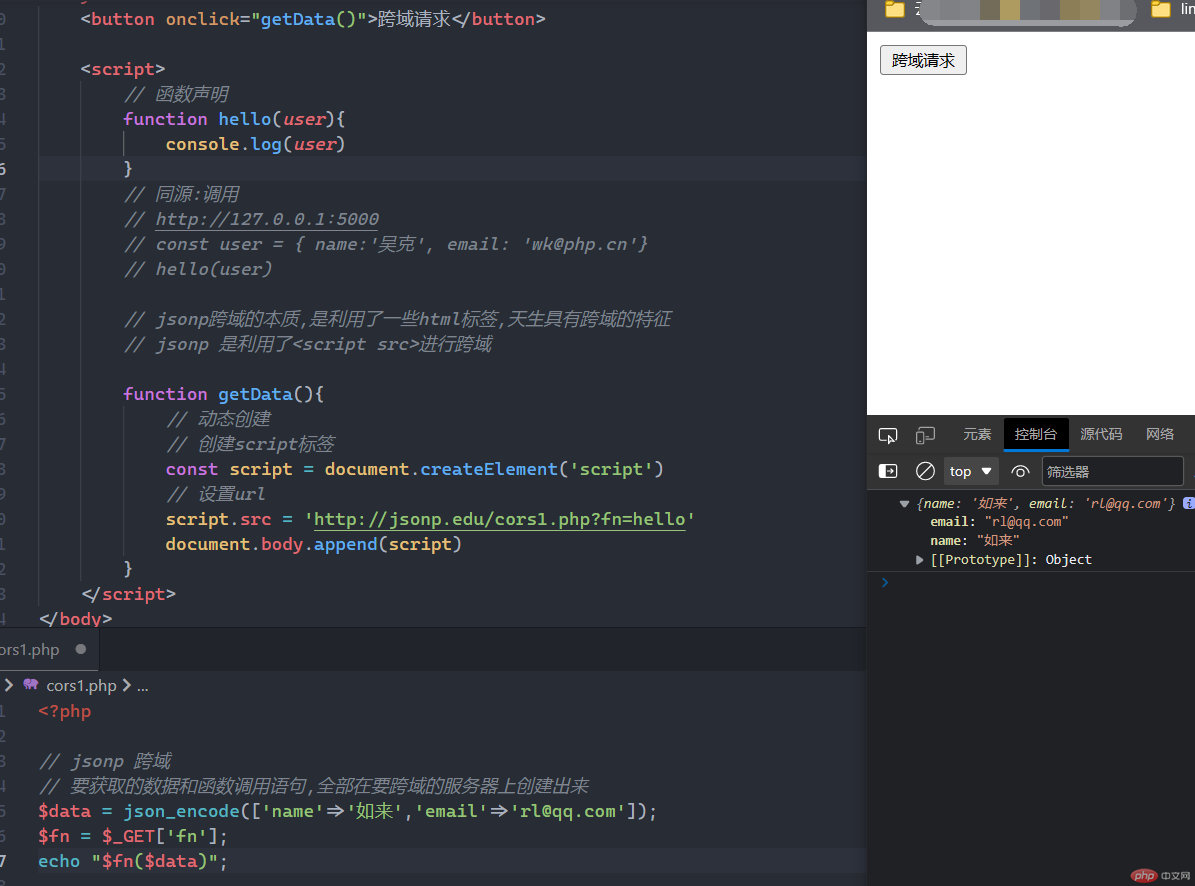
2.2、cors-2: 服务器允许跨域
html文件
<button onclick="getData()">跨域请求</button> <script> function getData() { fetch(`http://jsonp.edu/cors2.php`) .then(res => res.json()) .then(json => console.log(json)) } </script>
服务器文件
<?php// 允许跨域header("Access-Control-Allow-Origin: *");echo json_encode(['name'=>'观音','email'=>'gy@qq.com']);
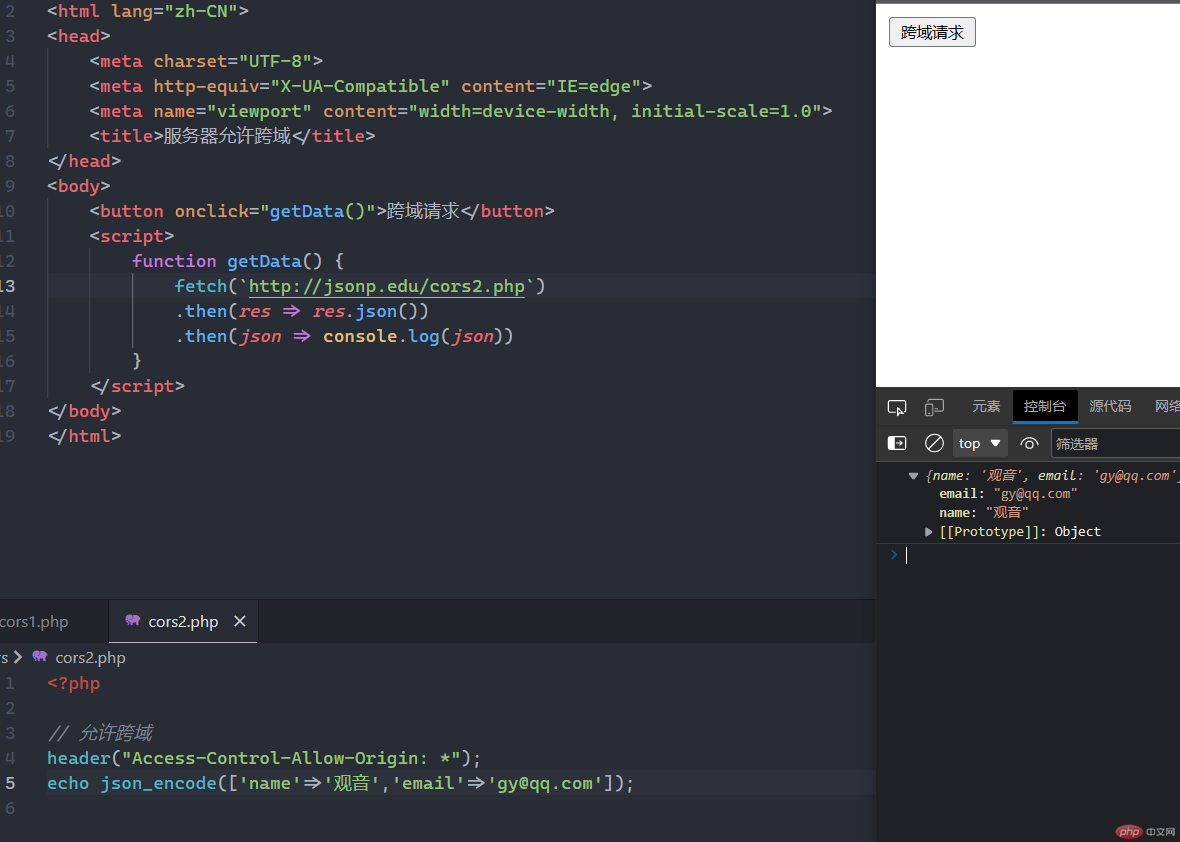
三、xhr/fetch请求与async使用方法
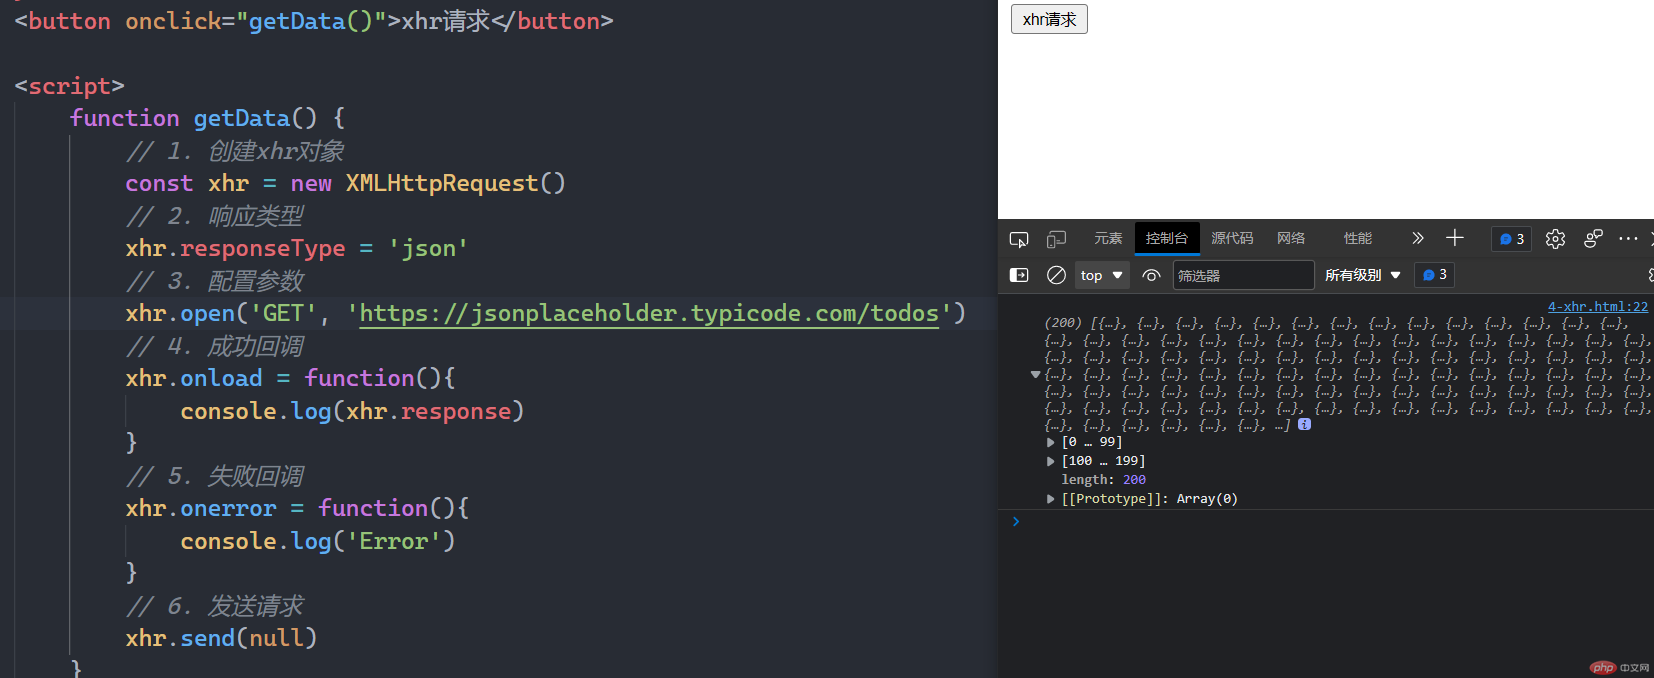
3.1、xhr请求
<button onclick="getData()">xhr请求</button> <script> function getData() { // 1. 创建xhr对象 const xhr = new XMLHttpRequest() // 2. 响应类型 xhr.responseType = 'json' // 3. 配置参数 xhr.open('GET', 'https://jsonplaceholder.typicode.com/todos') // 4. 成功回调 xhr.onload = function(){ console.log(xhr.response) } // 5. 失败回调 xhr.onerror = function(){ console.log('Error') } // 6. 发送请求 xhr.send(null) } </script>
3.2、fetch请求
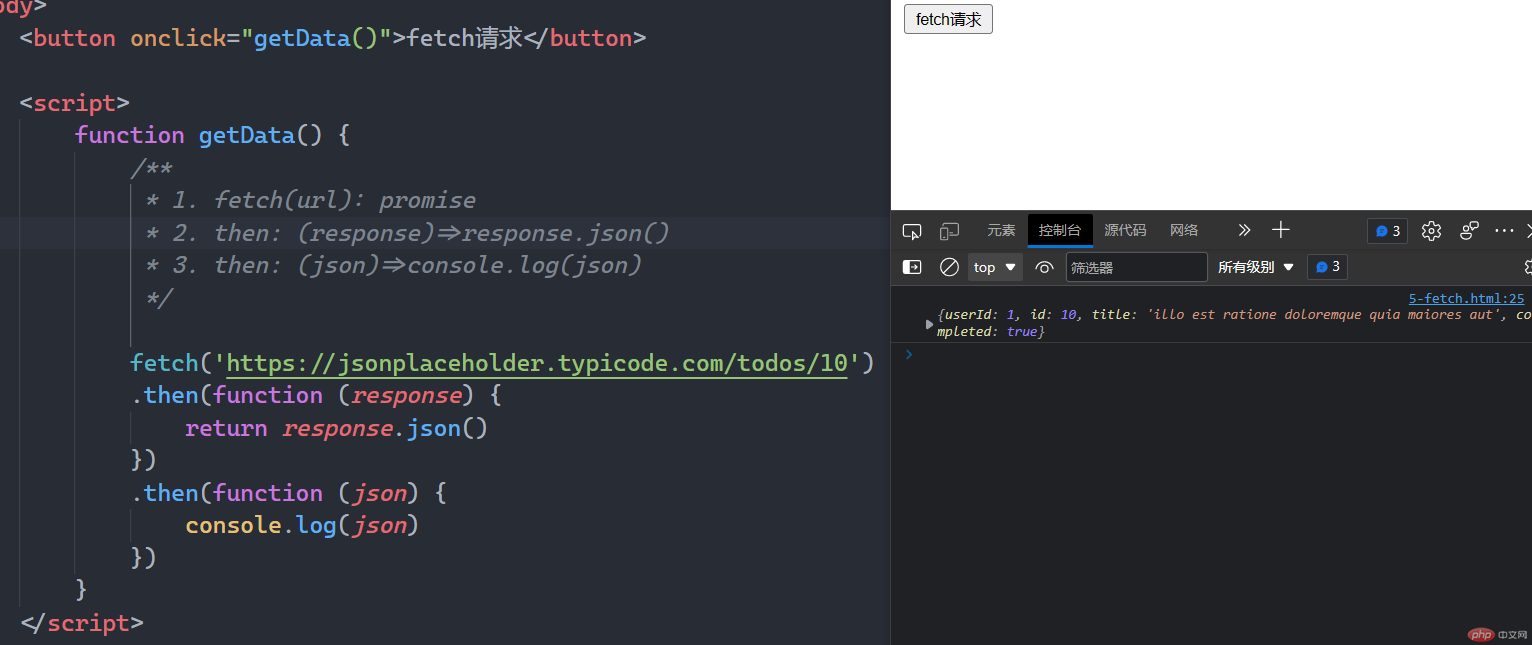
<button onclick="getData()">fetch请求</button> <script> function getData() { /** * 1. fetch(url): promise * 2. then: (response)=>response.json() * 3. then: (json)=>console.log(json) */ fetch('https://jsonplaceholder.typicode.com/todos/10') .then(function (response) { return response.json() }) .then(function (json) { console.log(json) }) } </script>
3.3、async
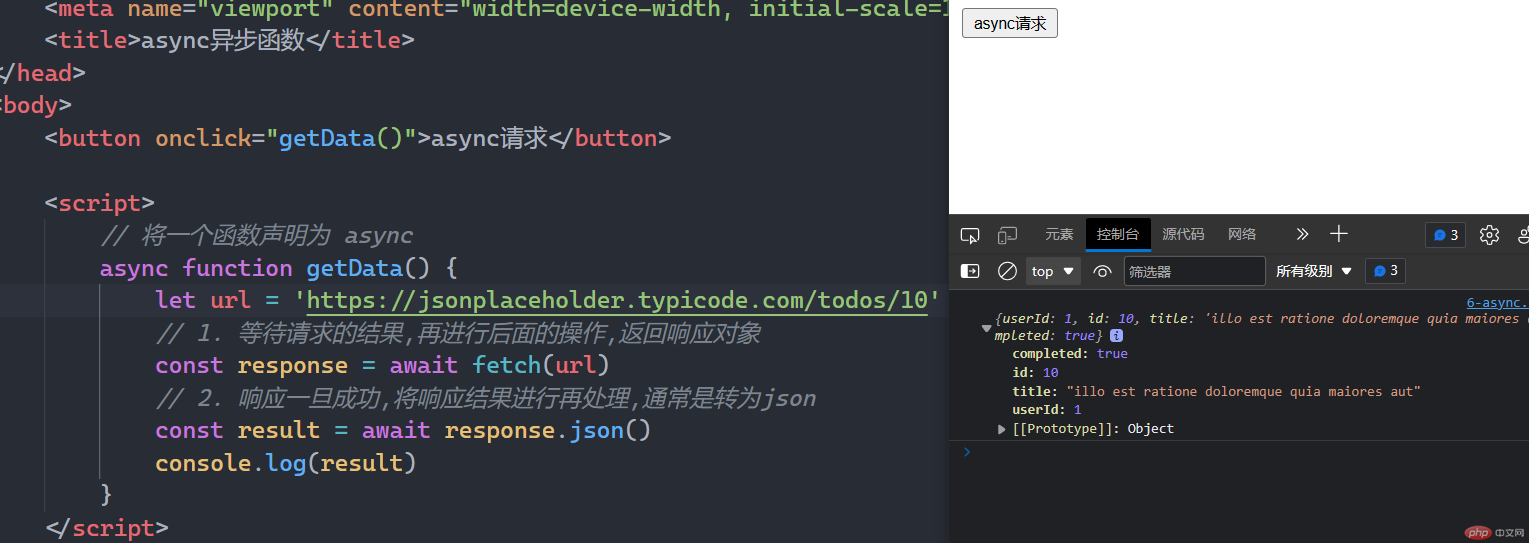
<button onclick="getData()">async请求</button> <script> // 将一个函数声明为 async async function getData() { let url = 'https://jsonplaceholder.typicode.com/todos/10' // 1. 等待请求的结果,再进行后面的操作,返回响应对象 const response = await fetch(url) // 2. 响应一旦成功,将响应结果进行再处理,通常是转为json const result = await response.json() console.log(result) } </script>
四、小实战:fetch api
const box = document.querySelector('.box')
4.1、获取HTML
html文件
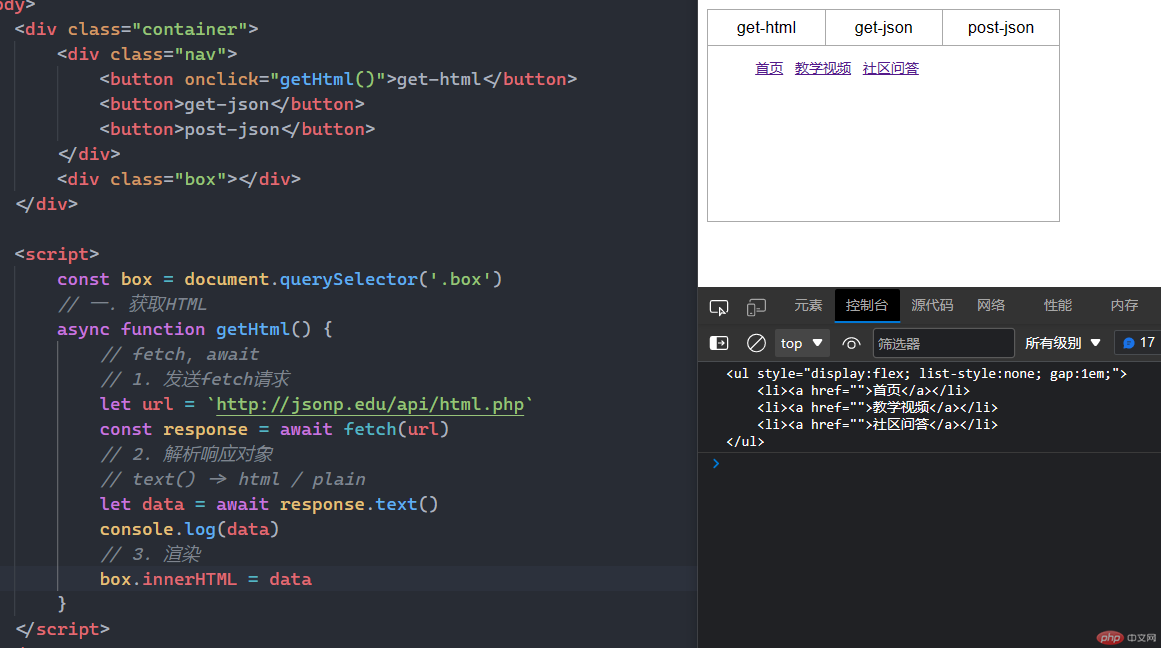
// 一. 获取HTML async function getHtml() { // fetch, await // 1. 发送fetch请求 let url = `http://jsonp.edu/api/html.php` const response = await fetch(url) // 2. 解析响应对象 // text() -> html / plain let data = await response.text() console.log(data) // 3. 渲染 box.innerHTML = data }
服务器文件
<ul style="display:flex; list-style:none; gap:1em;"> <li><a href="">首页</a></li> <li><a href="">教学视频</a></li> <li><a href="">社区问答</a></li></ul>
4.2、获取JSON
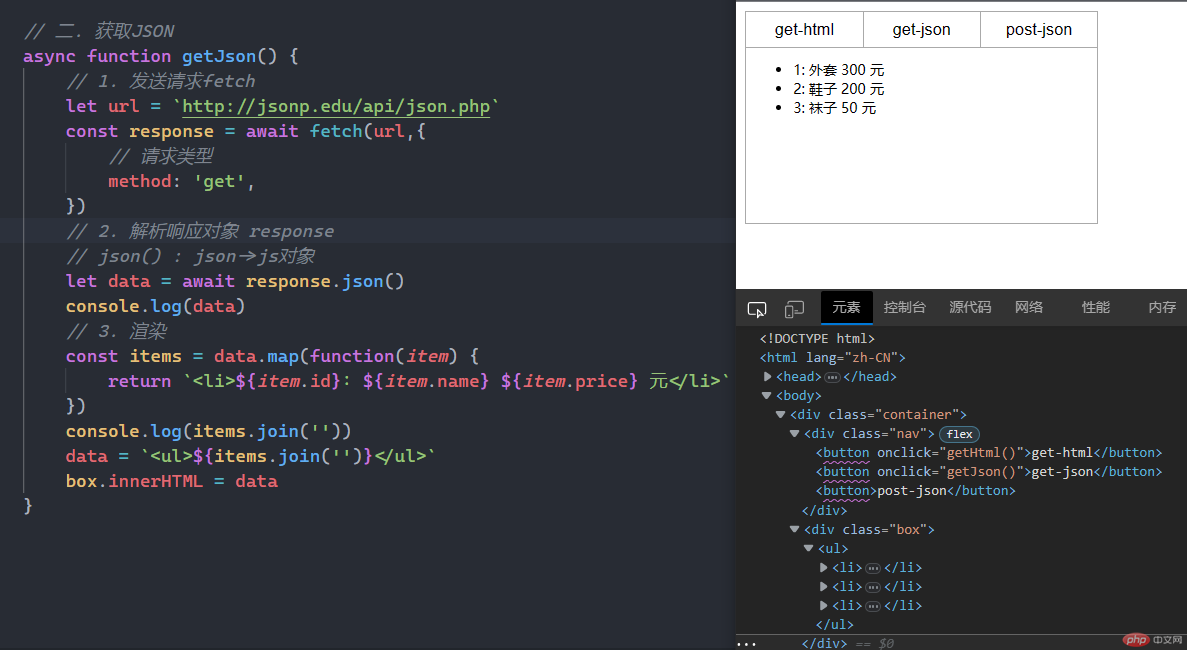
async function getJson() { // 1. 发送请求fetch let url = `http://jsonp.edu/api/json.php` const response = await fetch(url,{ // 请求类型 method: 'get', }) // 2. 解析响应对象 response // json() : json->js对象 let data = await response.json() console.log(data) // 3. 渲染 const items = data.map(function(item) { return `<li>${item.id}: ${item.name} ${item.price} 元</li>` }) console.log(items.join('')) data = `<ul>${items.join('')}</ul>` box.innerHTML = data }
服务器文件
<?php$data = [ ['id'=>1,'name'=>'外套', 'price'=>300], ['id'=>2,'name'=>'鞋子', 'price'=>200], ['id'=>3,'name'=>'袜子', 'price'=>50],];echo json_encode($data);
4.3、post请求
html文件
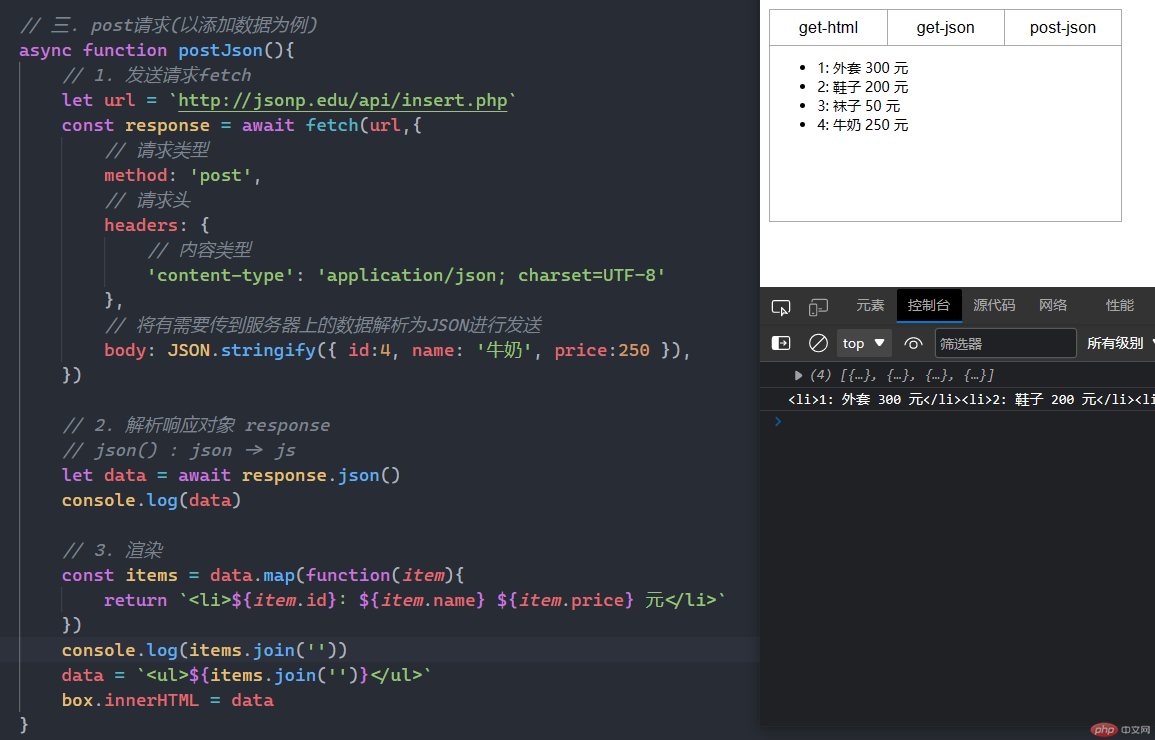
// 三. post请求(以添加数据为例) async function postJson(){ // 1. 发送请求fetch let url = `http://jsonp.edu/api/insert.php` const response = await fetch(url,{ // 请求类型 method: 'post', // 请求头 headers: { // 内容类型 'content-type': 'application/json; charset=UTF-8' }, // 将有需要传到服务器上的数据解析为JSON进行发送 body: JSON.stringify({ id:4, name: '牛奶', price:250 }), }) // 2. 解析响应对象 response // json() : json -> js let data = await response.json() console.log(data) // 3. 渲染 const items = data.map(function(item){ return `<li>${item.id}: ${item.name} ${item.price} 元</li>` }) console.log(items.join('')) data = `<ul>${items.join('')}</ul>` box.innerHTML = data }
服务器文件
<?php// 获取的是json,并不是通过传统的表单键值对过来的// $_POST 不能用$jsonStr = file_get_contents('php://input');// json字符串独立于任何编程语言,要想在当前的语言中使用// 必须转为当前语言支持的数据类型// json->php$item = json_decode($jsonStr,true);$data = [ ['id'=>1,'name'=>'外套', 'price'=>300], ['id'=>2,'name'=>'鞋子', 'price'=>200], ['id'=>3,'name'=>'袜子', 'price'=>50],];// 将前端上传的数据,添加到数组中array_push($data,$item);echo json_encode($data);
五、购物车问题:
// 只统计选中商品的总数量和总金额 // 获取数量 nums.forEach(function(num){ console.log(num.value) }) // 获取金额 prices.forEach(function(price){ console.log(price.textContent) })
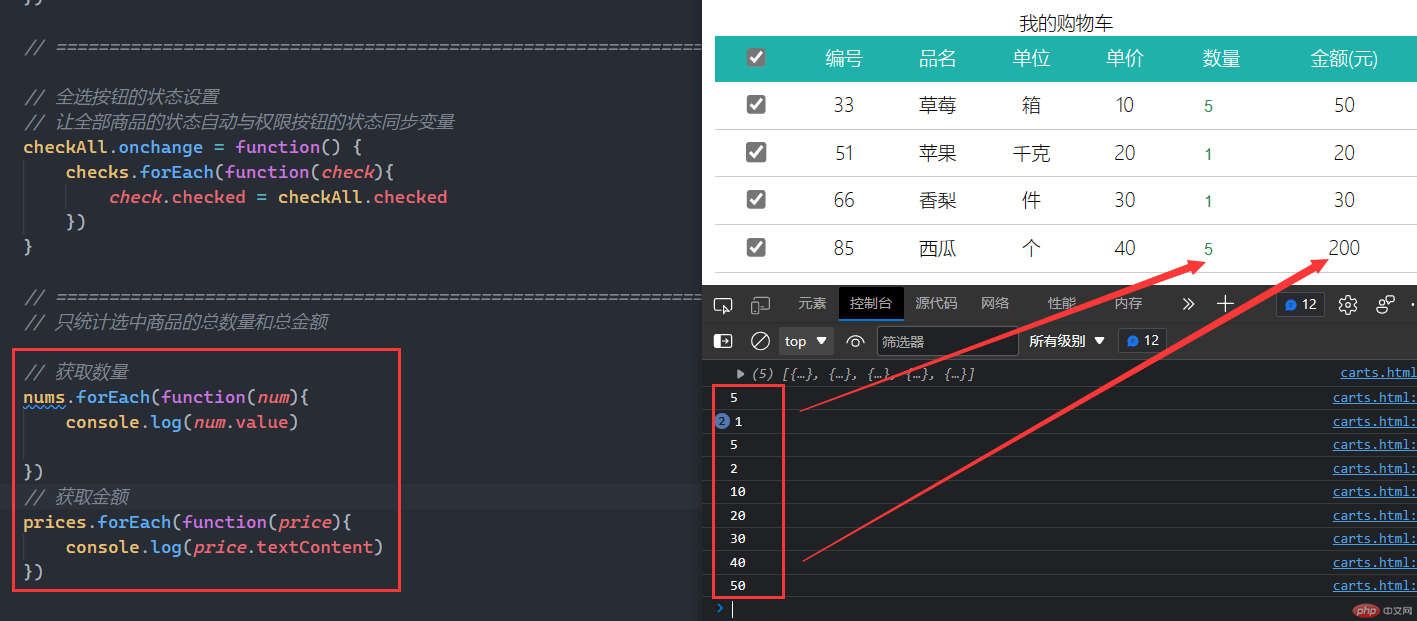
目前只能从上面代码获取到每项的数量和金额我个人思路是从动态点击按钮获取checked状态的数量金额,然后相加,得出结果再更新到总数和总金额上面,请老师指导一下哈。


