一、classlist对象
<h1>www.php.cn</h1>
.red {color: red;}.bgc {background-color: yellow;}.green {color: green;}
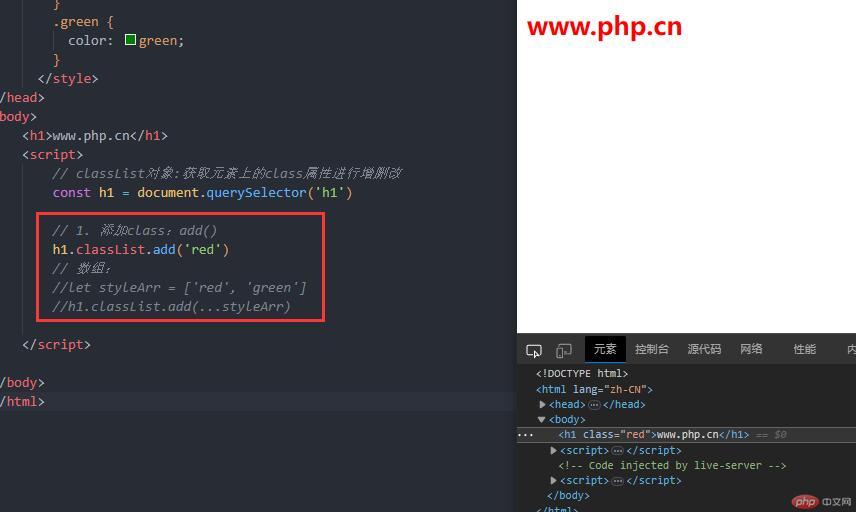
1.1、添加class:add()
// classList对象:获取元素上的class属性进行增删改const h1 = document.querySelector('h1')// 1. 添加class:add()h1.classList.add('red')// 数组://let styleArr = ['red', 'green']//h1.classList.add(...styleArr)
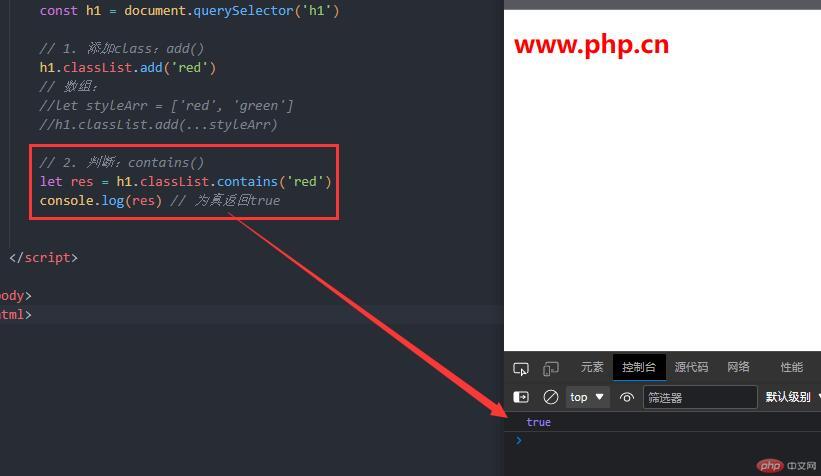
1.2、判断:contains()
let res = h1.classList.contains('red')console.log(res) // 为真返回true
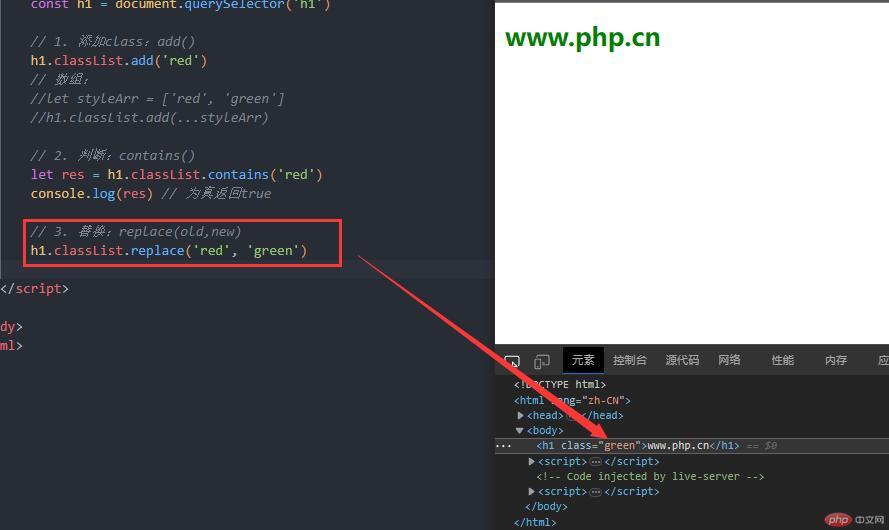
1.3、替换:replace(old, new)
h1.classList.replace('red', 'green')
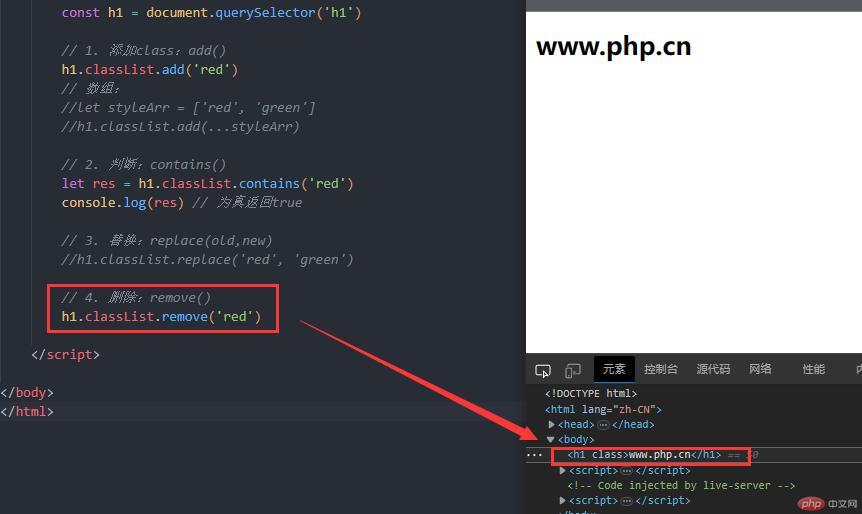
1.4、删除:remove()
h1.classList.remove('red')
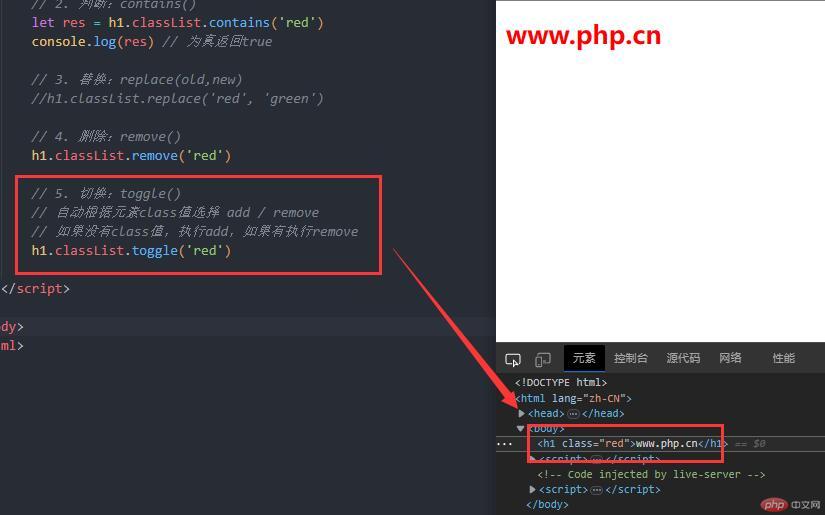
1.5、切换:toggle()
// 自动根据元素class值选择 add / remove// 如果没有class值,执行add,如果有执行removeh1.classList.toggle('red')
二、事件添加删除与定时器
2.1、事件属性
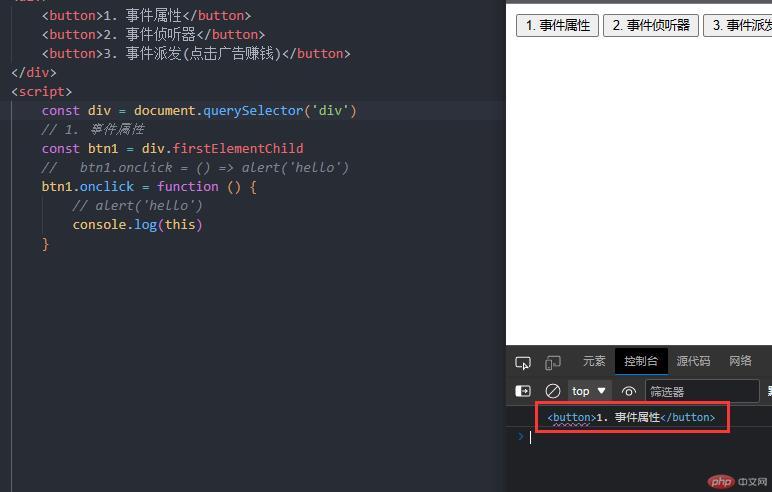
const div = document.querySelector('div')// 1. 事件属性const btn1 = div.firstElementChild// btn1.onclick = () => alert('hello')btn1.onclick = function () {// alert('hello')console.log(this)}
2.2、事件侦听器
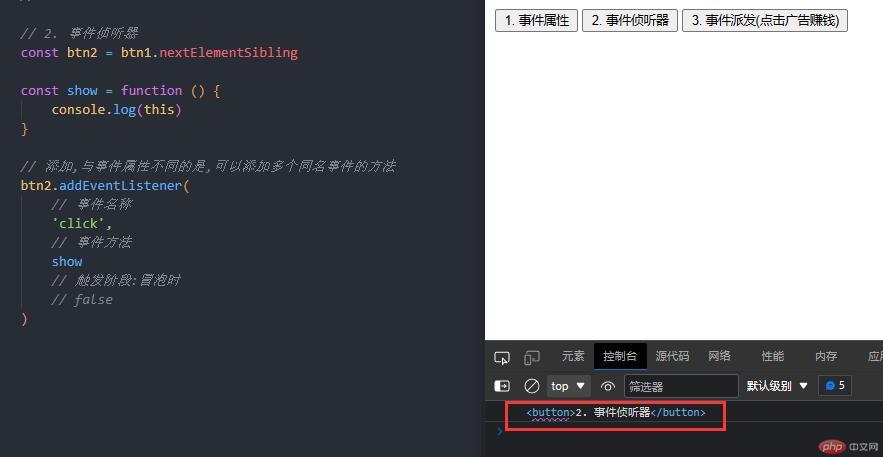
const btn2 = btn1.nextElementSiblingconst show = function () {console.log(this)}// 添加,与事件属性不同的是,可以添加多个同名事件的方法btn2.addEventListener(// 事件名称'click',// 事件方法show// 触发阶段:冒泡时// false)
2.3、定时器
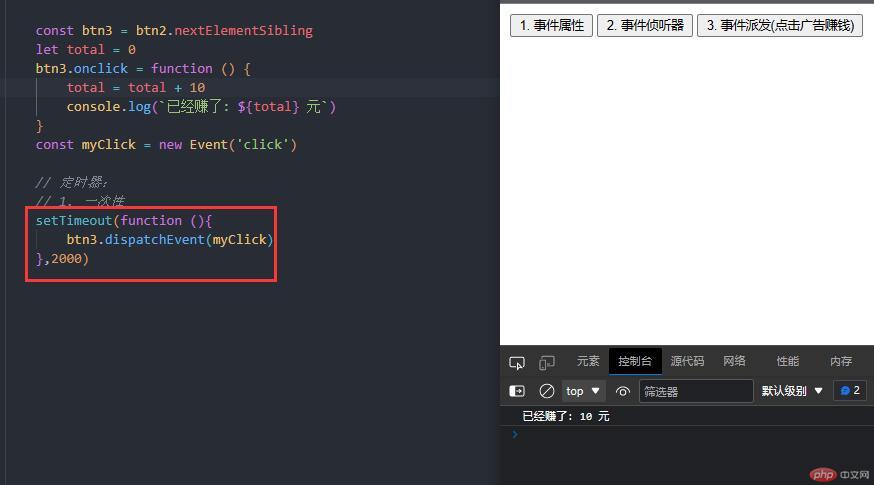
const btn3 = btn2.nextElementSiblinglet total = 0btn3.onclick = function () {total = total + 10console.log(`已经赚了: ${total} 元`)}const myClick = new Event('click')
2.3.1、一次性
setTimeout(function (){btn3.dispatchEvent(myClick)},2000)
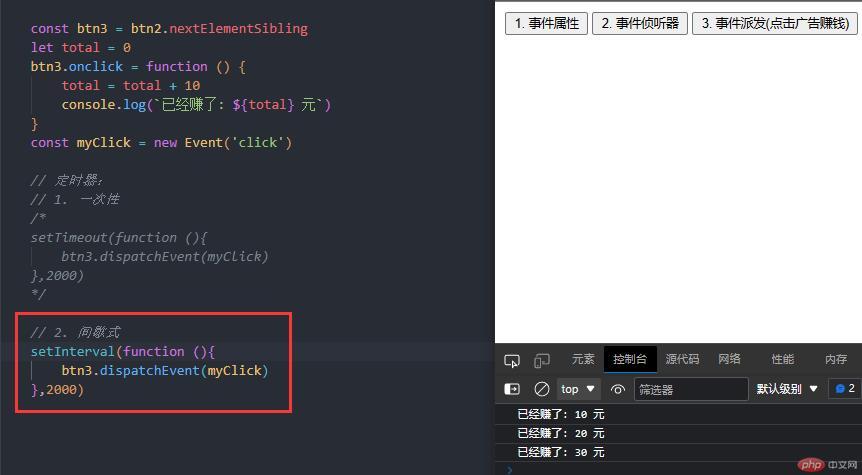
2.3.2、间歇性
setInterval(function (){btn3.dispatchEvent(myClick)},2000)
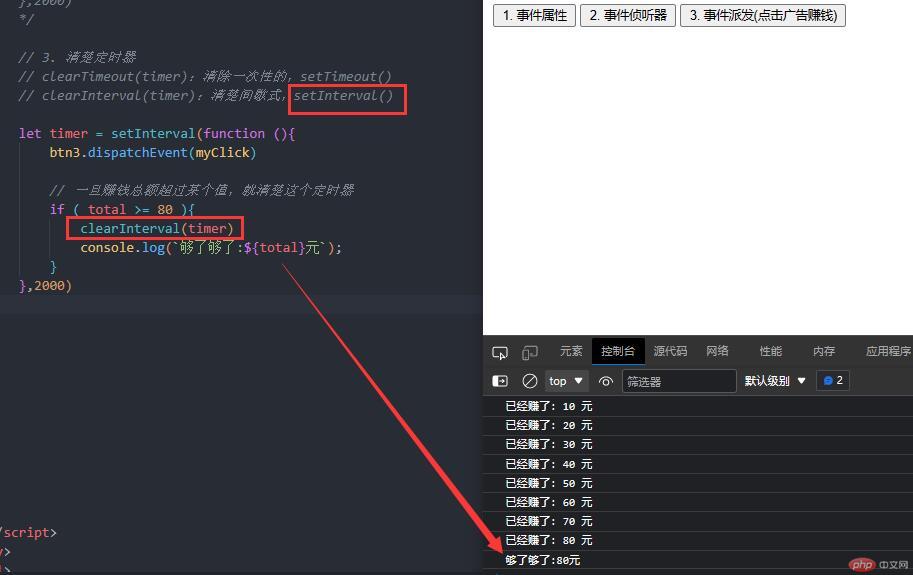
2.3.3、清除定时器
#// clearTimeout(timer):清除一次性的,setTimeout()#// clearInterval(timer):清楚间歇式,setInterval()let timer = setInterval(function (){btn3.dispatchEvent(myClick)// 一旦赚钱总额超过某个值,就清楚这个定时器if ( total >= 80 ){clearInterval(timer)console.log(`够了够了:${total}元`);}},2000)
三、事件冒泡和委托
3.1、事件冒泡
<div><button>点击</button></div><script>const btn = document.querySelector('button')btn.onclick = function() {console.log('1:', this)// tagName:标签名console.log('1:', this.tagName)}const div = document.querySelector('div')div.onclick = function() {console.log('2:', this.tagName)}const body = document.querySelector('body')body.onclick = function() {console.log('3:', this.tagName)}</script>
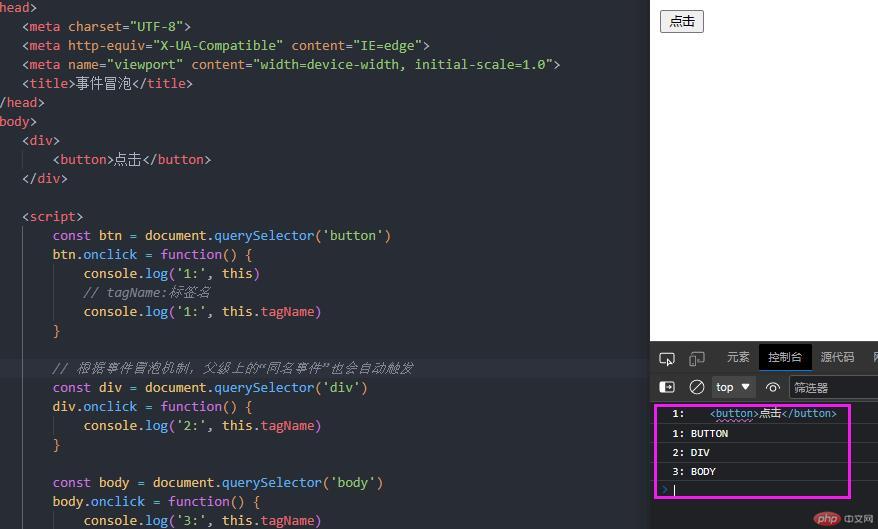
根据事件冒泡机制,父级上的"同名事件"也会被自动的"触发"
3.2、事件委托
<ul><li>西瓜</li><li>馒头</li><li>电脑</li><li>手机</li></ul>
const ul = document.querySelector('ul')// 需要给事件方法传入一个参数,名称随意ul.onclick = function(ev) {// console.log(this)// this:事件绑定的主体// 事件对象上有一个属性:target,表示当前用户正在触发的元素// console.log(ev.target)console.log(ev.target.textContent)}
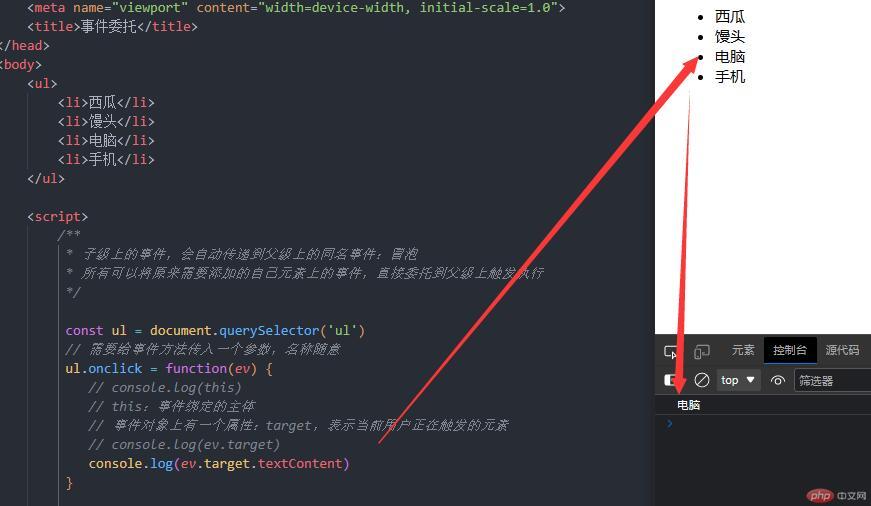
/*** 子级上的事件,会自动传递到父级上的同名事件:冒泡* 所有可以将原来需要添加的自己元素上的事件,直接委托到父级上触发执行* 触发事件委托,事件主体有2个:* 1. 事件绑定在 ( this, ev.currentTarget )* 2. 事件触发者 ( ev.target )*/
四、表单事件
<form action="login.php" method="post" id="login"><!-- <form action="login.php" method="post" id="login" onsubmit="return false"> --><label class="title">用户登录</label><label for="email">邮箱:</label><input type="email" id="email" name="email" value="" autofocus /><label for="password">密码:</label><input type="password" id="password" name="password" /><button>登录</button><!-- 默认提交 --></form>
4.1、禁用默认提交行为的3种方法:
// 禁用默认提交行为的3种方法:// 1. return false/*document.forms.login.onsubmit = function (){return false}// 2. ev.preventDefault()// 推荐追加 禁用冒泡 ev.stopPropagation()document.forms.login.onsubmit = function(ev){ev.preventDefault()ev.stopPropagation()}// 3. type=button// type=button: 也可以禁用默认提交行为// <button type="button">登录</button>*/

4.2、表单中控件的属性
document.forms.login.onsubmit = function(ev){const email = this.email.valueconst password = this.password.value//非空验证if ( email.length===0 && password.length===0){alert( '邮箱或者密码不能为空')return false}}

单中的任何一个控件,都有一个form属性,永远和当前表单元素绑定
4.3、其他表单事件
// focus 焦点document.querySelector('#email').onfocus = function() {this.style.background = 'yellow'}

// onblur 失去焦点document.querySelector('#email').onblur = function() {this.style.background = 'red'}


