jQuery实现上传之前本地预览图片
- php中世界最好的语言原创
- 2018-05-11 13:52:271705浏览
这次给大家带来jQuery实现上传之前本地预览图片,jQuery实现上传之前本地预览图片的注意事项有哪些,下面就是实战案例,一起来看一下。
<!DOCTYPE html>
<html>
<head>
<meta charset="UTF-8">
<title>www.jb51.net jquery上传图片本地预览效果</title>
</head>
<body>
<script type="text/javascript" src="http://code.jquery.com/jquery-1.8.2.min.js"></script>
<input id="upload" type="file">
<img id="preview" src="">
<script type="text/javascript">
$('#upload').change(function(){
  // 获取FileList的第一个元素
  alert(document.getElementById('upload').files[0]);
  var f = document.getElementById('upload').files[0];
  src = window.URL.createObjectURL(f);
  document.getElementById('preview').src = src
})
</script>
</body>
</html>
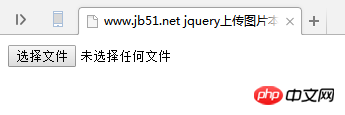
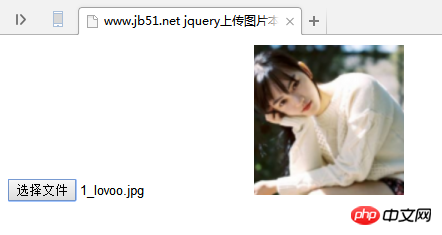
运行效果:


相信看了本文案例你已经掌握了方法,更多精彩请关注php中文网其它相关文章!
推荐阅读:
以上是jQuery实现上传之前本地预览图片的详细内容。更多信息请关注PHP中文网其他相关文章!
声明:
本文内容由网友自发贡献,版权归原作者所有,本站不承担相应法律责任。如您发现有涉嫌抄袭侵权的内容,请联系admin@php.cn
上一篇:JS新手使用频繁出错点有哪些下一篇:JS中new()用法剖析

