


>在Databricks上部署DeepSeek R1模型:逐步指南
流行的数据工程平台本指南涵盖了帐户设置,使用UI的模型注册以及通过操场和本地卷曲命令访问。 Databricks的新手? Databricks课程简介提供了Databricks Lakehouse平台及其数据管理功能的全面概述。 要更深入地了解Databricks中的数据管理,请考虑Databricks课程中的数据管理。
注册DeepSeek R1模型>
- >
- >启动笔记本:创建您的数据链球工作空间后,单击“ new”,然后选择笔记本。。

- >
- >安装软件包:安装必要的python库:
%%capture
!pip install torch transformers mlflow accelerate torchvision
%restart_python
- 负载模型和代币器:从拥抱面上加载DeepSeek R1型号和令牌,>
import pandas as pd
import mlflow
import mlflow.transformers
import torch
from mlflow.models.signature import infer_signature
from transformers import AutoModelForCausalLM, AutoTokenizer, AutoConfig, pipeline

model_name = "deepseek-ai/DeepSeek-R1-Distill-Llama-8B"
tokenizer = AutoTokenizer.from_pretrained(model_name)
config = AutoConfig.from_pretrained(model_name)
model = AutoModelForCausalLM.from_pretrained(model_name, config=config, torch_dtype=torch.float16)

- >>>测试模型:
- 使用样本提示进行测试,并生成用于模型注册的签名:
text_generator = pipeline("text-generation", model=model, tokenizer=tokenizer)
example_prompt = "How does a computer work?"
example_inputs = pd.DataFrame({"inputs": [example_prompt]})
example_outputs = text_generator(example_prompt, max_length=200)
signature = infer_signature(example_inputs, example_outputs)
print(example_outputs)
<code>[{'generated_text': "How does a computer work? What is the computer? What is the computer used for? What is the computer used for in real life?\n\nI need to answer this question, but I need to do it step by step. I need to start with the very basic level and build up from there. I need to make sure I understand each concept before moving on. I need to use a lot of examples to explain each idea. I need to write my thoughts as if I'm explaining them to someone else, but I need to make sure I understand how to structure the answer properly.\n\nOkay, let's start with the basic level. What is a computer? It's an electronic device, right? And it has a central processing unit (CPU) that does the processing. But I think the central processing unit is more efficient, so maybe it's the CPU. Then, it has memory and storage. I remember that memory is like RAM and storage is like ROM. But wait, I think"}]</code>
- conda环境:
- 定义一个conda环境:
conda_env = {
    "name": "mlflow-env",
    "channels": ["defaults", "conda-forge"],
    "dependencies": [
        "python=3.11",
        "pip",
        {"pip": ["mlflow", "transformers", "accelerate", "torch", "torchvision"]}
    ]
}- 注册模型:
- 使用注册模型:
mlflow.transformers.log_model
with mlflow.start_run() as run:
    mlflow.transformers.log_model(
        transformers_model=text_generator,
        artifact_path="deepseek_model",
        signature=signature,
        input_example=example_inputs,
        registered_model_name="deepseek_r1_llama_8b",
        conda_env=conda_env
    )

- >
- >导航到模型:
在databricks仪表板中,转到“模型”选项卡。
> 使用模型: - 选择您的模型,然后单击“使用此模型”。
- 配置端点:命名您的端点,选择计算选项,设置并发性,然后单击“创建”。
- 直接在Databricks Playground中进行测试。
- ),然后使用curl:
> $DATABRICKS_TOKEN


>
- > databricks Playground:

- curl命令:
%%capture
!pip install torch transformers mlflow accelerate torchvision
%restart_python

>
以上是在Databricks上部署DeepSeek R1:逐步指南的详细内容。更多信息请关注PHP中文网其他相关文章!

 META的新AI助手:生产力助推器还是时间下沉?May 01, 2025 am 11:18 AM
Meta携手Nvidia、IBM和Dell等合作伙伴,拓展了Llama Stack的企业级部署整合。在安全方面,Meta推出了Llama Guard 4、LlamaFirewall和CyberSecEval 4等新工具,并启动了Llama Defenders计划,以增强AI安全性。此外,Meta还向10个全球机构(包括致力于改善公共服务、医疗保健和教育的初创企业)发放了总额150万美元的Llama Impact Grants。 由Llama 4驱动的全新Meta AI应用,被设想为Meta AI
 80%的Zers将嫁给AI:研究May 01, 2025 am 11:17 AM
公司开创性的人类互动公司Joi AI介绍了“ AI-Iatsionship”一词来描述这些不断发展的关系。 Joi AI的关系治疗师Jaime Bronstein澄清说,这并不是要取代人类C
 AI使互联网的机器人问题变得更糟。这家耗资20亿美元的创业公司在前线May 01, 2025 am 11:16 AM
在线欺诈和机器人攻击对企业构成了重大挑战。 零售商与机器人ho积产品,银行战斗帐户收购和社交媒体平台与模仿者的斗争。 AI的兴起加剧了这个问题,Rende
 卖给机器人:将创造或破坏业务的营销革命May 01, 2025 am 11:15 AM
AI代理人有望彻底改变营销,并可能超过以前技术转变的影响。 这些代理代表了生成AI的重大进步,不仅是处理诸如chatgpt之类的处理信息,而且还采取了Actio
 计算机视觉技术如何改变NBA季后赛主持人May 01, 2025 am 11:14 AM
人工智能对关键NBA游戏4决策的影响 两场关键游戏4 NBA对决展示了AI在主持仪式中改变游戏规则的角色。 首先,丹佛的尼古拉·乔基奇(Nikola Jokic)错过了三分球,导致亚伦·戈登(Aaron Gordon)的最后一秒钟。 索尼的鹰
 AI如何加速再生医学的未来May 01, 2025 am 11:13 AM
传统上,扩大重生医学专业知识在全球范围内要求广泛的旅行,动手培训和多年指导。 现在,AI正在改变这一景观,克服地理局限性并通过EN加速进步
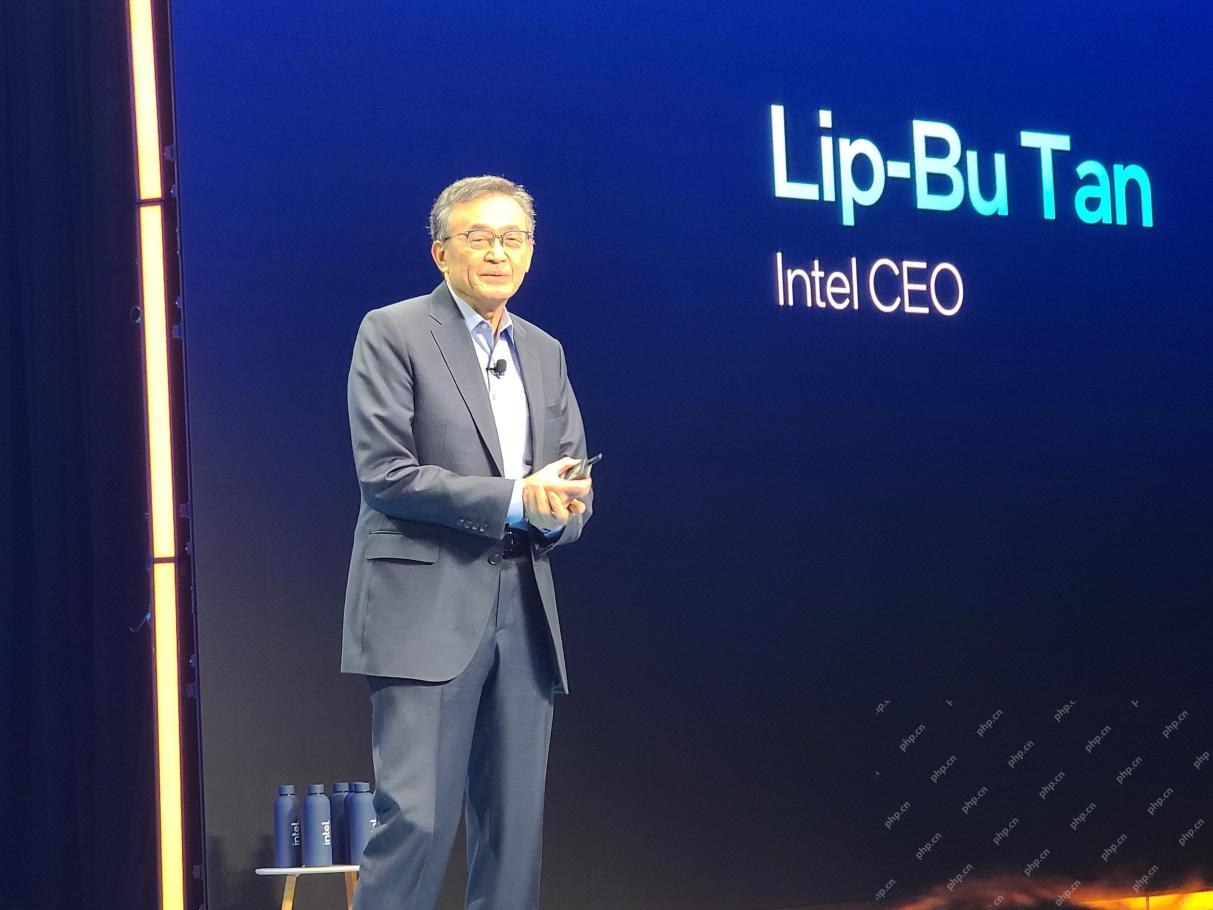 Intel Foundry Direct Connect 2025的关键要点May 01, 2025 am 11:12 AM
英特尔正努力使其制造工艺重回领先地位,同时努力吸引无晶圆厂半导体客户在其晶圆厂制造芯片。为此,英特尔必须在业界建立更多信任,不仅要证明其工艺的竞争力,还要证明合作伙伴能够以熟悉且成熟的工作流程、一致且高可靠性地制造芯片。今天我听到的一切都让我相信英特尔正在朝着这个目标前进。 新任首席执行官谭立柏的主题演讲拉开了当天的序幕。谭立柏直率而简洁。他概述了英特尔代工服务的若干挑战,以及公司为应对这些挑战、为英特尔代工服务的未来规划成功路线而采取的措施。谭立柏谈到了英特尔代工服务正在实施的流程,以更以客
 AI出了问题吗?现在在那里为此保险May 01, 2025 am 11:11 AM
全球专业再保险公司Chaucer Group和Armilla AI解决了围绕AI风险的日益严重的问题,已联手引入了新型的第三方责任(TPL)保险产品。 该政策保护业务不利


热AI工具

Undresser.AI Undress
人工智能驱动的应用程序,用于创建逼真的裸体照片

AI Clothes Remover
用于从照片中去除衣服的在线人工智能工具。

Undress AI Tool
免费脱衣服图片

Clothoff.io
AI脱衣机

Video Face Swap
使用我们完全免费的人工智能换脸工具轻松在任何视频中换脸!

热门文章
热工具

SublimeText3 Linux新版
SublimeText3 Linux最新版

SublimeText3汉化版
中文版,非常好用

Dreamweaver CS6
视觉化网页开发工具

EditPlus 中文破解版
体积小,语法高亮,不支持代码提示功能

WebStorm Mac版
好用的JavaScript开发工具

