
如何在 Windows 10 和 11 中强制删除或卸载打印机

- WBOYWBOYWBOYWBOYWBOYWBOYWBOYWBOYWBOYWBOYWBOYWBOYWB原创
- 2024-06-14 22:16:531271浏览
您可以从“设置”面板中删除任何已连接的打印机。如果这不起作用,您可以使用命令提示符和其他方式删除打印机。在这里,我们向您展示在 Windows 计算机上删除打印机的多种方法。
1. 如何通过设置从 Windows 中删除打印机
您可以从“设置”应用程序轻松添加或删除打印机。操作方法如下:
- 按 Win + I 打开“设置”。
- 在左窗格中打开蓝牙和设备选项卡。

- 向下滚动并单击打印机和扫描仪。这将列出连接到您的计算机的所有打印机。
- 单击要删除的打印机设备。

- 单击右上角的“删除”按钮,然后单击“是”确认操作。
如果遇到错误,请停止“服务”管理单元中的“后台打印程序”服务,然后重试!
如何停止打印后台处理程序服务
如果 Windows 因错误而无法删除打印机,请尝试停止打印后台处理程序服务并删除打印机。 Print Spooler 是一项重要的打印机服务,用于在 PC 和打印机之间传送打印作业。但是,它有时会干扰并阻止您卸载打印机。
停止打印后台处理程序服务:
- 按 Win + R 打开“运行”。
- 键入 services.msc 并单击“确定”以打开“服务”管理单元。
- 在“服务”窗口中,找到“Print Spooler”服务。
- 右键单击 Print Spooler,然后选择停止。

- 最小化“服务”窗口。
- 现在打开 Windows 设置面板,转到蓝牙和设备 >扫描仪和打印机,并尝试删除您的打印机设备。
- 删除打印机后,返回“服务”窗口。

- 右键单击 Print Spooler,然后选择“启动”。
需要重新启动 Printer Spooler 服务。如果禁用,您可能会在 PC 上遇到打印机后台处理程序服务未运行错误。
2.删除打印机软件以删除打印机

如果仍然出现已删除的打印机选项,您可以删除与该设备关联的打印机驱动程序以将其彻底卸载。您可以使用 Windows 10 和 11 中的应用程序和功能选项卡删除驱动程序。
要删除打印机驱动程序:
- ## 按 Win + I 打开“设置”。
- 单击左侧窗格中的“应用程序”选项卡。应用程序列表可能需要几秒钟的时间才能填充,因此请等待所有应用程序都列出。
- 在应用程序列表下,您可以滚动浏览或搜索打印机驱动程序。
- 找到打印机驱动程序后,单击三点菜单。
- 选择“卸载”,然后再次单击“卸载”以确认操作。
- 等待驱动程序卸载,然后查找与打印机关联的任何其他驱动器或软件并将其删除。
- 卸载后,重新启动您的电脑。
- 按 Win + R 打开“运行”。
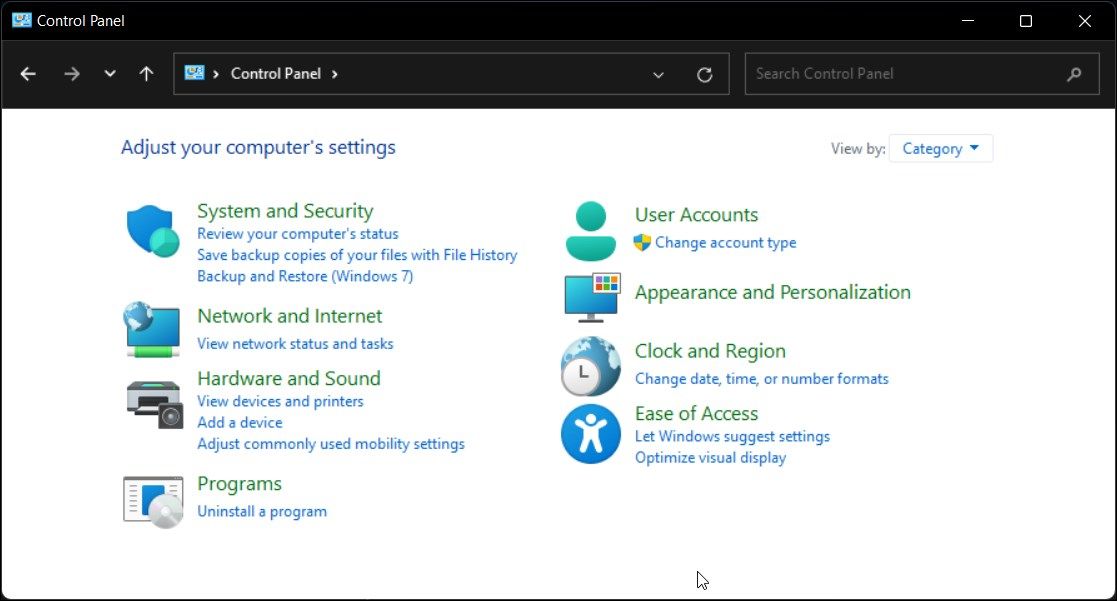
- 键入 control 并单击“确定”打开控制面板。您还可以使用 Windows 搜索栏搜索该应用程序。
- 在控制面板中,转到硬件和声音。

- 接下来,单击设备和打印机。
- 在打印机部分下,找到并选择要删除的打印机设备。
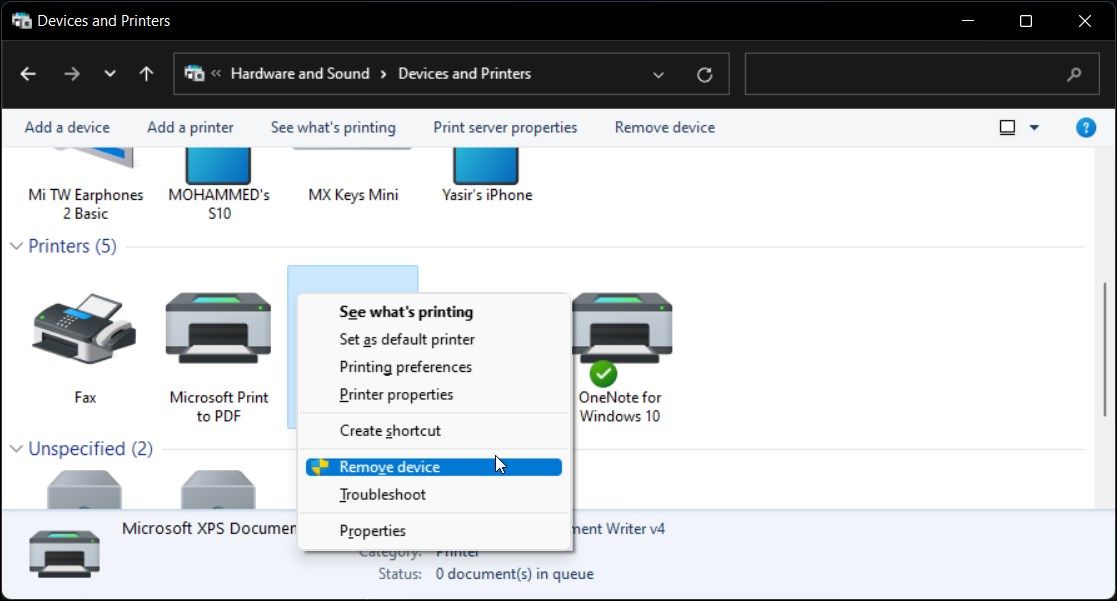
- 右键单击打印机并选择删除设备。
- 单击“是”确认操作。
4. 使用 Windows 打印服务器属性删除打印机
有时,删除打印机设备并不能完全删除驱动程序,并且可能导致打印机停止工作。在这种情况下,您可以使用“打印服务器属性”对话框删除已安装的打印机驱动程序。
要卸载打印机驱动程序:
- 按 Win + R 打开“运行”。
- 键入 control 并单击“确定”。
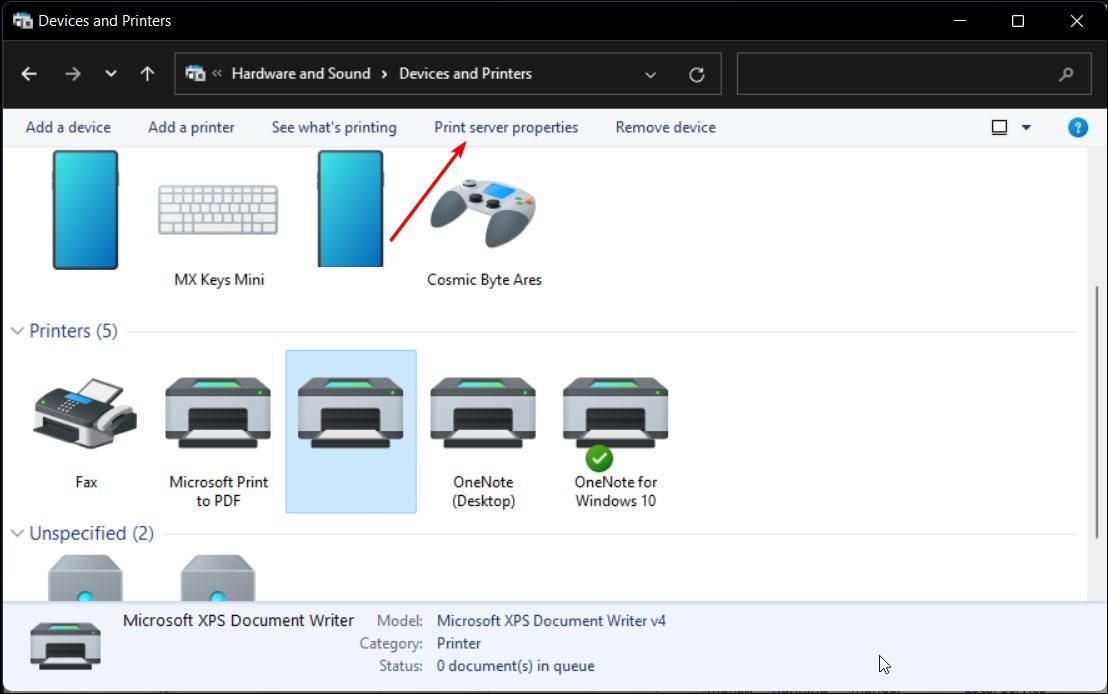
- 在控制面板窗口中,转到硬件和声音 >设备和打印机。
- 选择任何可用的打印机,然后单击“打印服务器属性”。
- 在“打印服务器属性”对话框中打开“驱动程序”选项卡。
- 在“已安装的打印机驱动程序”下,选择要卸载的打印机驱动程序,然后单击“删除”。

- 接下来,选择“删除驱动程序和驱动程序包”选项。
- 单击“确定”确认操作并删除驱动程序。
- 重新启动电脑以完成驱动程序删除过程。
5. 使用设备管理器卸载打印机
设备管理器可让您管理连接到系统的所有外围设备和内部设备。您可以使用设备管理器对 Windows 系统进行故障排除、更新驱动程序、添加新设备以及删除连接的设备。
要使用设备管理器删除打印机:
- 按 Win + X 打开 WinX 菜单。
- 从上下文菜单中单击“设备管理器”。
- 在“设备管理器”中,单击“查看”并选择“显示隐藏的设备”。
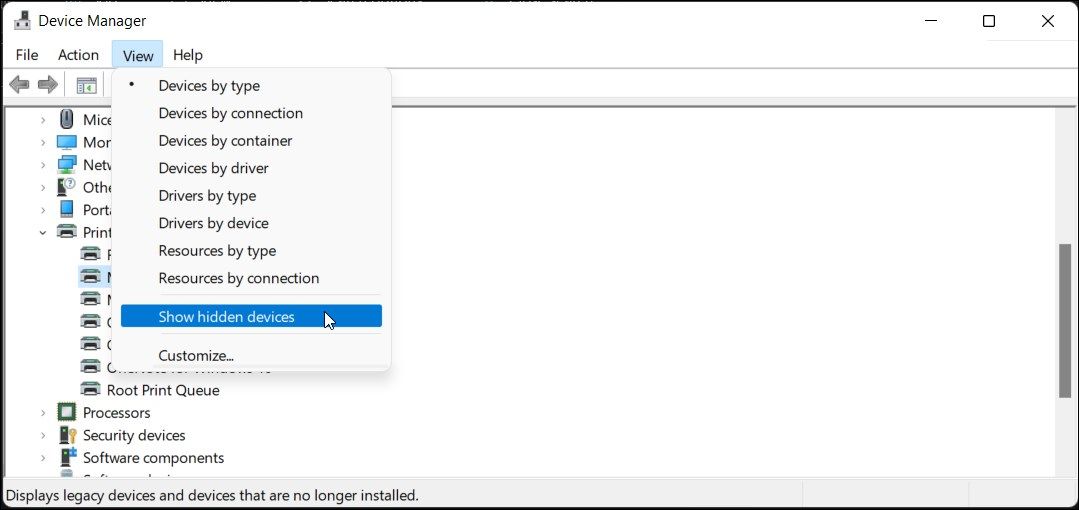
- 接下来,展开“打印机”部分以查看您的打印机。
- 右键单击打印机并选择卸载设备。
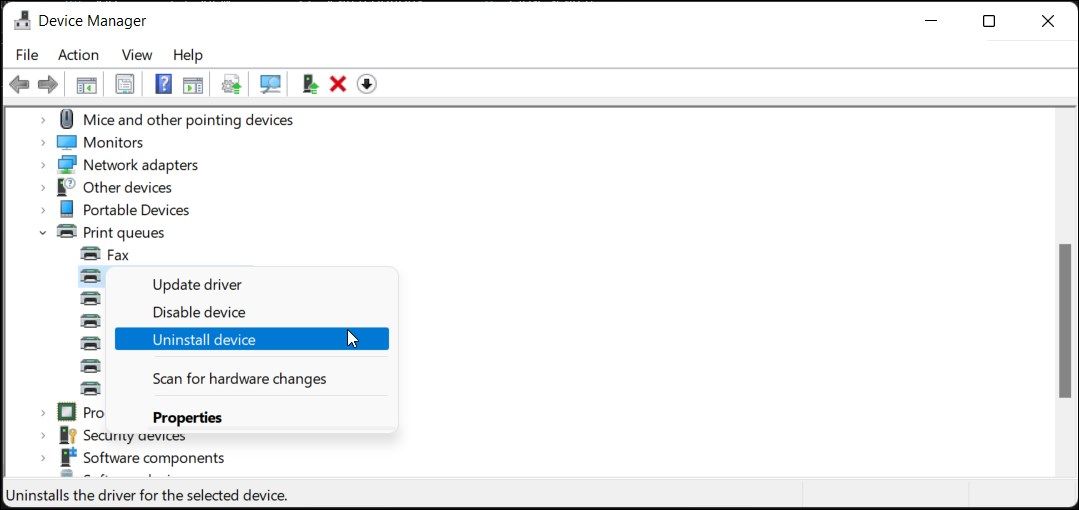
- 选择删除该设备的驱动程序软件选项,然后单击卸载。
- 如果“打印机”部分不可用,请展开“打印队列”部分并重复删除打印机的步骤。
- 关闭设备管理器并重新启动计算机以完成卸载过程。
6. 如何使用命令提示符卸载打印机
如果您更喜欢命令提示符而不是传统的 UI,则可以使用dl 命令。
要卸载打印机,请使用命令提示符:
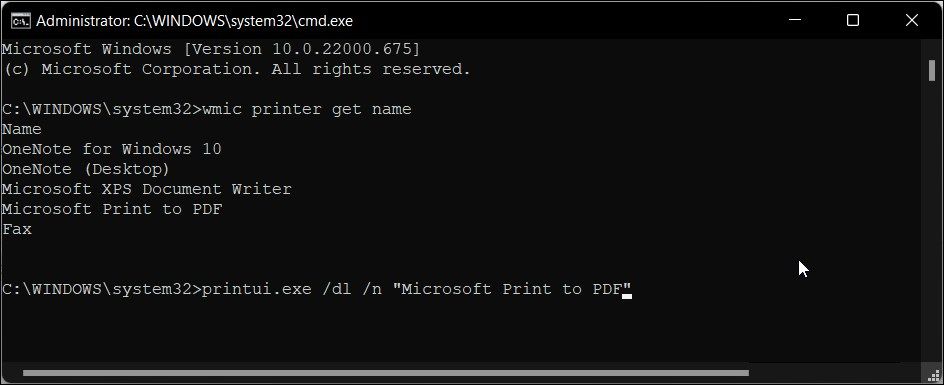
- 按 Win 并在 Windows 搜索栏中键入 cmd。
- 右键单击“命令提示符”选项,然后选择“以管理员身份运行”。
- 在命令提示符窗口中,键入以下命令以查看 PC 上所有已安装的打印机:
<code class="hljs javascript">wmic printer get name </code>
- 要删除打印机,请键入以下命令:
<code class="hljs xml">printui.exe /dl /n "Your_Printer_Name" </code>
- 在上述命令中,将 Your_Printer_Name 替换为您的打印机名称。
- 按 Enter 键执行命令。
7. 使用打印管理删除打印机驱动器
打印管理是一个控制打印机、驱动程序、端口和服务器的 Windows 实用程序。您可以使用该工具从 Windows 计算机中删除打印机驱动程序。打印管理实用程序在 Windows 操作系统家庭版中不可用。
要使用打印管理删除打印机驱动程序:
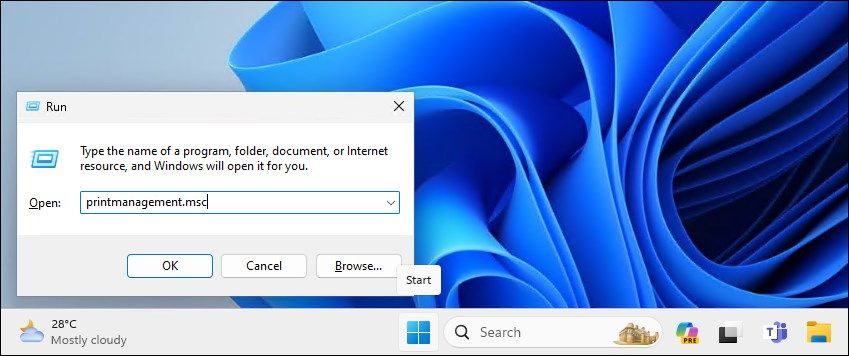
- Press Win + R to open Run.
- Type printmanagement.msc and click OK to open Print Management.
- In the left pane, expand the Print Servers section,
- Click on your Local Printer server name to expand it.
- Next, select Printers to view all the installed printers.
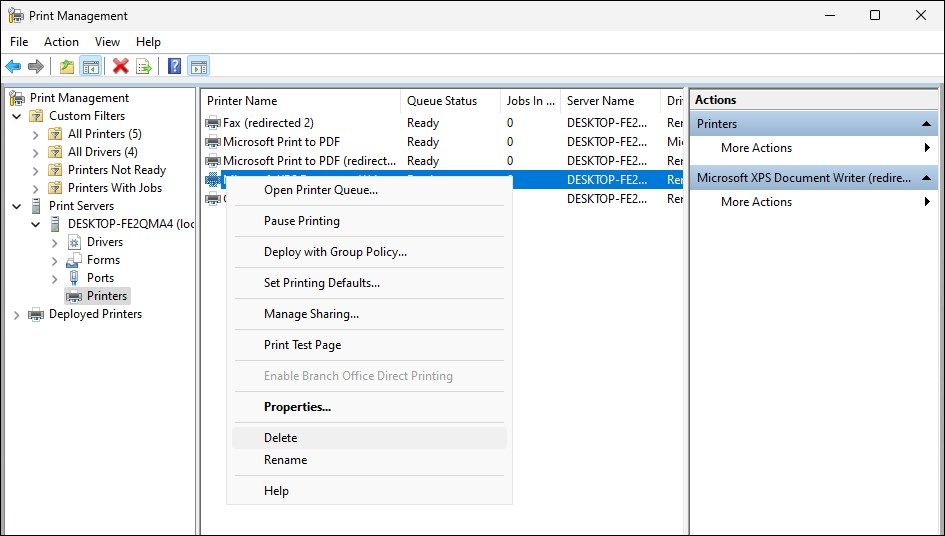
- In the right pane, select and right-click on the printer you want to remove.
- Select Delete and click Yes to confirm the action.
8. Delete a Printer Driver with PowerShell
Alternatively, you can delete the printer driver package using PowerShell as an alternative to Print Management. This is also a quicker way to remove multiple printers in your Windows computer.
To remove a printer driver using PowerShell:
- Press the Win key and type powershell.
- Right-click on Windows PowerShell and select Run as administrator.
- In the PowerShell dialog, type the following command and press Enter to view the list of printers installed on your computer:
<code class="hljs php">Get-PrinterDriver | Format-List Name</code>
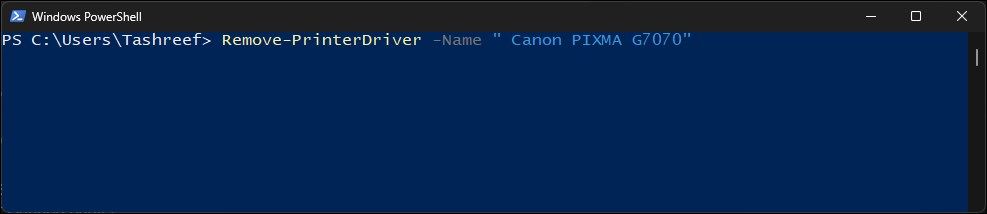
- Once you have the list of printers installed, type the following command to remove the printer you want to delete:
<code class="hljs xml">Remove-PrinterDriver -Name "Printer-Name"</code>
- In the above command, replace Printer-Name with the printer name you want to remove.
The Many Ways to Remove a Printer in Windows 10 and 11
You can easily remove a printer in Windows using the Settings panel. However, if the deleted printer keeps reappearing, you can use the print server properties, Command Prompt, or delete the printer software to remove the printer altogether.
以上是如何在 Windows 10 和 11 中强制删除或卸载打印机的详细内容。更多信息请关注PHP中文网其他相关文章!