
如何修复 Windows 11 中丢失的 Wi-Fi 选项

- WBOYWBOYWBOYWBOYWBOYWBOYWBOYWBOYWBOYWBOYWBOYWBOYWB原创
- 2024-06-14 16:28:51637浏览
由于各种原因,您的 Windows 11 计算机可能不会显示 Wi-Fi 连接选项。 Wi-Fi 驱动程序损坏、硬件问题甚至 Windows 操作系统问题都可能是导致此问题的潜在原因。您可能还会注意到 Wi-Fi 连接经常掉线。
以下是一些故障排除步骤,可帮助您解决 Windows 11 中 Wi-Fi 无法工作的问题。
1. 运行 Internet 连接故障排除程序
Windows 11 提供内置- 故障排除程序可解决计算机外围设备和网络设备的常见问题。您可以运行 Internet 连接疑难解答来扫描系统中的常见网络问题并自动修复它们。
要运行 Internet 连接疑难解答:
- 按 Win + I 打开“设置”。
- 在左窗格中打开“系统”选项卡。

- 在右窗格中,向下滚动并单击“故障排除”。
- 在“选项”下,单击“其他疑难解答”。
- 单击“Internet 连接”的“运行”按钮。 Windows 将启动疑难解答程序并显示 Windows 可以解决的问题。
- 单击“排除我的 Internet 连接故障”。故障排除程序将扫描系统是否存在问题并建议潜在的修复方案。应用修复并检查是否有任何改进。


如果问题仍然存在,请运行网络适配器疑难解答。以下是具体操作方法。
- ## 按 Win + I 打开“设置”。
- 在系统选项卡中,转到故障排除 >其他疑难解答。
- 向下滚动并单击网络适配器的“运行”按钮。
- 在故障排除程序窗口中,选择“所有网络适配器”,然后单击“下一步”。

- 按 Win + R 打开“运行”对话框。
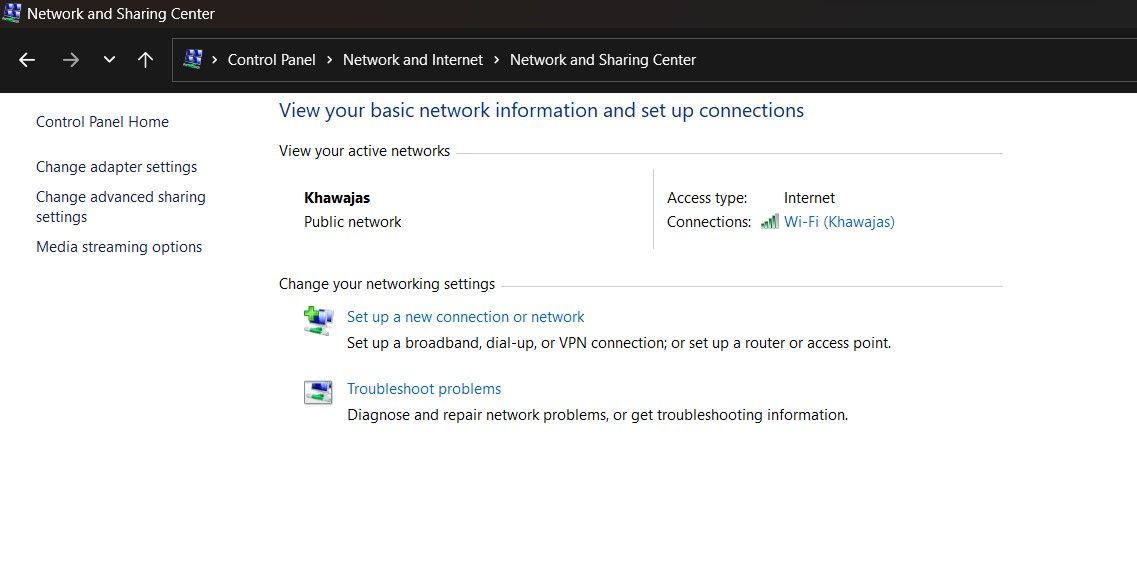
- 键入 control 并单击“确定”打开控制面板。您还可以在 Windows 搜索中搜索“控制面板”,然后从搜索结果中将其打开。
- 在“控制面板”中,转到“网络和 Internet”>“控制面板”。网络和共享中心。
- 单击“更改适配器设置”以在左侧窗格中查看所有已安装的网络设备。
- 右键单击 Wi-Fi 适配器,然后选择选择启用。


 如果您最近执行了升级,Windows 可能未安装最新的网络驱动程序。网络适配器驱动程序损坏或出现故障也可能导致 Wi-Fi 连接出现故障。您可以将网络适配器驱动程序更新到最新版本来解决此问题。 ## 按 Win 键打开 Windows 搜索。输入设备管理器并从搜索结果中将其打开。
 - 在设备管理器中,展开网络适配器部分。
- 右键单击您的 Wi-Fi 设备。例如,Intel (R) Wi-Fi AX200 并选择更新驱动程序。
- 选择自动搜索驱动程序。 Windows 将扫描新驱动程序并安装它们(如果有)。
- 关闭设备管理器并检查 Wi-Fi 选项是否恢复。
- 如果您在设备管理器中找不到网络适配器,请按照本指南修复 Windows 中丢失的网络适配器,然后重试。
4. 配置网络适配器电源管理设置
默认情况下,Windows 可以在计算机进入睡眠模式时关闭网络适配器以节省电量。但是,此设置可能会导致 Wi-Fi 连接问题。您可以通过关闭网络适配器的电源管理设置来快速解决此问题。
- 打开设备管理器并展开网络适配器。
- 右键单击您的 Wi-Fi 适配器并选择“属性”。
- 在“属性”对话框中打开“电源管理”选项卡。
- 取消选中“允许”计算机关闭此设备以节省电量的选项。
- 单击“确定”保存更改并重新启动计算机以查看问题是否已解决。


5. 启用 WLAN 自动配置服务
WLAN 自动配置是无线网络连接的一项关键服务。检查服务是否已停止并重新启动以解决 Wi-Fi 问题。
- 按 Win + R 打开“运行”。
- 键入 services.msc 并单击“确定”。
- 在“服务”管理单元中,找到“WLAN 自动配置”服务并检查它是否正在运行。如果没有,请右键单击并选择“属性”。
- 在“属性”对话框中,单击“启动类型”下拉列表并选择“自动”。
- 选择“启动”。
- 选择“应用”和“确定”以保存更改。


6. 启用系统配置工具中的所有服务
系统配置实用程序允许您配置启动服务以对 Windows 计算机进行故障排除。如果您最近使用它来排除计算机故障,请确保所有服务均已启用。
- ## 按 Win + R 打开“运行”。
- 键入 msconfig.msc 并单击“确定”。
- 接下来,打开“系统配置”对话框中的“服务”选项卡。
- 单击“全部启用”以启用所有服务。
- 单击“应用”和“确定”以保存更改。重新启动计算机以启用所有服务。

- 打开设备管理器并展开网络适配器部分。
- 右键单击 Wi-Fi 设备并卸载设备。单击“卸载”按钮确认操作。
- 卸载后,单击“设备管理器”工具栏中的“操作”,然后选择“扫描硬件更改”。 Windows 将扫描丢失但已连接的设备并重新安装必要的驱动程序。

- 确保保存所有未保存的工作或文档。
- 打开设备管理器并卸载 Wi-Fi 适配器驱动程序。
- 卸载后,按 Win 键并输入 cmd。
- 右键单击命令提示符并选择以管理员身份运行。
- 在命令提示符窗口中,键入以下命令以执行计算机完全关闭:
- 重新启动后,Windows 将自动重新安装 Wi-Fi 设备驱动程序并关闭恢复 Wi-Fi 连接。

<code class="hljs ">shutdown /s /f /t 0 </code>
- Open Device Manager and expand the Network Adapters section.
- Select and right-click on your Wi-Fi adapter and select Update Driver.
- Select Browse my computer for drivers.
- Select the Let me pick from a list of available drivers on my computer option.
- Select the first driver in the list and click Next. Device Manager will start installing the selected driver. Once completed, check if your Wi-Fi is working.


7. Perform a Network Reset
Windows 11 offers a built-in option to perform a network reset. This process will remove and reinstall the network adapters. In addition, other networking components will reset to their default settings to fix problems triggered due to incorrect network configuration.
- Open Settings and click on the Network & Internet tab in the left pane.
- Scroll down and click on Advanced network settings to view all network devices and the network reset option.
- Scroll down to the More settings section and click on Network reset.
- Click the Reset now button for Network reset. Click Yes to confirm the action.
- Once the reset is complete, you should have the Wi-Fi connection restored. However, after the reset, you might need to reinstall and reconfigure other networking devices and software.


8. Reset the Network Device and Network Stack Using the Command Prompt
You can use the Command Prompt to reset your network devices. These commands will reset TCP/IP, restore advanced firewall settings, and Winsock reset.
Execute all the commands below in order, even if you encounter errors during execution.
- Press the Win + X key to open the WinX menu.
- Next, click on Windows Terminal (Admin). Click Yes if prompted by User Account Control.
- In the Windows Terminal window, type the following command in the given order:
<code class="hljs bash">netsh int ip resetnetsh advfirewall resetnetsh winsock resetipconfig /flushdnsipconfig /releaseipconfig /renew</code>
- Once all the commands are executed, restart your computer. After the restart, check if the Wi-Fi option is restored.


9. Check For Windows Updates
This is another fix for PCs with a fresh Windows installation. If you haven't already, run the Windows Update tool to check for pending Windows and third-party vendor updates. These updates can contain bug fixes and essential driver releases for the network devices.
- Press Win + I to open Settings.
- Open the Windows update tab in the left pane.
- Click on Check for updates. Windows will take a few seconds to look for new updates. Download and install them and restart your PC to apply the changes if available.
- Next, on the Windows update page, click on Advanced options.
- Scroll down and click on Optional updates.
- Click on Driver updates to view all the available updates. Select any update from your system manufacturer and click Download & install. Restart your PC to apply the changes.


If you don't have access to a wired Internet connection, use your smartphone's tethering capabilities.
Finally, if the problem persists, consider going back to the previous version of Windows 11. This is particularly useful if the Wi-Fi connectivity issue occurs after performing an upgrade.
To do this, open Settings > System > Recovery. Under Recovery options, click the Go back button and follow on-screen instructions to restore the earlier version of Windows.

但是,此功能具有时间敏感性,仅在执行升级后十天内可用。您可以在 Windows 11 中将 10 天回滚期延长至 60 天。
在 Windows 11 中恢复 Wi-Fi 连接
Windows 11 中的 Wi-Fi 可能会因多种原因而停止工作。但是,您通常可以使用内置的网络故障排除程序来修复它。此外,重新安装或更新网络驱动程序以解决问题。
如果系统仍然拒绝检测您的无线网络,请检查您的 Wi-Fi 卡是否存在硬件问题。您可以更换有故障的 Wi-Fi 卡或选择 Wi-Fi 适配器作为快速即插即用解决方案。
以上是如何修复 Windows 11 中丢失的 Wi-Fi 选项的详细内容。更多信息请关注PHP中文网其他相关文章!