react跳轉傳值怎麼實現
- 藏色散人原創
- 2023-01-09 10:17:002505瀏覽
react跳轉傳值的實作方法:1、透過「history.push」或「NavLink」實作頁面跳轉;2、透過「this.props.history.push({pathname: 'login' ,query: {id: ...,name: ...}})this.props.history.push('modify')」實作傳值即可。

本教學操作環境:Windows10系統、react18.0.0版、Dell G3電腦。
react跳轉傳值怎麼實作?
react專案頁面跳轉/傳值
#一、跳轉
1、history.push 跳轉
- 引用withRouter
- 匯出元件時使用
import { withRouter } from 'react-router-dom';

class Header extends React.Component {

}
export default withRouter(Header);
2、NavLink跳轉
import { NavLink } from "react-router-dom";
<navlink>修改密码</navlink>
二、傳值
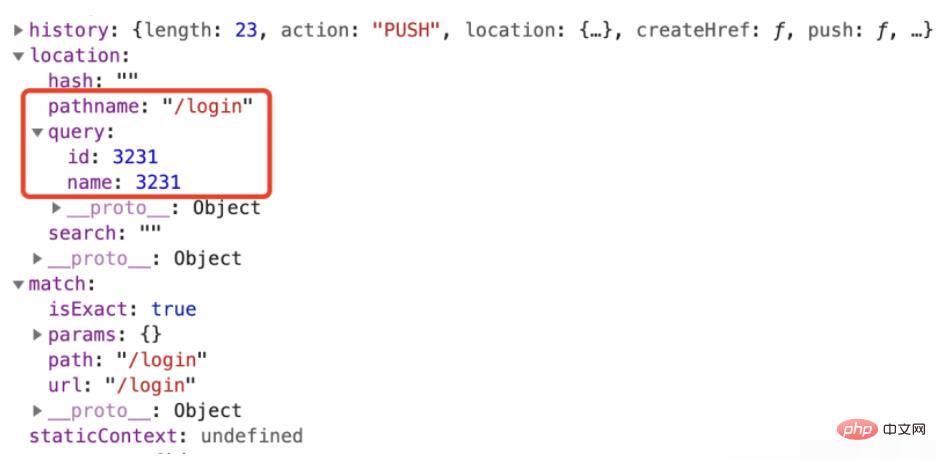
1、路由傳值query/params
this.props.history.push({
    pathname: 'login',
    query: {
        id: 3231,
        name: 3231
    }})this.props.history.push('modify')
2、路由傳值取得參數
this.props.match.query.id // 3231
this.props.match.params.name // 3231
## 3.props傳值
父元件:
state = {
    collapsed: false,};render() {
    const { collapsed } = this.state;
    return (
        <slider></slider>
    )}
子元件:
componentDidMount(){
    // console.log(this.props)
    const { pathname } = this.props.location    if( pathname ) {
        this.setState({
            selectedKeys:this.props.location.pathname        })
    }}
console.log( this.props)
以上是react跳轉傳值怎麼實現的詳細內容。更多資訊請關注PHP中文網其他相關文章!
陳述:
本文內容由網友自願投稿,版權歸原作者所有。本站不承擔相應的法律責任。如發現涉嫌抄襲或侵權的內容,請聯絡admin@php.cn


