留言頁面新增功能
1,留言新增功能前端展示
#這裡需要引入kindeditor編輯器,百度下載一個引進js檔案如下:
<script src="kindeditor/kindeditor/kindeditor-all.js"></script>
並在內容中加入以下程式碼:(#content對應著id屬性)
<script>
window .editor = K.create('#content',{
afterBlur:function(){
});
</script> ;
即可,具體程式碼如下所示:
<!DOCTYPE html>
<html>
    <head>
        <title>留言板</title>
        <meta charset="UTF-8">
        <script src="kindeditor/kindeditor/kindeditor-all.js"></script>
    </head>
    <body>
        <div><h1>留言板</h1></div>
        <div>
            <form action="insertdb.php" method="post">
                标题:<input type="text" id="title" name="title"><br>
                内容:<br><span><textarea name="content" rows="13" cols="80" id="content"></textarea>
                <script>
                    KindEditor.ready(function(K) {
                        window.editor = K.create('#content',{
                            afterBlur:function(){this.sync();}
                        })
                    });
                </script>
                </span>
                <input type="submit" name="dosub" id="btn" value="上传留言">
            </form>
        </div>
    </body>
</html>
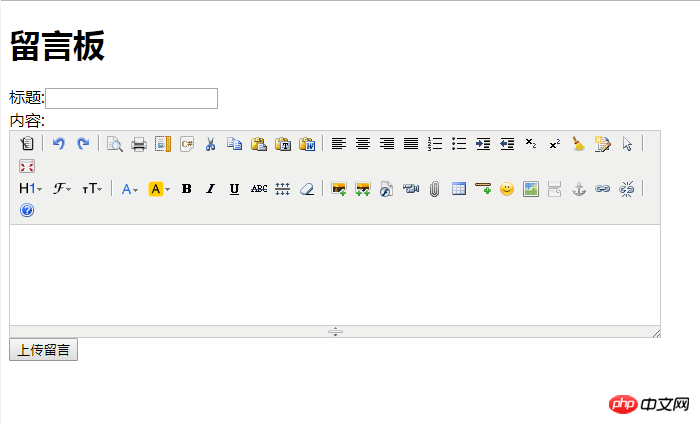
頁面展示如下:

#新insertdb.php:
程式碼如下:
<?php
include './mysqli.php';
header('Content-type:text/html;charset=utf-8');
$tit=$_POST["title"];
$con=$_POST["content"];
$sql="insert into message(title,content) values('$tit','$con')";
if($mysqli->query($sql))
{
    echo "留言成功,3秒后跳转原页面";
}else{
    echo "留言失败,3秒后跳转原页面";
}
header("Refresh:3;url=message.php");
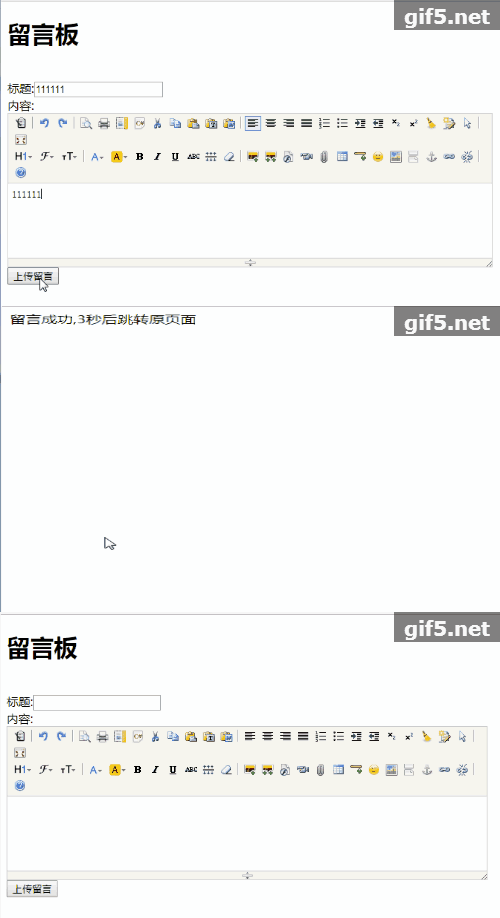
3,效果如下圖所示: 大家可以思考如何用ajax無刷新頁面來做新增功能?(下一節將介紹)
