How to play with (Jiumei) pictures
1. Introduction to this section:
Some questions you may have:
1. What is a .9 picture?
Answer: Pictures with .9 in front of the picture suffix, such as pic1.9.png2. What can .9 pictures be used for? Answer: When the picture is stretched, picture distortion will not occur in specific areas, and the non-distorted areas can be drawn by ourselves 3. .9 What is the picture made of? Answer: If you want to do your job well, you must first sharpen your tools. The tools for making .9 pictures are:
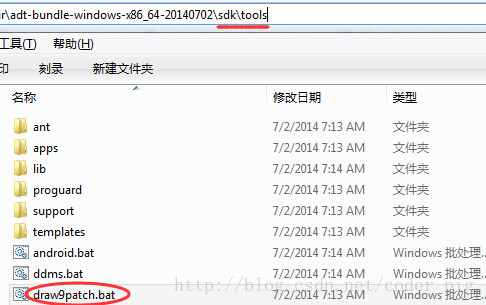
①Android SDK comes with: draw9patch.bat, but this thing has been out for a long time , Google has not updated it...
##②
NinePatchEditor, compared with the built-in one, some optimizations have been made, batch operations are supported, and The interface looks better: If you are interested, you can download it. The one I usually use, download link: NinePatchEditor.zip
③
NinePng Nine-Picture Artifact, the mobile version of .9 processing tool, made It's quite good, but it's a bit troublesome to transfer pictures to each other via wifi. The function is quite powerful. If you are interested, go to the relevant application market to search and download:
④
PhotoShop, this seems to be an exaggeration. Generally, those who use this to make .9 pictures are artists. If you are interested, you can search for relevant tutorials!
2. How to make .9 pictures?
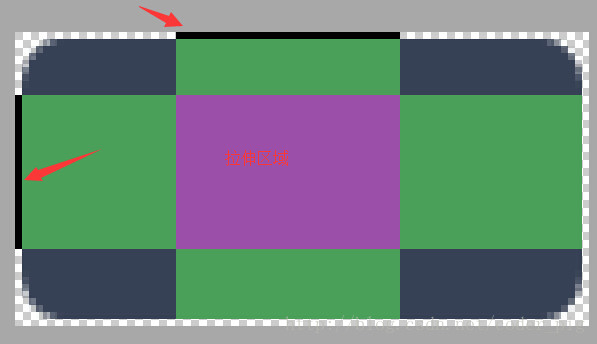
! ! Core points: stretch on the upper left, content on the lower right! ! ! ! ! ! In fact, the core is the above content! Let’s try it out with a picture first!
1. Draw9patch.bat production. 9 picture example: There is such a picture:
, we can set it as a background of TextView through android:blackground of TextView, When the content is small, it is normal. When there is too much content, the following situation may occur:
You will find that the picture is stretched and deformed. Obviously, this does not meet our needs, so we need to do some processing on this picture so that the rounded corners do not stretch with the length, and the middle part is stretched
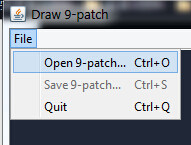
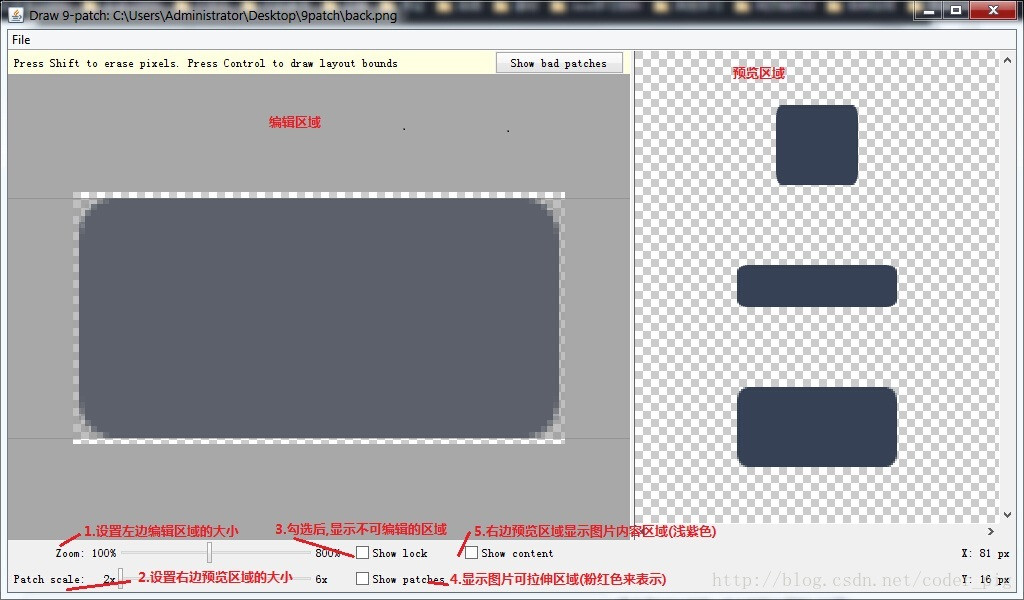
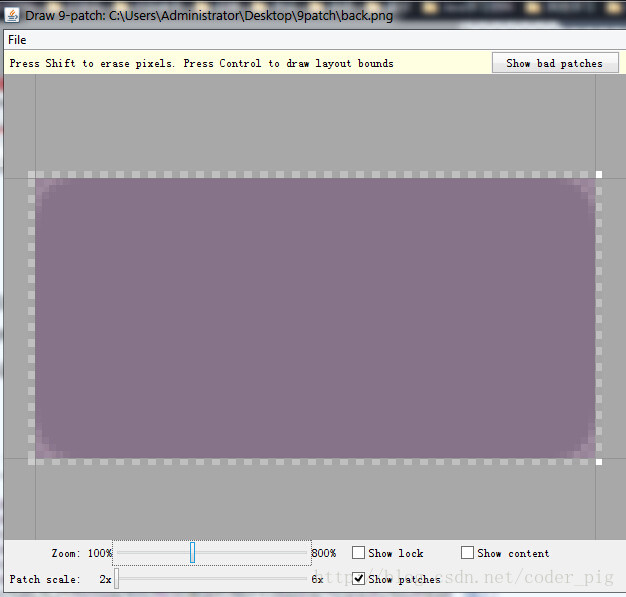
Step 1.Adjust Zoom and Patch scale: Set your own suitable zoom ratio and check show patch You can make Zoom large enough, because we need to deal with "zebra crossings" later
Step 2.Next we only need to operate on "zebra crossings" That’s it: PS: The black line is made up of dots. If you want to eliminate the dots: just hold down the shift point!
Step 3.Save the picture and end with .9.png For example, the file name saved here is back.9.png
; Hey, then add it to our project and set it as the background of TextView:
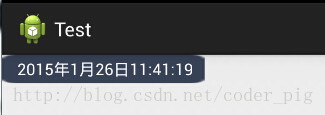
The effect is great. No matter how long the characters we display are, they will be as shown in the picture. As a result, new skills get~
2. See how others do it. 9 pictures:
We may need to do different 9 pictures according to different situations, Let’s enjoy some examples of slightly more complicated .9 pictures made by others! Example:
Original link: http://www.miued.com/2074/Okay, I like this material, I don’t need QAQ!
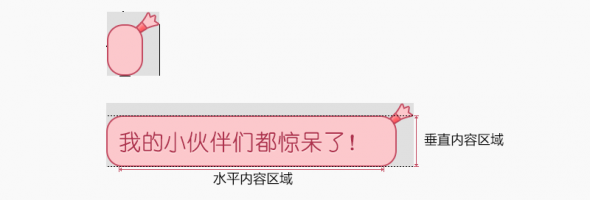
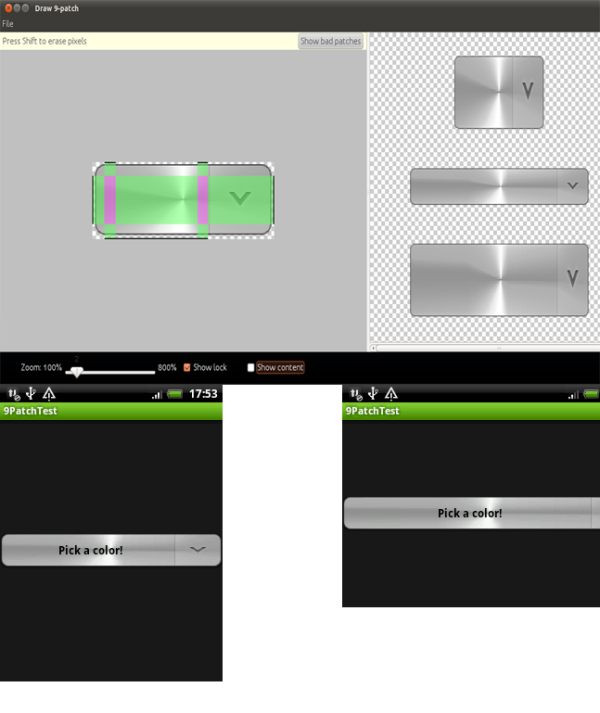
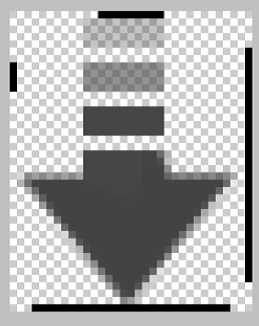
3. Summary of this section: Okay, this section is about .9 Making stretchable pictures That’s it for the tutorial, it’s relatively simple, remember our formula: stretch on the upper left, content on the lower right! After doing a few .9 pictures, I believe you will have a deep understanding of it. Goodbye~
