
집 >운영 및 유지보수 >리눅스 운영 및 유지 관리 >Linux에 Nginx 서버를 설치하는 방법을 가르쳐주세요.
Linux에 Nginx 서버를 설치하는 방법을 가르쳐주세요.

- Y2J원래의
- 2017-05-24 14:01:313070검색
이 글에서는 주로 Linux에서의 Nginx 설치 튜토리얼을 자세히 소개하고 있는데, 관심 있는 친구는
Linux에서 공유하는 Nginx 설치 튜토리얼을 참고할 수 있으며, 구체적인 내용은 다음과 같습니다
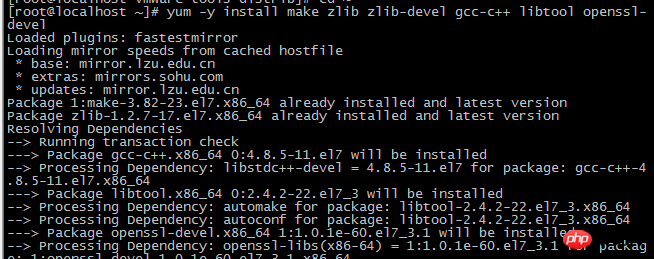
1. 컴파일된 파일 및 라이브러리 파일 설치
yum -y install make zlib zlib-devel gcc-c++ libtool openssl openssl-devel
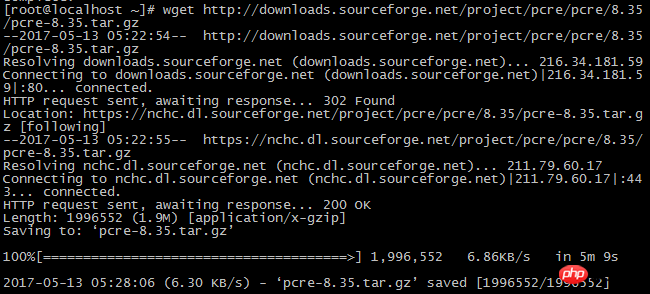
2 . PCRE를 설치하세요. Nginx의 의사 정적 일치 규칙에서는 정규식을 사용해야 합니다.
다운로드 주소 : downloads.sourceforge.net/project/pcre/pcre/8.35/pcre-8.35.tar.gz
wget이 설치되지 않은 경우 wget을 먼저 설치해야 합니다. yum -y install wget.wget은 Linux 환경의 다운로드 도구입니다. wget 명령 사용에 대해서는 이 문서를 참조하세요
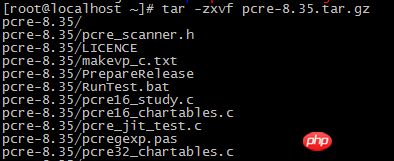
3. pcre 설치 패키지의 압축을 풉니다: tar -zxvf pcre-8.35.tar.gz
4. 설치 디렉터리에 들어가서 컴파일하고 설치합니다
cd pcre-8.35
./configure
make && make install
5. pcre 버전 보기
pcre-config --version

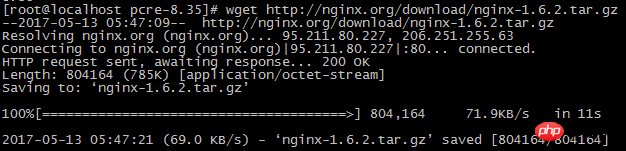
6. Nginx 다운로드
wgethttp:// nginx.org/download/nginx -1.6.2.tar.gz
7. 압축을 풀고 설치 패키지를 입력합니다
8. 컴파일 및 설치
./configure --prefix=/usr/local/webserver/nginx --with-http_stub_status_module --with-http_ssl_module --with-pcre=/usr/local/ src/pcre-8.35
make
make install
9. Nginx 버전 확인

10. Nginx 구성
1) Nginx에서 실행하는 데 사용할 사용자를 만듭니다.
/usr/sbin/groupadd www
/usr/sbin/useradd-g www www
2) nginx.conf를 구성하고 /usr/local/webserver/nginx/conf를 교체합니다. /nginx.conf에 다음 내용이 포함되어 있습니다
user www www;
worker_processes 2; #设置值和CPU核心数一致
error_log /usr/local/webserver/nginx/logs/nginx_error.log crit; #日志位置和日志级别
pid /usr/local/webserver/nginx/nginx.pid;
#Specifies the value for maximum file descriptors that can be opened by this process.
worker_rlimit_nofile 65535;
events
{
 use epoll;
 worker_connections 65535;
}
http
{
 include mime.types;
 default_type application/octet-stream;
 log_format main '$remote_addr - $remote_user [$time_local] "$request" '
  '$status $body_bytes_sent "$http_referer" '
  '"$http_user_agent" $http_x_forwarded_for';

#charset gb2312;

 server_names_hash_bucket_size 128;
 client_header_buffer_size 32k;
 large_client_header_buffers 4 32k;
 client_max_body_size 8m;

 sendfile on;
 tcp_nopush on;
 keepalive_timeout 60;
 tcp_nodelay on;
 fastcgi_connect_timeout 300;
 fastcgi_send_timeout 300;
 fastcgi_read_timeout 300;
 fastcgi_buffer_size 64k;
 fastcgi_buffers 4 64k;
 fastcgi_busy_buffers_size 128k;
 fastcgi_temp_file_write_size 128k;
 gzip on;
 gzip_min_length 1k;
 gzip_buffers 4 16k;
 gzip_http_version 1.0;
 gzip_comp_level 2;
 gzip_types text/plain application/x-javascript text/css application/xml;
 gzip_vary on;

 #limit_zone crawler $binary_remote_addr 10m;
 #下面是server虚拟主机的配置
 server
 {
 listen 80;#监听端口
 server_name localhost;#域名
 index index.html index.htm index.php;
 root /usr/local/webserver/nginx/html;#站点目录
 location ~ .*\.(php|php5)?$
 {
 #fastcgi_pass unix:/tmp/php-cgi.sock;
 fastcgi_pass 127.0.0.1:9000;
 fastcgi_index index.php;
 include fastcgi.conf;
 }
 location ~ .*\.(gif|jpg|jpeg|png|bmp|swf|ico)$
 {
 expires 30d;
 # access_log off;
 }
 location ~ .*\.(js|css)?$
 {
 expires 15d;
 # access_log off;
 }
 access_log off;
 }

}
3) nginx.conf구성 파일
의 정확성을 확인하세요.local/webserver/nginx/sbin/nginx -t

위 내용은 Linux에 Nginx 서버를 설치하는 방법을 가르쳐주세요.의 상세 내용입니다. 자세한 내용은 PHP 중국어 웹사이트의 기타 관련 기사를 참조하세요!