Yii2 프레임워크 연구 노트(5) -- 백엔드용 스킨 변경
- 黄舟원래의
- 2016-12-30 09:53:361796검색
프런트엔드와 백엔드를 구분하고 백엔드용 AdminLTE 스킨을 변경합니다.
인터넷에 기성 yii2 adminLTE 플러그인이 있으니 직접 사용해 보세요.
composer.json의 require 노드에 다음 콘텐츠를 추가하세요.
"require": {
         ...
         "dmstr/yii2-adminlte-asset": "2.*",
         ...
    },
작곡기 업데이트 설치 코드를 실행하세요.
설치가 완료된 후 /vendor/dmstr/yii2-adminlte-asset/example-views/yiisoft/yii2-app 아래의 site/layouts 폴더 내용을 복사하여 /backend/views 아래의 내용을 덮어씁니다. / 같은 이름의 폴더입니다.
약간의 변경을 해보세요.
backend/views/layouts/main.php, 내부 프롬프트에 따라 아래와 같이 첫 번째 if의 콘텐츠를 삭제합니다.
<?php
use yii\helpers\Html;
/* @var $this \yii\web\View */
/* @var $content string */
if (class_exists('backend\assets\AppAsset')) {
backend\assets\AppAsset::register($this);
} else {
app\assets\AppAsset::register($this);
}
dmstr\web\AdminLteAsset::register($this);
$directoryAsset = Yii::$app->assetManager->getPublishedUrl('@vendor/almasaeed2010/adminlte/dist');
?>
<?php $this->beginPage() ?>
<!DOCTYPE html>
<html lang="<?= Yii::$app->language ?>">
<head>
<meta charset="<?= Yii::$app->charset ?>"/>
<meta name="viewport" content="width=device-width, initial-scale=1">
<?= Html::csrfMetaTags() ?>
<title><?= Html::encode($this->title) ?></title>
<?php $this->head() ?>
</head>
<body class="hold-transition skin-blue sidebar-mini">
<?php $this->beginBody() ?>
<div>
<?= $this->render(
'header.php',
['directoryAsset' => $directoryAsset]
) ?>
<?= $this->render(
'left.php',
['directoryAsset' => $directoryAsset]
)
?>
<?= $this->render(
'content.php',
['content' => $content, 'directoryAsset' => $directoryAsset]
) ?>
</div>
<?php $this->endBody() ?>
</body>
</html>
<?php $this->endPage() ?>그런 다음 backend/controllers/SiteController.php에서 aiontLogin에서 로그인에 사용해야 하는 레이아웃을 가리킵니다.
public function actionLogin()
    {
        if (!\Yii::$app->user->isGuest) {
            return $this->goHome();
        }
        // add this line to use the right layout
        $this->layout = '//main-login';
        $model = new LoginForm();
        if ($model->load(Yii::$app->request->post()) && $model->login()) {
            return $this->goBack();
        } else {
            return $this->render('login', [
                'model' => $model,
            ]);
        }
    }
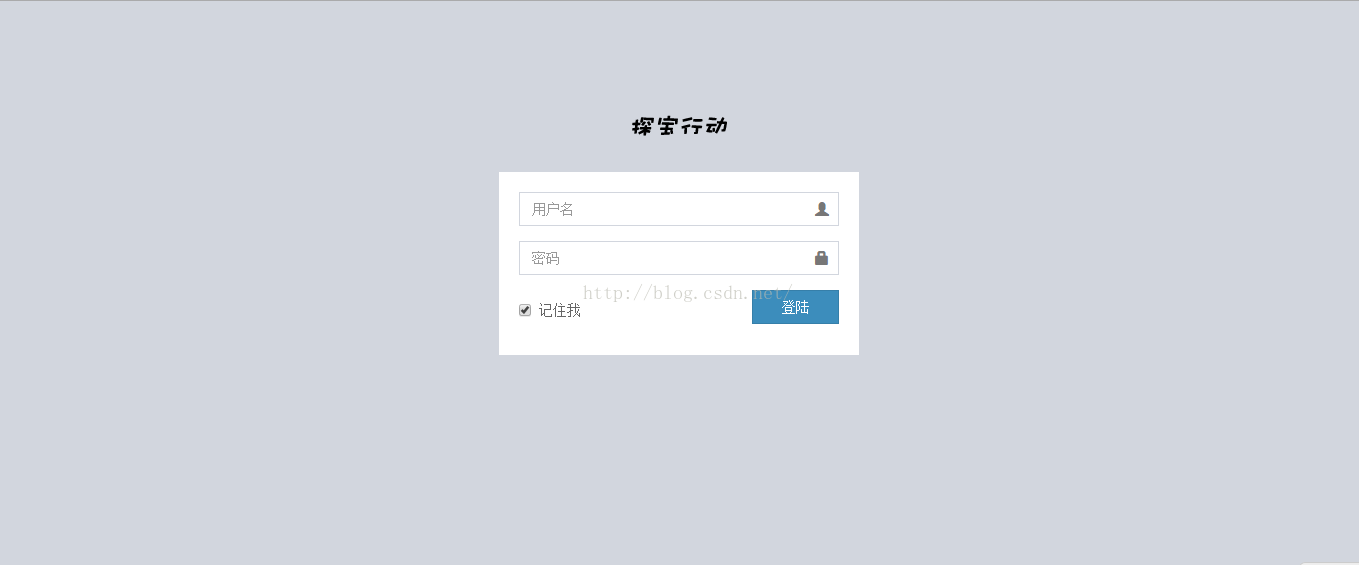
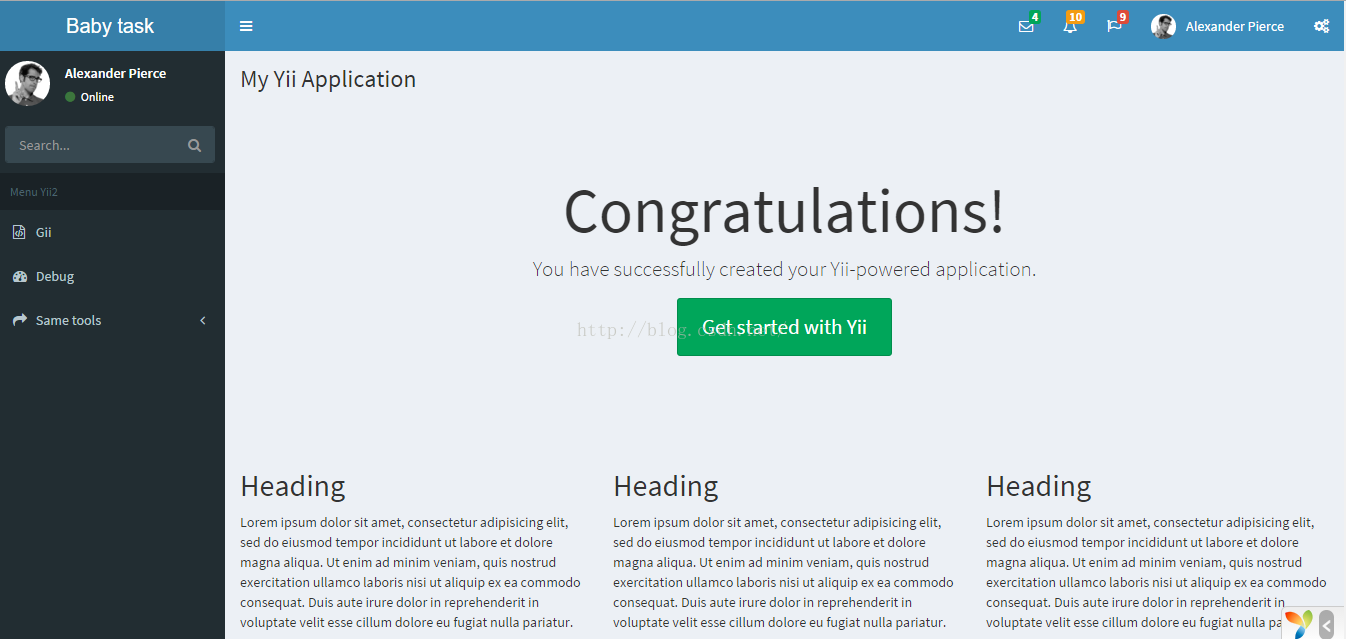
완성된 효과는 다음과 같습니다.


위는 Yii2 프레임워크 연구 노트(5) - 배경 스킨을 변경하는 내용입니다. , PHP 중국어 넷(www.php.cn)에 주목해주세요!
성명:
본 글의 내용은 네티즌들의 자발적인 기여로 작성되었으며, 저작권은 원저작자에게 있습니다. 본 사이트는 이에 상응하는 법적 책임을 지지 않습니다. 표절이나 침해가 의심되는 콘텐츠를 발견한 경우 admin@php.cn으로 문의하세요.

