Smarty 템플릿의 첫 번째 데모를 간단하게 적용
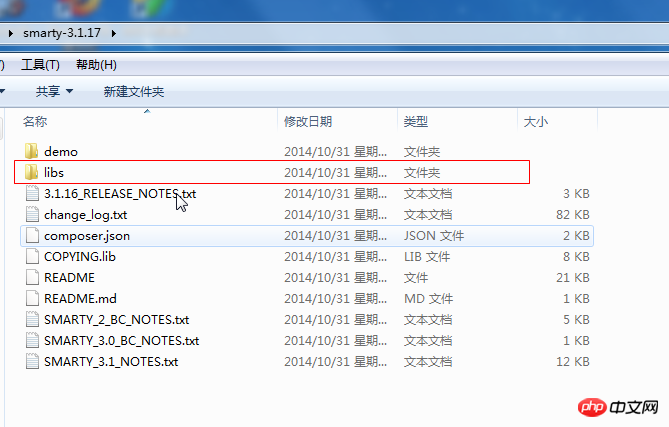
1. 압축을 풀면 다운로드한 압축 패키지는 다음과 같습니다.

디렉터리에 있는 데모 폴더는 샘플 파일입니다. Lib은 프로그램 파일입니다.
/libs/Smarty.class.php #메인 파일
/libs/sysplugins/ #내부 플러그인
/libs /plugins/ #외부 플러그인, 자유롭게 확장 가능
libs 패키지만 사용하면 됩니다. libs 패키지 프로젝트의 루트 디렉토리
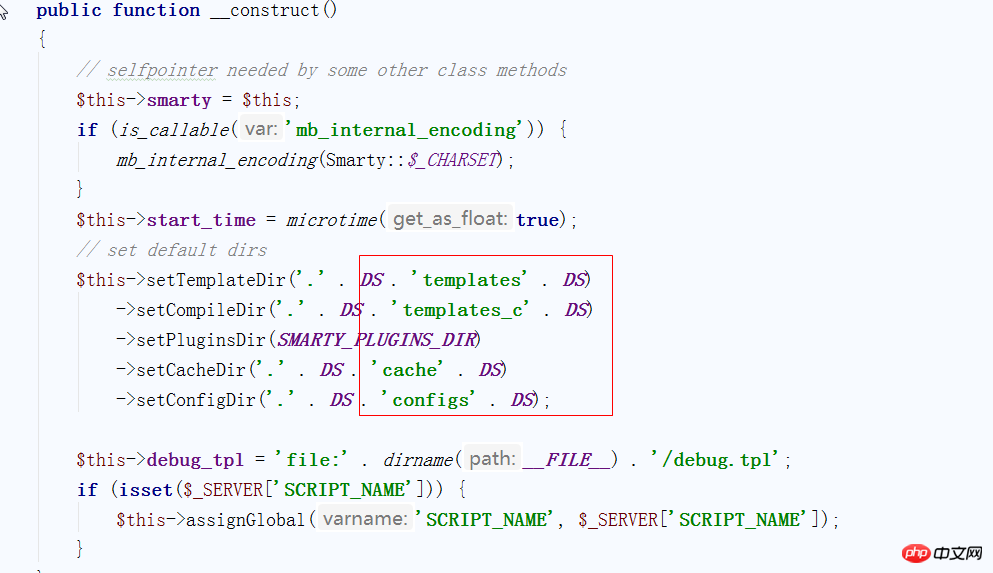
로 이동하여 Smarty.class.php 파일을 엽니다:
생성자 보기

/cahce/ #캐시 파일 배치
/configs / #로드할 수 있는 구성 배치 파일
/templates/ #템플릿 파일 배치
/templates_c/ #컴파일된 템플릿 파일 배치
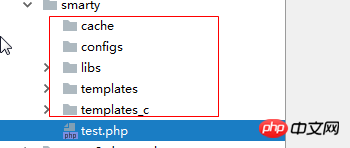
2, libs 루트 디렉토리에 이 4개의 폴더를 생성합니다

3 , 템플릿 파일에 새 test.html 파일을 만듭니다.
코드는 다음과 같습니다.
<!DOCTYPE html>
<html lang="en">
<head>
    <meta charset="UTF-8">
    <title>test</title>
</head>
<body>
我们网站的网址是:{$add}
</body>
</html>
4 루트 디렉터리에 새 test.php 파일을 만듭니다.
코드.
<?php
/**
 * Created by PhpStorm.
 * User: Administrator
 * Date: 2018/3/12 0012
 * Time: 下午 12:56
 */
require './libs/Smarty.class.php';
$smarty=new Smarty();
$add='www.php.cn';
$smarty->assign( 'add' , $add );
$smarty->display('./templates/test.html');
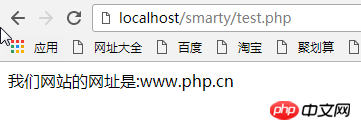
5. index.php를 실행하면
이 표시됩니다.

