Development strategy_Client-side
Reading Prerequisites
This development guide is suitable for the authorization verification process of obtaining Access Token using the Implicit Grant method, and is suitable for methods that require client access. For example, when accessing through the browser's javascript code or the client on a computer/mobile terminal.
Before reading this development guide, please read [QQ Login] Using Implicit Grant to Obtain Access Token to understand the authentication process.
1. Try it out
1. Browser visit: http://qzs.qq.com/qzone/openapi/client .html .
2. Click the "Login" button on the page: 
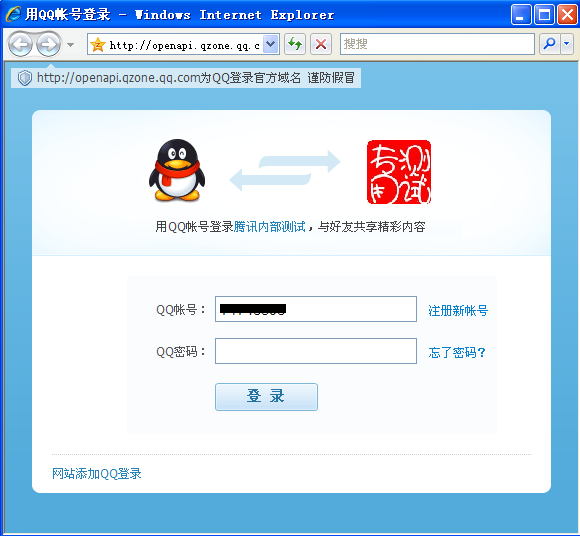
3. Enter the QQ account number and password in the pop-up login box: 
4. Log in successfully After that, jump to the specified callback address, with Access Token in the URL: 
2. Get started quickly
Preparation
1. Please ensure that your website has submitted an application for QQ login and successfully obtained the appid and appkey. Apply for access
2. Please ping openapi.qzone.qq.com on your server to ensure that the connection between the website and Qzone is smooth.
Step1: Place the QQ login button
The website needs to download the "QQ login" button image and place the button appropriately on the page in accordance with the UI specifications s position.
Button Icon Download Button Placement Specification
Step2: Obtain Access Token
1. Open the browser and visit the following address (please enter Replace client_id, redirect_uri, scope and other parameter values with your own):
https://graph.qq.com/oauth2.0/authorize?response_type=token&client_id=[YOUR_APPID] &redirect_uri=[YOUR_REDIRECT_URI]&scope=[THE_SCOPE]
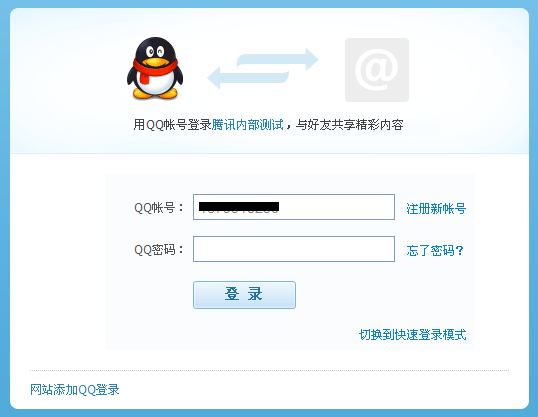
2. If the user is already logged in, a confirmation page will pop up. If you have not logged in, the login page will pop up, as shown below: 
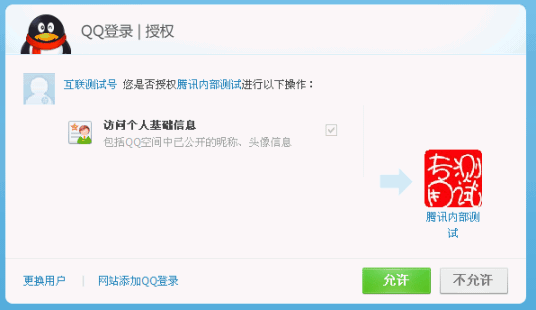
3. After successful login, the authorization box will pop up to guide the user to authorize (the authorization page will only appear when accessing an OpenAPI for the first time) ), as shown in the figure below: 
Note:
If the user does not allow it, the access operation will be aborted.
It is recommended that third-party applications control authorization items, that is, only the OpenAPI name that must be used is passed in the parameter value scope. Because the more authorization items there are, the more likely the user is to deny authorization.
4. If the user allows authorization, successfully jump to the specified redirect_uri, add "#" after the URL, and bring Access Token, expires_in and other parameters. If there is already a "#" sign after the redirect_uri address, add an "&" sign and bring the corresponding return parameters.
For example, the callback address is: www.qq.com, it will jump to:
http://www.qq.com/?#access_token=YOUR_ACCESS_TOKEN&expires_in=3600
Special Tips:
1. The redirect_uri passed in during the request must be consistent with the callback address filled in during registration, which is used for authentication of third-party applications. .
2. You can use the js method: window.location.hash to get the parameter value after # in the URL. See the sample code below for details.
3. It is recommended to use js to set cookies to store tokens.
4. The access token obtained is valid for 3 months and will be automatically refreshed when the user logs in again.
#Step3: Use Access Token to obtain the user’s OpenID
1. Send a request to the following address (please put Replace parameter values such as access_token with your own):
https://graph.qq.com/oauth2.0/me?access_token=YOUR_ACCESS_TOKEN
2. Obtain the user OpenID and return the following package:
callback( {"client_id":"YOUR_APPID","openid":"YOUR_OPENID"} );Step4: Use Access Token and OpenID to access and modify user data
1. It is recommended that the website call the get_user_info interface after the user logs in to obtain the The user's avatar and nickname are displayed on the website, making the user experience unified.
2. Call other OpenAPI to access and modify user data. For all OpenAPI details, please refer to the [QQ Login] API document.
Take calling the get_user_info interface as an example:
(1) Send a request to the URL of get_user_info (please replace the access_token, appid and other parameter values with your own):
https://graph.qq.com/user/get_user_info?access_token=YOUR_ACCESS_TOKEN&oauth_consumer_key=YOUR_APP_ID&openid=YOUR_OPENID
## (2) After successful return, you can obtain User data:
   "ret":0,
   "msg":"",
   "nickname":"YOUR_NICK_NAME",
   ...
}
3. Sample code
The following is a JavaScript Sample (you only need to modify part of the code according to the comments to run)
; Script & gt;
Function callback (user)
{
var username = documetelementByid ('username'); ATETEXTNODE ('Greetings,' User.openid '.'. ' );
userName.appendChild(greetingText); //success Please change the callback address after authorization to your own. # if (window.location.hash.length == 0)
{
var path = 'https://graph.qq.com/oauth2.0/authorize?';
var queryParams = [ 'client_id=' appID,'redirect_uri=' redirectURI,'
scope=' 'get_user_info,list_album,upload_pic,add_feeds,do_like','response_type=token'];
var que ry = queryParams.join ('&');
var url = path query;
window.open(url);
}
. //Use Access Token to obtain the user's OpenID
var path = "https://graph.qq.com/oauth2.0/me?";
var queryParams = [accessToken, 'callback=callback'];
var query = queryParams.join('&');
var url = path query;
var script = document.createElement('script');
script.src = url;
document .body.appendChild(script); Using JS SDK
In order to allow applications to access faster, Tencent provides JS SDK. Applications only need to introduce js scripts and make a small amount of code modifications to access QQ login. The process is very simple. fast.


