
ホームページ >バックエンド開発 >Python チュートリアル >Python で dwebsocket を使用してバックエンド データのリアルタイム更新を実現する方法
Python で dwebsocket を使用してバックエンド データのリアルタイム更新を実現する方法

- 王林転載
- 2023-05-10 15:34:061121ブラウズ
スケジュールされたタスクを実行するとき、実行率またはリアルタイム データの返還を知る必要があります。このときに使用できる方法は
1 です。Ajax がバックエンド サーバーに要求し、その後、フロントエンド ページが部分的にレンダリングされてパーセンテージを取得します
2. 長時間の接続通信には webscoket を使用し、更新します
Ajax の使用法では、interval 関数を使用してタイミング リクエストを実装します。
次の内容を views.py ファイルに追加します
from django.shortcuts import render,HttpResponse
from dwebsocket.decorators import accept_websocket
import time,random
import uuid
import json
@accept_websocket
def test_websocket(request):
cnt=1
if request.is_websocket():
while True:
messages = {
'time': time.strftime('%Y.%m.%d %H:%M:%S', time.localtime(time.time())),
'server_msg': 'hello%s'%time.time(),
'client_msg': 'msg%s'%time.time()
}
time.sleep(1)
cnt+=1
if cnt<=10:
request.websocket.send(json.dumps(messages))
else:
break
def test_websocket_client(request):
return render(request,'websocket_client.html',locals())Settings.py ファイルに dwebsocket を追加します
INSTALLED_APPS = [
'django.contrib.admin',
'django.contrib.auth',
'django.contrib.contenttypes',
'django.contrib.sessions',
'django.contrib.messages ',
'django.contrib.staticfiles',
'dwebsocket'
]
関連リンクを urls.py ファイルに追加します
urlpatterns = [
    path('test_websocket', views.test_websocket, name='test_websocket'),
    path('test_websocket_client', views.test_websocket_client, name='test_websocket_client'),
]
直接アップロードHTML コード
<!DOCTYPE html>
<html lang="en">
<head>
<meta charset="UTF-8">
<title>dwebsocket实践</title>
<script src="http://code.jquery.com/jquery-1.11.1.min.js"></script>
<script type="text/javascript">
$(function () {
// $('#send_message').click(
// function() {
var socket = new WebSocket("ws://" + window.location.host + "/test_websocket");
socket.onopen = function () {
console.log('WebSocket open');//成功连接上Websocket
// socket.send($('#message').val());//发送数据到服务端
};
socket.onmessage = function (e) {
// console.log('message: ' + e.data);//打印服务端返回的数据
$('#messagecontainer').text('<p>' + JSON.parse(e.data).client_msg + '</p>'+'<p>' + JSON.parse(e.data).server_msg + '</p>');
// $('#messagecontainer').text('<p>' + JSON.parse(e.data).server_msg + '</p>');
};
socket.onclose=function () {
console.log("连接已关闭")
}
// });
});
</script>
</head>
<body>
<input type="text" id="message" value="请输入发送消息!" />
<button type="button" id="send_message">send message</button>
<h2>接受到消息</h2>
<div id="messagecontainer">
</div>
</body>
</html>次にプログラムを実行します
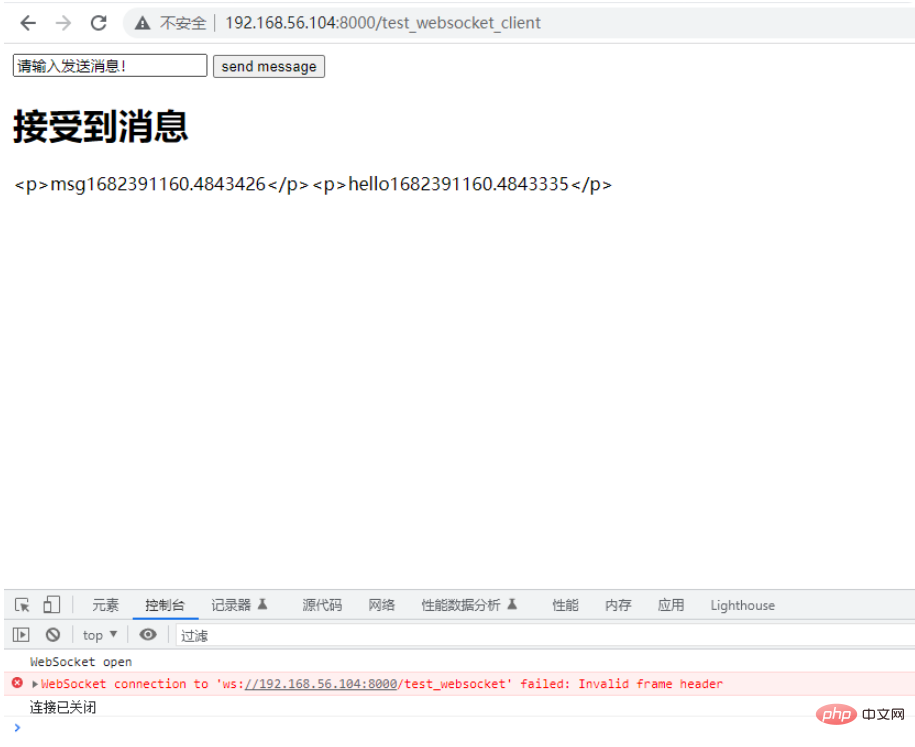
10 秒後に切断すると、望む結果が得られます
用事がある場合必要に応じて、test_websocket のロジックを変更し、返された結果に基づいてレンダリングできます
以上がPython で dwebsocket を使用してバックエンド データのリアルタイム更新を実現する方法の詳細内容です。詳細については、PHP 中国語 Web サイトの他の関連記事を参照してください。