Yii2 フレームワーク学習メモ (5) -- バックエンドのスキンの変更
- 黄舟オリジナル
- 2016-12-30 09:53:361852ブラウズ
フロントエンドとバックエンドを区別し、バックエンドの AdminLTE スキンを変更します。
インターネット上には yii2 用の既製の adminLTE プラグインがあり、それを直接使用します。
次のコンテンツをcomposer.jsonのrequireノードに追加します
"require": {
         ...
         "dmstr/yii2-adminlte-asset": "2.*",
         ...
    },
Composerアップデートのインストールコードを実行します。
インストールが完了したら、/vendor/dmstr/yii2-adminlte-asset/example-views/yiisoft/yii2-app の下にある site/layouts フォルダーの内容をコピーして、/backend/ の下にある同じ名前のフォルダーを上書きします。ビュー/。
少し修正しました。
backend/views/layouts/main.php 内のプロンプトに従って、以下に示すように最初の if のコンテンツを削除します。
<?php
use yii\helpers\Html;
/* @var $this \yii\web\View */
/* @var $content string */
if (class_exists('backend\assets\AppAsset')) {
backend\assets\AppAsset::register($this);
} else {
app\assets\AppAsset::register($this);
}
dmstr\web\AdminLteAsset::register($this);
$directoryAsset = Yii::$app->assetManager->getPublishedUrl('@vendor/almasaeed2010/adminlte/dist');
?>
<?php $this->beginPage() ?>
<!DOCTYPE html>
<html lang="<?= Yii::$app->language ?>">
<head>
<meta charset="<?= Yii::$app->charset ?>"/>
<meta name="viewport" content="width=device-width, initial-scale=1">
<?= Html::csrfMetaTags() ?>
<title><?= Html::encode($this->title) ?></title>
<?php $this->head() ?>
</head>
<body class="hold-transition skin-blue sidebar-mini">
<?php $this->beginBody() ?>
<div>
<?= $this->render(
'header.php',
['directoryAsset' => $directoryAsset]
) ?>
<?= $this->render(
'left.php',
['directoryAsset' => $directoryAsset]
)
?>
<?= $this->render(
'content.php',
['content' => $content, 'directoryAsset' => $directoryAsset]
) ?>
</div>
<?php $this->endBody() ?>
</body>
</html>
<?php $this->endPage() ?>次に、backend/controllers/SiteController.php で、aiontLogin でのログインに使用する必要があるレイアウトをポイントします。
public function actionLogin()
    {
        if (!\Yii::$app->user->isGuest) {
            return $this->goHome();
        }
        // add this line to use the right layout
        $this->layout = '//main-login';
        $model = new LoginForm();
        if ($model->load(Yii::$app->request->post()) && $model->login()) {
            return $this->goBack();
        } else {
            return $this->render('login', [
                'model' => $model,
            ]);
        }
    }
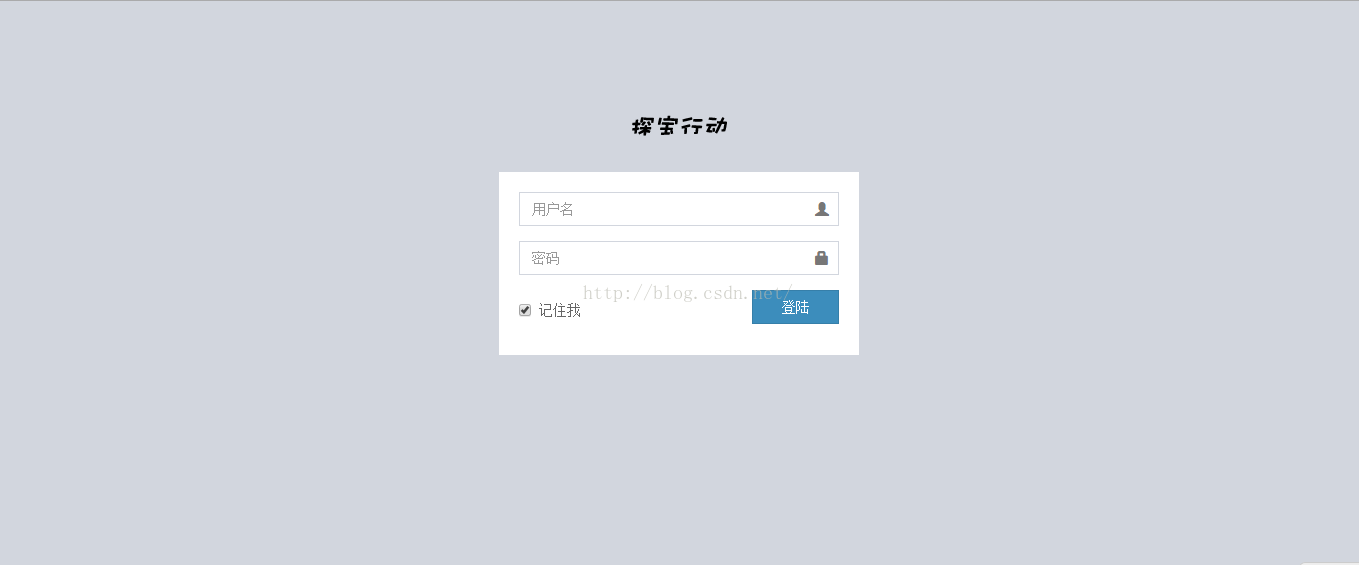
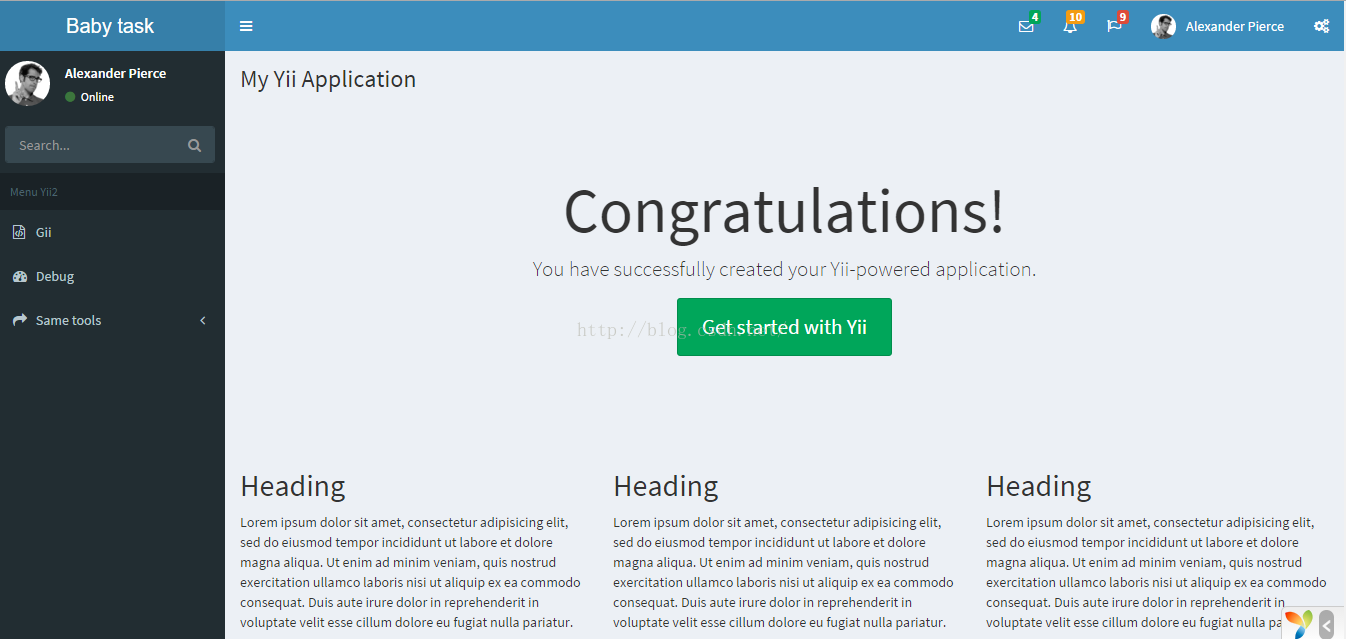
完了後の結果は以下の通りです。


以上、Yii2フレームワーク学習メモ(5) - 背景のスキン変更の内容です。 関連内容はPHP中国語サイト(www.php.cn)をご覧ください。 !
声明:
この記事の内容はネチズンが自主的に寄稿したものであり、著作権は原著者に帰属します。このサイトは、それに相当する法的責任を負いません。盗作または侵害の疑いのあるコンテンツを見つけた場合は、admin@php.cn までご連絡ください。

