
Home >Web Front-end >JS Tutorial >Introduction, installation and configuration of Node.js study notes_node.js
Introduction, installation and configuration of Node.js study notes_node.js

- WBOYWBOYWBOYWBOYWBOYWBOYWBOYWBOYWBOYWBOYWBOYWBOYWBOriginal
- 2016-05-16 16:11:231197browse
Simply put, Node.js is JavaScript running on the server side.
Node.js is a platform built on the Chrome JavaScript runtime.
Node.js is an event-driven I/O server-side JavaScript environment based on Google's V8 engine. The V8 engine executes Javascript very quickly and has very good performance.
Who is suitable to read this tutorial?
If you are a front-end programmer and you don’t know dynamic programming languages such as PHP, Python or Java, and you want to create your own service, then Node.js is a very good choice.
Node.js is JavaScript running on the server side. If you are familiar with Javascript, then you will easily learn Node.js.
Of course, if you are a back-end programmer and want to deploy some high-performance services, then learning Node.js is also a very good choice.
What you need to know before learning this tutorial
Before continuing with this tutorial, you should know some basic computer programming terminology. If you have studied Javascript, PHP, Java and other programming languages, it will help you understand Node.js programming faster.
Node.js installation and configuration
Here, I will show you how to install Node.js on Windows and Linux. The software installation version takes 0.12.0 as an example.
Node.js official installation package and source code download address: http://nodejs.org/download/
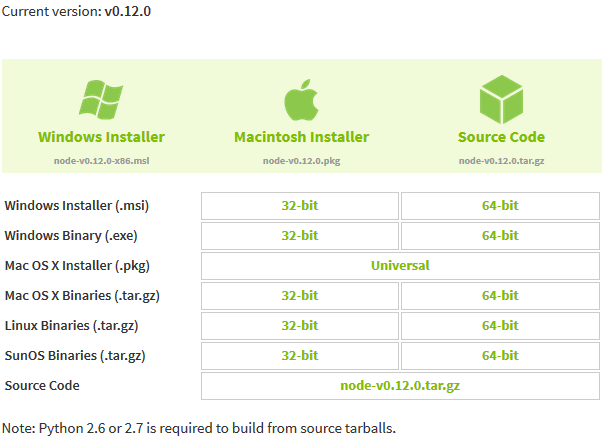
Depending on the platform, you need to select the required Node.js installation package.
Note: Installing Node.js on Linux requires Python 2.6 or 2.7. It is not recommended to install Python 3.0 or above.
Install Node.js on Windows
windows installation package (.msi):
You can download it from the official download address provided above.
Demo environment:
Operating system: Windows 8.1 Enterprise x64
Node.js version: 0.12.0
Installation steps:
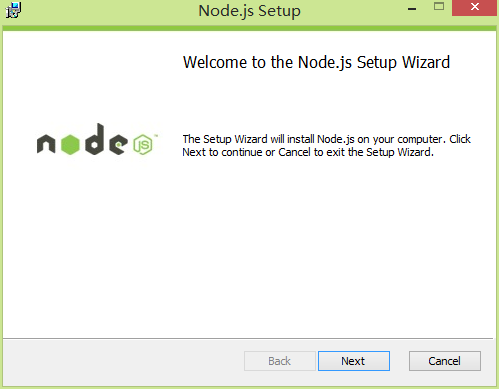
Step 1: Double-click the downloaded installation package "node-v0.12.0-x64.msi" to display the welcome interface, as shown below:
Step 2: Click Next to display the Node.js license agreement page:
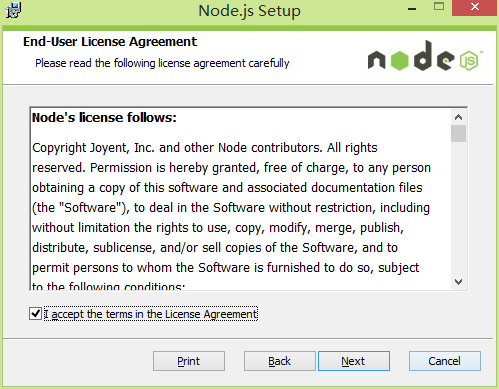
Step 3: Check "I accept the terms in the License Agreement" to agree to the license agreement, and click Next. The following interface will appear:
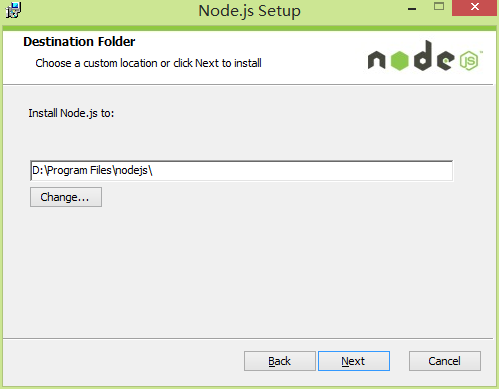
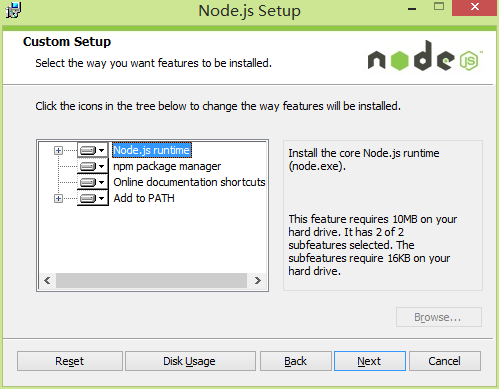
Step 4: The default installation path of Node.js is "C:Program Filesnodejs", you can modify it. Here I changed it to the D drive, click Next, and the installation mode and module selection interface appears:
Step 5: Here I directly default to Next, ready to install:
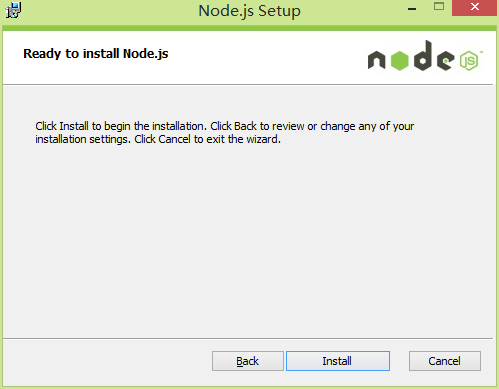
Step 6: After confirming that everything is correct, click Install to start the installation:
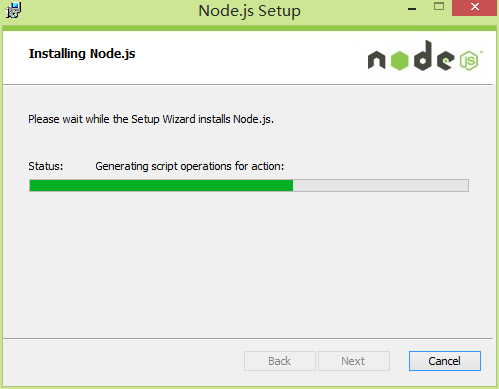
Step 7: After half a minute, the installation is completed, click Finish:

Step 8: Configure environment variables:
By default, after Node.js is installed, the directory path of node.exe will be automatically configured in the system's path environment variable. However, after the installation is completed, you may get an error when entering node under the dos command.
Open the system environment variables and find that they have indeed been configured, but you cannot see the nodejs configuration when running "set path" under DOS. That is a problem of character. . Just restart the computer and reload.
You can also delete the automatically configured ones and add them manually. As follows:
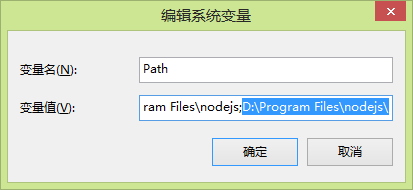
Open Computer Properties-Advanced-Environment Variables and find the path variable in the system variable list:
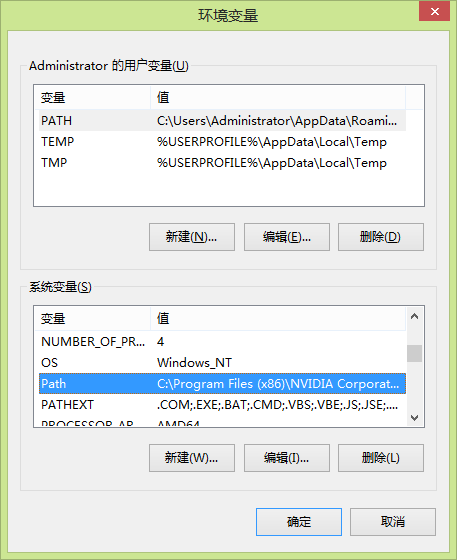
Click "Edit" and add the nodejs installation directory at the end:
Step 9: Check whether the installation is successful:
Click Start-Run-cmd, open dos, enter "node --version" to check the Node.js version:
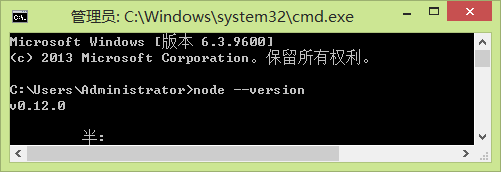
If it displays normally, OK, the installation is complete!
Installing Node.js on Linux
Ubuntu source code installation
In the following section we will introduce the installation of Node.js under Ubuntu Linux. For other Linux systems, such as Centos, the installation steps are similar to the following.
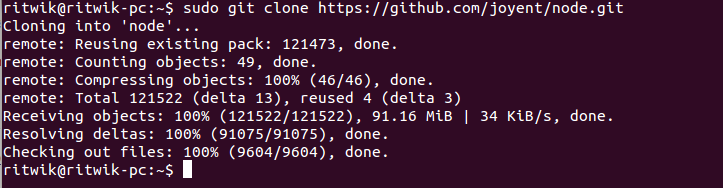
Obtain the Node.js source code on Github, or download it from the official website:


After completing the download, change the source code package name to 'node'.
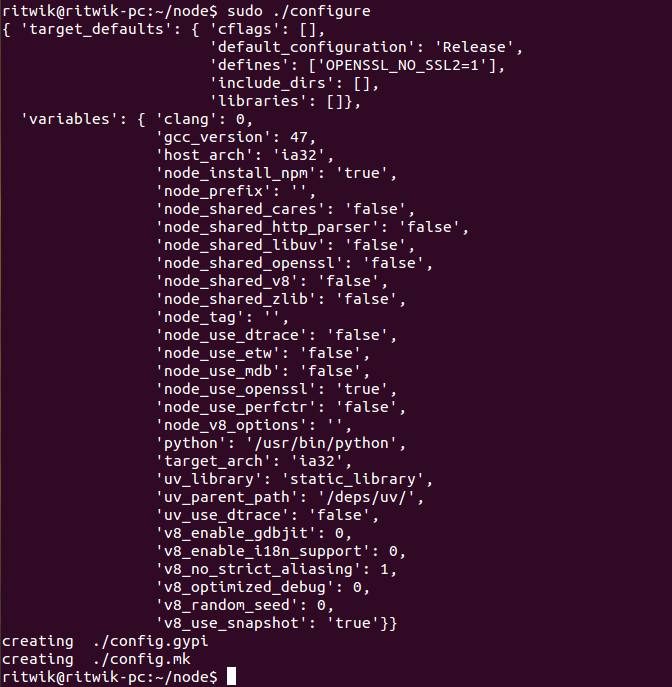
Modify directory permissions:

Use './configure' to create a compiled file.
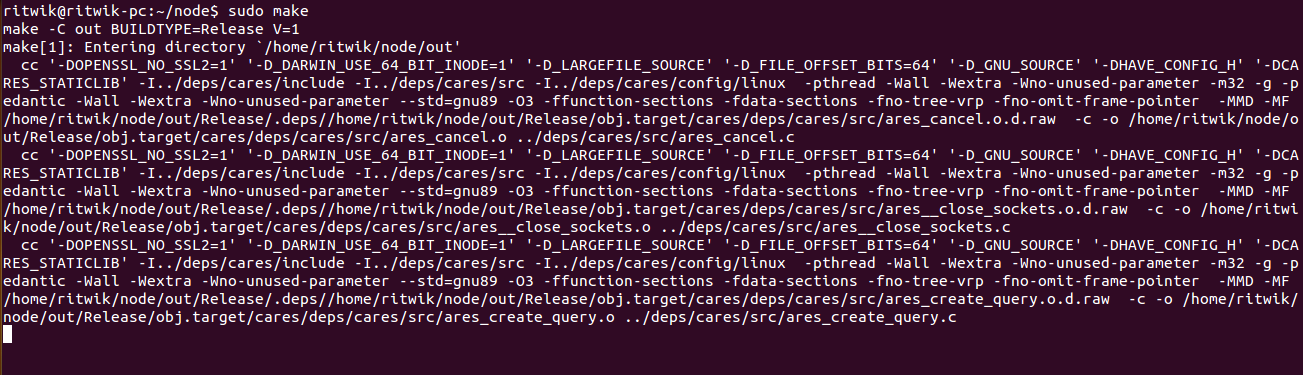
Compile: make.
Complete the installation: make install.

Finally, we enter the 'node --version' command to check whether Node.js is installed successfully.

Ubuntu apt-get command installation
The command format is as follows:
sudo apt-get install nodejs
sudo apt-get install npm
Installing nodejs under centOS
1. Download the source code . You need to download the latest Nodejs version at http://nodejs.org/. This article takes v0.12.0 as an example:
2. Unzip the source code:
3. Compile and install:
cd node-v0.12.0
./configure --prefix=/usr/local/node/0.12.0
make
make install
4. Configure NODE_HOME and enter profile to edit environment variables:
Set the nodejs environment variable and add the following content above the export PATH USER LOGNAME MAIL HOSTNAME HISTSIZE HISTCONTROL line:
#set for nodejs
export NODE_HOME=/usr/local/node/0.12.0
export PATH=$NODE_HOME/bin:$PATH
:wq save and exit, compile /etc/profile to make the configuration take effect
Verify whether the installation and configuration are successful
Output v0.12.0 indicates successful configuration.
npm module installation path
The above is the entire introduction, installation and configuration of node.js in this article. We will continue to update this series in the future, hoping to be helpful to everyone.
Related articles
See more- An in-depth analysis of the Bootstrap list group component
- Detailed explanation of JavaScript function currying
- Complete example of JS password generation and strength detection (with demo source code download)
- Angularjs integrates WeChat UI (weui)
- How to quickly switch between Traditional Chinese and Simplified Chinese with JavaScript and the trick for websites to support switching between Simplified and Traditional Chinese_javascript skills