
Home >Software Tutorial >Computer Software >How to set indent alignment in InDesign. Specific steps to set indent alignment in InDesign.
How to set indent alignment in InDesign. Specific steps to set indent alignment in InDesign.

- PHPzforward
- 2024-05-09 12:25:34656browse
Indentation alignment is an essential skill when typesetting text. However, how to set indent alignment in InDesign can be confusing. In order to help everyone solve this problem, PHP editor Zimo will provide you with a detailed guide to explain step by step the specific steps to set indent alignment in InDesign. By reading the following content, you will fully master the techniques of indent alignment in InDesign, thereby improving typesetting efficiency and aesthetics.
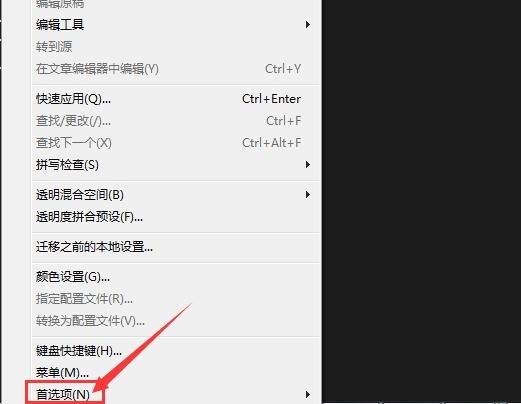
1. First, in InDesign, click the Preferences button in the Edit menu
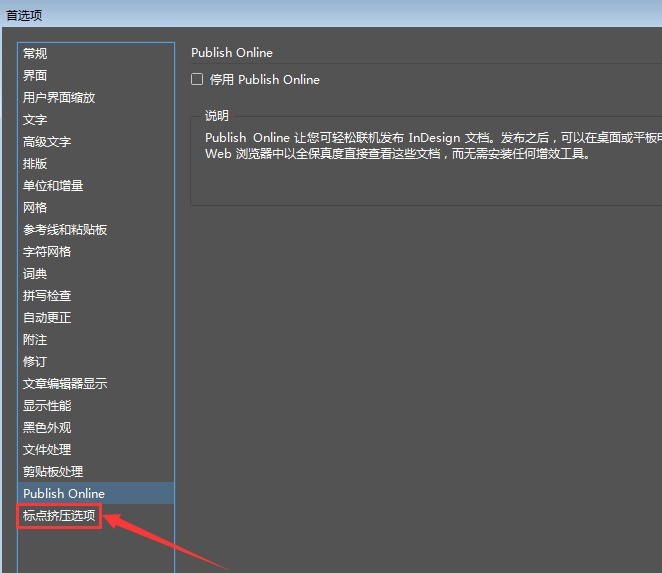
2. Then, open the General Settings panel and find the Mojikumi option
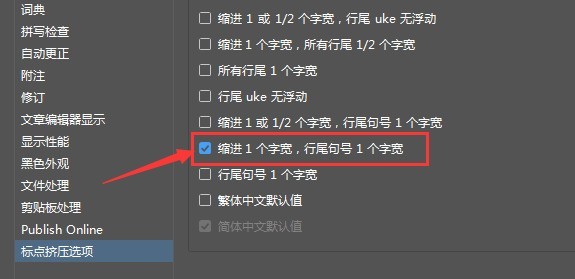
3. Finally, click the mouse to check the Indent 1 character width, end of line period 1 character width button
InDesign settings indentation The editor has shared the specific steps for alignment here. I hope it can help everyone.
The above is the detailed content of How to set indent alignment in InDesign. Specific steps to set indent alignment in InDesign.. For more information, please follow other related articles on the PHP Chinese website!