首先是烟雾的后期处理比较繁琐,需要把方向不同的烟雾处理成同一个方向扩充的效果。还有虎头部分的处理也比较难,要按照虎头的构造,用高光或烟雾笔刷刷出虎头的形状。由于是翻译教程很多素材需要自己去网上下载类似的。
最终效果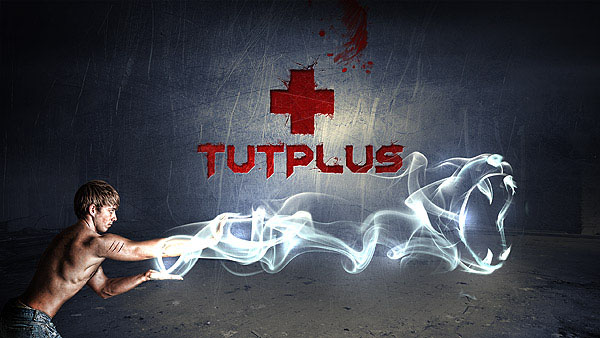
1、在Photoshop中创建一个新文件。我使用的屏幕分辨率为1920 × 1200,用灰色(#b8b8b8)填充画布。 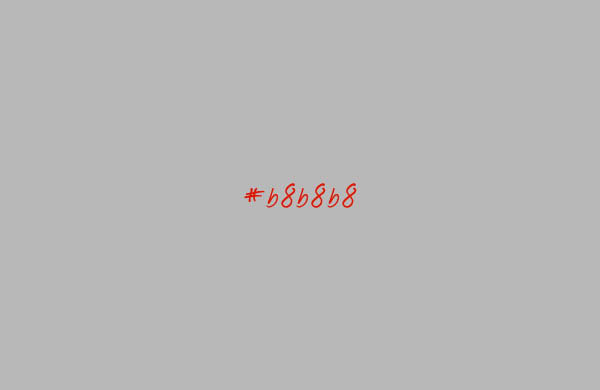
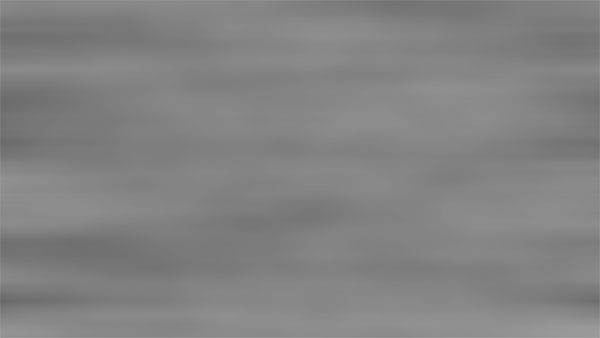
2、创建一个新层,填充黑色。确保前景色和背景色分别为白色和黑色,去滤镜>渲染>云。 我的目标是把这些云彩变成漂亮的线性效果。因此去滤镜>模糊>动感模糊,距离999px,角度0。设置图层为正片叠底,不透明度60%。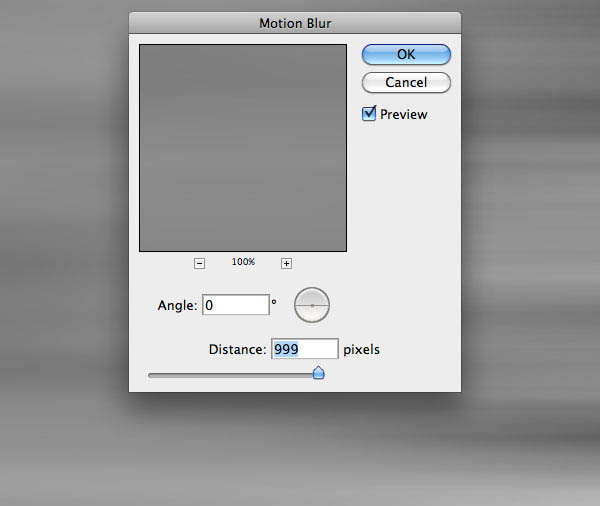
3、下载一张纹理蔬菜,把它粘贴到画布上。降低不透明度为35%。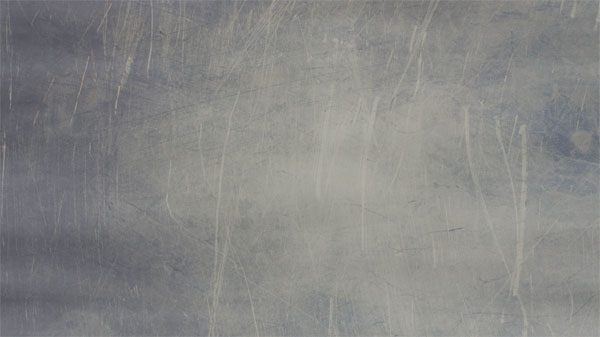
4、你可以看到,左侧区域比右侧的暗。因此,使用加深工具(O)在右侧区域的边缘涂抹,使纹理更均衡。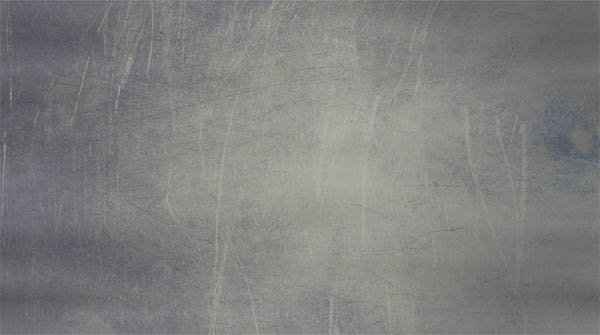
5、最后创建一个新层,使用一个黑色的软笔刷(硬度0%)在画布的边缘涂抹。降低不透明度为15%左右。我们将在中心放置文本。使边缘更暗,我们要把大家的注意力移到画布的中心。 
6、背景仍然是平面的。让我们为它添加3个调整层。首先是一个黑/白渐变(图层>新建调整图层>渐变映射),设置为叠加,不透明度70%。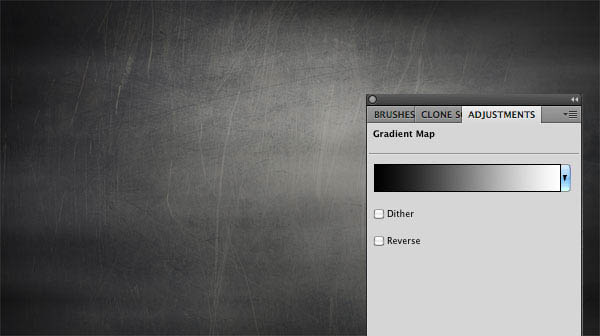
7、其次添加一个亮度/对比度图层(图层>新建调整图层>亮度/对比度),并设置亮度-18,对比度+80。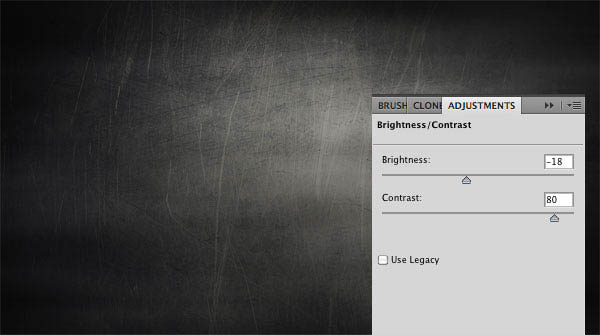
8、最后添加另一个渐变图层,这次使用的是深蓝色(#082a75)和橙色(#ffba00)。设置为叠加,不透明度40%。 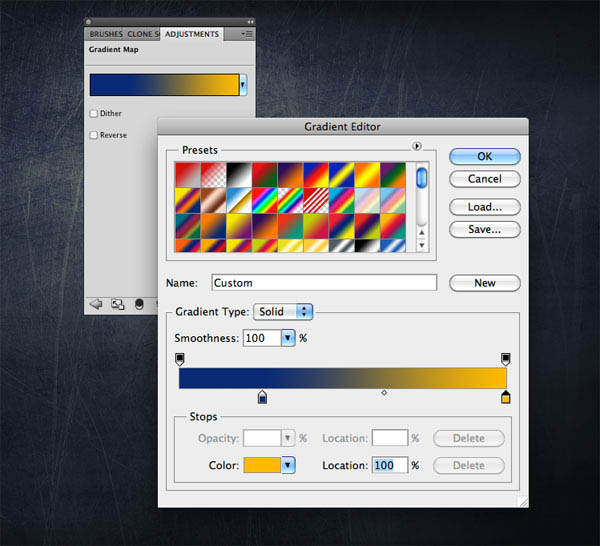
9、现在是时候创建字体了,从添加PSDTUTS标志开始。使用矩形工具(U)创建第一个形状,然后按Cmd/Ctrl + J键复制,并旋转它90度(按Cmd/Ctrl + T激活转换工具来旋转)。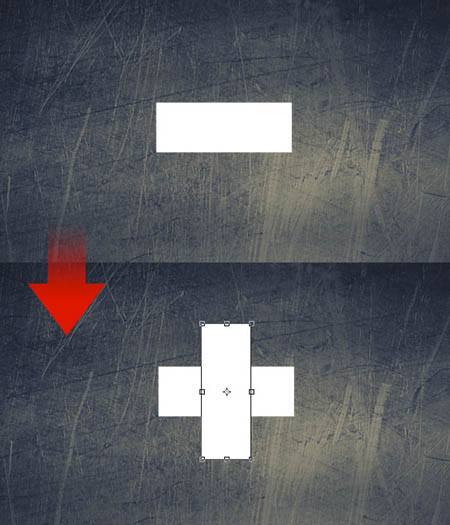
10、创建一个新层,使用cracked edges brushes画笔,在“+”的边缘涂抹。我们将使用这些笔刷为字母添加泼溅效果。不用担心颜色,我们之后将使用混合选项修改它。
笔刷下载地址:
http://wyckedbrush.deviantart.com/art/Cracked-Edges-PS-Brushes-34124632?q=boost:popular+crack+photoshop+brushes&qo=23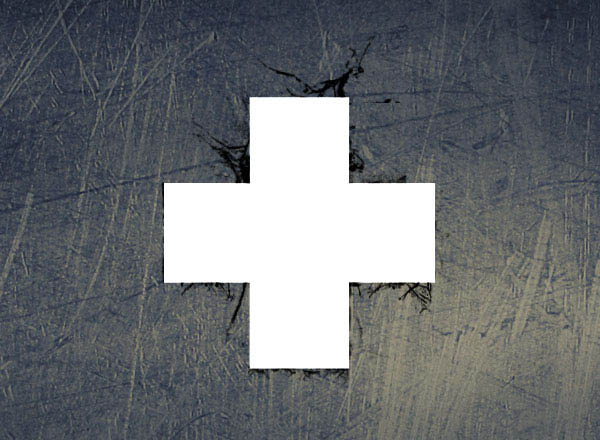
11、选择这三个“plus”图层(两个矩形和一个污渍笔刷),按CMD /Ctrl + Alt + E合并它们为一个新层。现在,隐藏这三个原始的图层,从现在开始起我们将只使用这个合并层。
在合并图层上单击右键,选择混合选项。首先添加一个红色(#630707)的颜色叠加。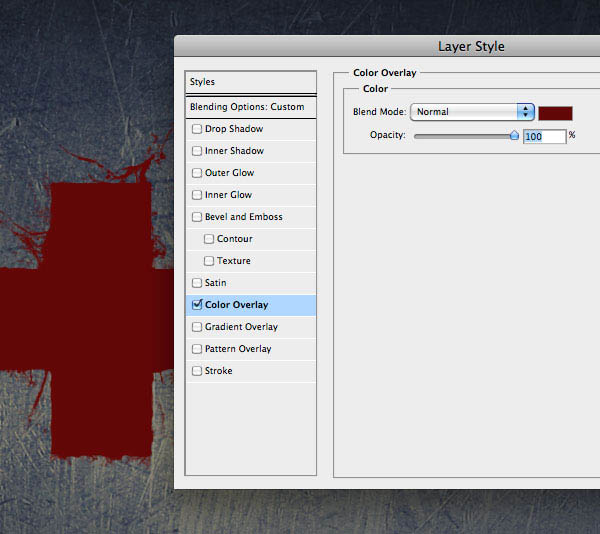
12、其次添加内阴影来创建凹下去的效果。这些值取决于矩形的尺寸,所以如果你对结果不满意,可以尝试调整距离,大小和不透明度的值。 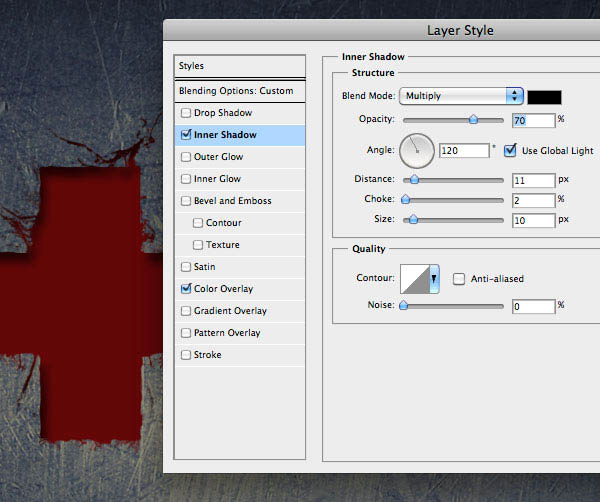
13、最后添加一个白色投影,设置为“线性减淡”,完成效果: 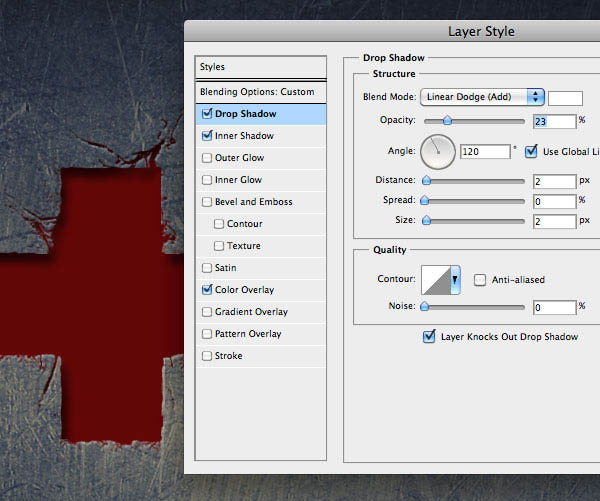
14、现在我们要在文本上添加金属刮痕效果背景。下载WeGraphics的Scratched metallic textures。把纹理放在画布上,调整它(按Cmd/Ctrl + T),并设置混合模式为叠加。 这个效果将只应用在“plus”上,因此移动纹理得到你想要的那部分区域效果。
纹理素材下载地址:
http://wegraphics.net/downloads/textures/scratched-metallic-textures/ 
 Photoshop's Key Features: A Deep DiveApr 19, 2025 am 12:08 AM
Key features of Photoshop include layers and masks, adjustment tools, filters and effects. 1. Layers and masks allow independent editing of image parts. 2. Adjust tools such as brightness/contrast can modify image tone and brightness. 3. Filters and effects can quickly add visual effects. Mastering these features can help creative professionals achieve their creative vision.
 Photoshop and Digital Art: Painting, Illustration, and CompositingApr 18, 2025 am 12:01 AM
Photoshop's applications in digital art include painting, illustration and image synthesis. 1) Painting: Using brushes, pencils and mixing tools, the artist can create realistic effects. 2) Illustration: With vector and shape tools, artists can accurately draw complex graphics and add effects. 3) Synthesis: Using mask and layer blending mode, artists can seamlessly blend different image elements.
 Advanced Photoshop Tutorial: Master Retouching & CompositingApr 17, 2025 am 12:10 AM
Photoshop's advanced photo editing and synthesis technologies include: 1. Use layers, masks and adjustment layers for basic operations; 2. Use image pixel values to achieve photo editing effects; 3. Use multiple layers and masks for complex synthesis; 4. Use "liquefaction" tools to adjust facial features; 5. Use "frequency separation" technology to perform delicate photo editing, these technologies can improve image processing level and achieve professional-level effects.
 Using Photoshop for Graphic Design: Branding and MoreApr 16, 2025 am 12:02 AM
The steps to using Photoshop for brand design include: 1. Use the Pen tool to draw basic shapes, 2. Add shadows and highlights through layer styles, 3. Adjust colors and details, 4. Use smart objects and actions to automatically generate different versions of the design. Photoshop helps designers create and optimize brand elements with the flexibility of layers and masks, ensuring consistency and professionalism of designs, from simple logos to complex branding guides.
 Photoshop's Subscription Model: What You Get for Your MoneyApr 15, 2025 am 12:17 AM
Photoshop's subscription model is worth buying. 1) Users can access the latest version and use across devices at any time. 2) The subscription fee is low, and continuous updates and technical support are provided. 3) Advanced functions such as neural filters can be used for complex image processing. Despite the high long-term costs, its convenience and feature updates are valuable to professional users.
 Photoshop: Investigating Free Trials and Discount OptionsApr 14, 2025 am 12:06 AM
You can get the access to Photoshop in the most economical way: 1. Experience the software features with a 7-day free trial; 2. Find student or teacher discounts, as well as seasonal promotions; 3. Use coupons on third-party websites; 4. Subscribe to Adobe CreativeCloud's monthly or annual plan.
 Photoshop for Designers: Creating Visual ConceptsApr 13, 2025 am 12:09 AM
Creating visual concepts in Photoshop can be achieved through the following steps: 1. Create a new document, 2. Add a background layer, 3. Use the brush tool to draw basic shapes, 4. Adjust colors and brightness, 5. Add text and graphics, 6. Use masks for local editing, 7. Apply filter effects, these steps help designers build a complete visual work from scratch.
 Is Photoshop Free? Understanding Subscription PlansApr 12, 2025 am 12:11 AM
Photoshop is not free, but there are several ways to use it at low cost or free: 1. The free trial period is 7 days, and you can experience all functions during this period; 2. Student and teacher discounts can cut costs by half, and school proof is required; 3. The CreativeCloud package is suitable for professional users and includes a variety of Adobe tools; 4. PhotoshopElements and Lightroom are low-cost alternatives, with fewer functions but lower prices.


Hot AI Tools

Undresser.AI Undress
AI-powered app for creating realistic nude photos

AI Clothes Remover
Online AI tool for removing clothes from photos.

Undress AI Tool
Undress images for free

Clothoff.io
AI clothes remover

Video Face Swap
Swap faces in any video effortlessly with our completely free AI face swap tool!

Hot Article

Hot Tools

Dreamweaver Mac version
Visual web development tools

WebStorm Mac version
Useful JavaScript development tools

Safe Exam Browser
Safe Exam Browser is a secure browser environment for taking online exams securely. This software turns any computer into a secure workstation. It controls access to any utility and prevents students from using unauthorized resources.

DVWA
Damn Vulnerable Web App (DVWA) is a PHP/MySQL web application that is very vulnerable. Its main goals are to be an aid for security professionals to test their skills and tools in a legal environment, to help web developers better understand the process of securing web applications, and to help teachers/students teach/learn in a classroom environment Web application security. The goal of DVWA is to practice some of the most common web vulnerabilities through a simple and straightforward interface, with varying degrees of difficulty. Please note that this software

MantisBT
Mantis is an easy-to-deploy web-based defect tracking tool designed to aid in product defect tracking. It requires PHP, MySQL and a web server. Check out our demo and hosting services.


