Home >Software Tutorial >Computer Software >Tutorial on how to draw a circle in AUTO CAD
Tutorial on how to draw a circle in AUTO CAD
- 王林forward
- 2024-05-08 17:04:071544browse
Summary: Having trouble drawing circles in AutoCAD? don’t worry! PHP editor Youzi provides you with a detailed operation tutorial that will guide you step by step to easily draw a perfect circle. From setting parameters to choosing a drawing method, this tutorial covers all the key steps of circle drawing in AutoCAD. Read on to learn how to draw circles in AutoCAD to make your designs more accurate and efficient!
Open CAD on the computer desktop

There is a button to draw a circle in the CAD interface, click
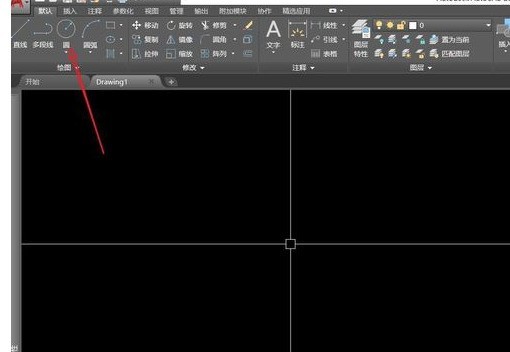
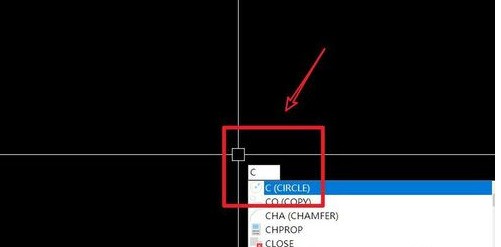
or enter letters directly" C" - Press Enter
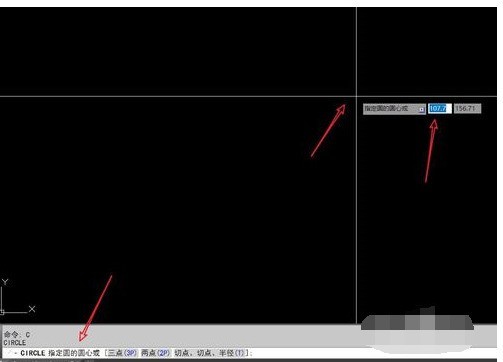
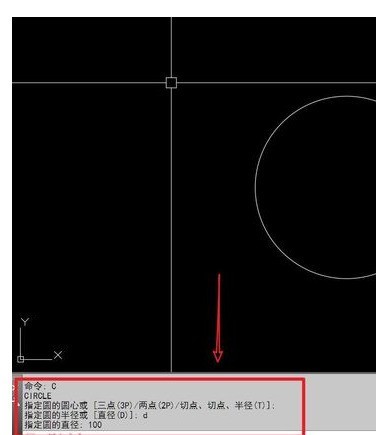
After pressing Enter, the command bar will prompt you to specify the center of the circle. You can click a point or enter the coordinate point.
After determining the center of the circle, the command bar will prompt you to specify the radius of the circle, or enter the diameter [D] - press Enter and enter a number to determine the size of the circle.
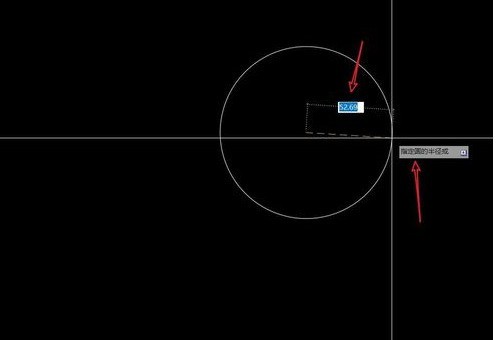
In fact, drawing a circle is very simple. You only need to know the commands for drawing a circle. According to the prompts on the command bar, you can quickly master the skills of drawing a circle.
The above is the detailed content of Tutorial on how to draw a circle in AUTO CAD. For more information, please follow other related articles on the PHP Chinese website!

