Home >Software Tutorial >Computer Software >How to crop image tif in arcgis arcgis crop image tif process
How to crop image tif in arcgis arcgis crop image tif process
- WBOYWBOYWBOYWBOYWBOYWBOYWBOYWBOYWBOYWBOYWBOYWBOYWBforward
- 2024-05-08 12:01:091030browse
When processing remote sensing data, cropping image files is often essential. As a powerful geographic information system software, Arcgis provides convenient image cropping functions. PHP editor Apple has brought you a detailed arcgis image tif operation process. The following content will guide you step by step to complete the image cropping task and help you effectively manage and process remote sensing data.
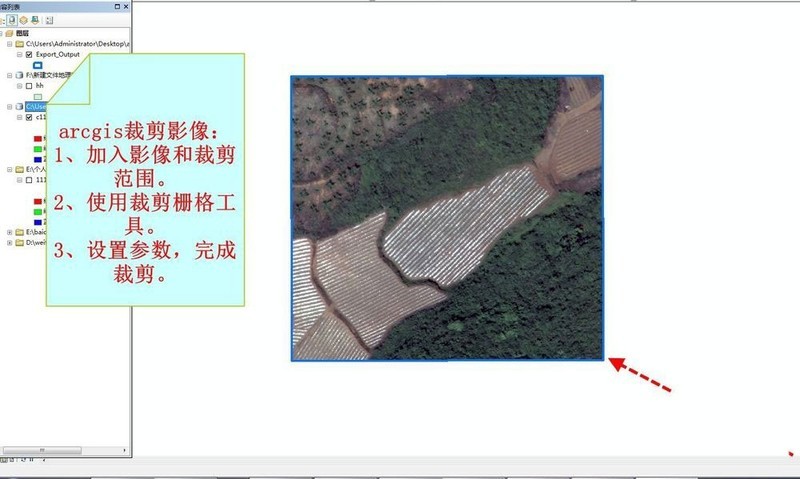
First, open arcgis software (arcmap) and use the data add button to add the image tif to be cropped and the image range to be cropped (vector data).
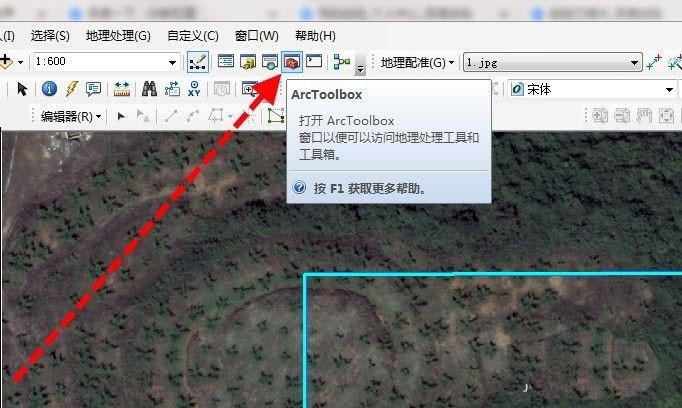
Then, open the arctoolsbox toolbox in the menu bar and click it to open it.
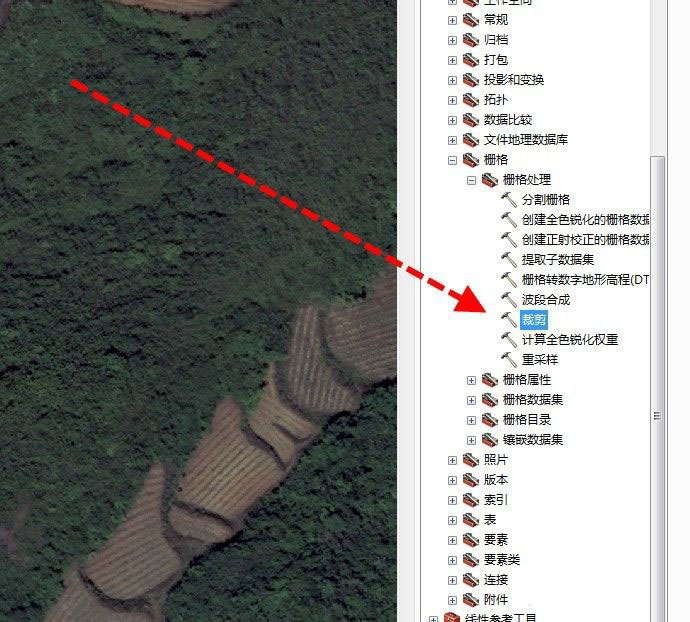
Then find in the toolbox: Data Management Tools - Raster - Raster Processing - Cropping, and turn on cropping.
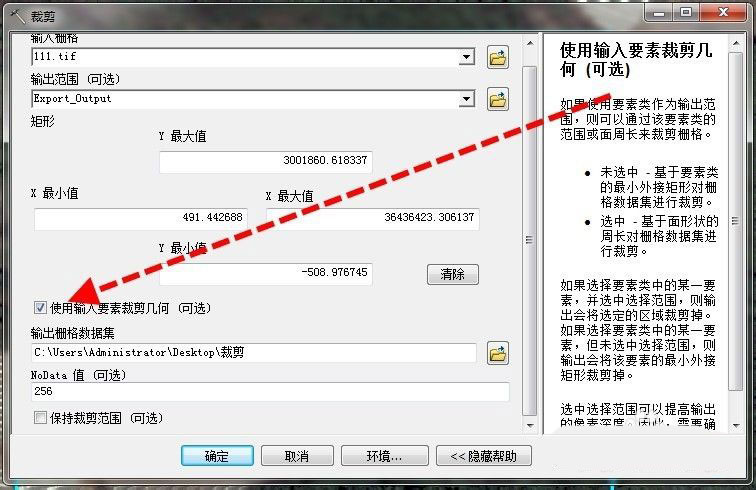
Then, add the image (i.e. raster) and range (i.e. vector data range).
Then check the box "Use input features to clip geometry" in the window. If checked, the output tif will be consistent with the cropped range. If not checked, the input tif will be the smallest rectangle surrounding the range.
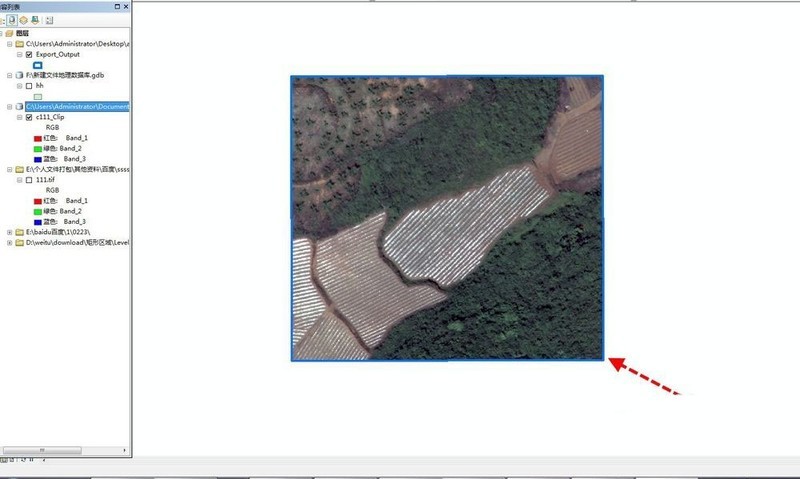
Finally, click OK. After the tool is completed, the arcgis cropped image tif is completed.
It should be noted that the clipping save location should be a raster dataset (the default is GDB).
The above is the detailed content of How to crop image tif in arcgis arcgis crop image tif process. For more information, please follow other related articles on the PHP Chinese website!

