Home >Software Tutorial >Computer Software >How to set graphics limits in autocad2014_How to set graphics limits in autocad2014
How to set graphics limits in autocad2014_How to set graphics limits in autocad2014
- 王林forward
- 2024-05-08 10:55:22726browse
For users who wish to define drawing areas in AutoCAD 2014, setting drawing boundaries is critical. The graphics limit determines the scope of the drawing area to avoid exceeding the limit and causing drawing deformation. This guide is presented to you by php editor Xigua. It aims to introduce the detailed steps of setting graphics boundaries in AutoCAD 2014. Read on to learn how to use the LIMITS command to define your drawing space.
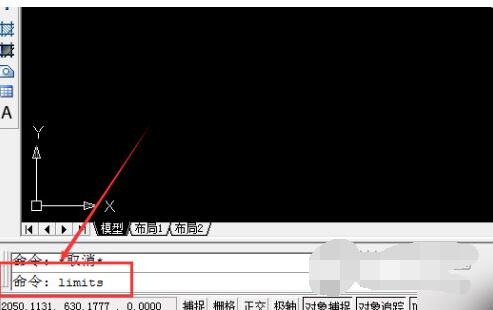
1. Open CAD on the computer, enter the limits command, and press the space bar to confirm.
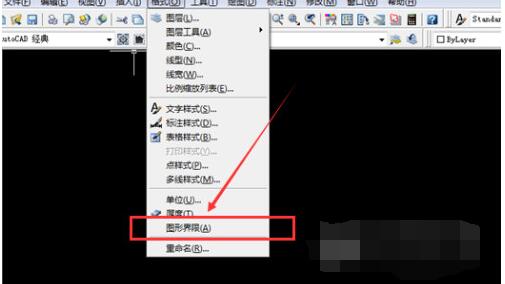
2. After confirming the command, select the graphic limit in the format.
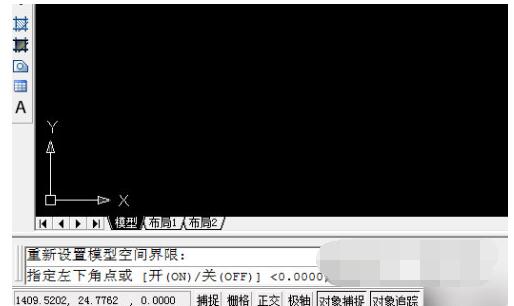
3. After clicking the graphics limit, the model space limit will be reset, and then click the Enter key on the keyboard.
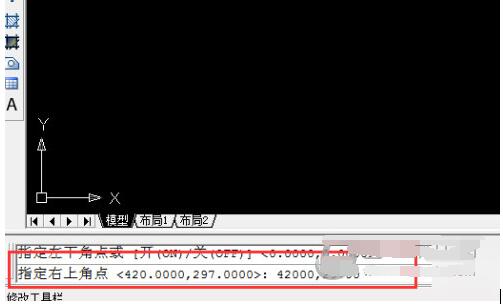
4. Then enter the corresponding multiple in the command bar. If the user wants to expand 100 times, enter 42000, 29700 at this time.
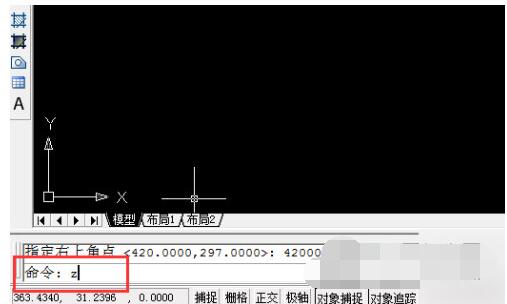
5. After determining the graphic limit, enter command Z and press the space bar to confirm.
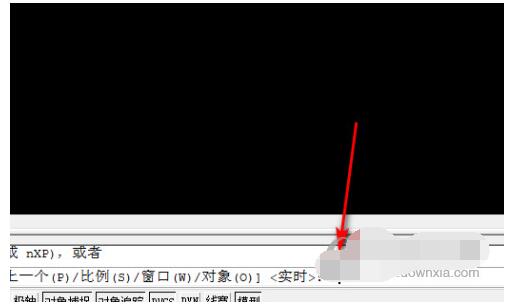
6. Then enter A and leave a space to confirm.
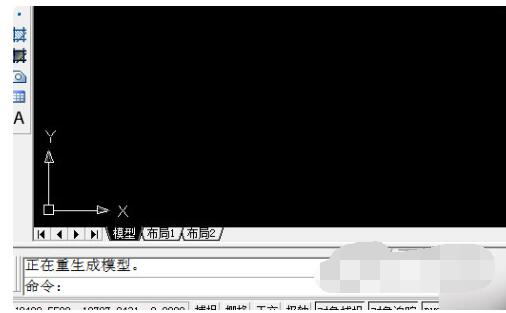
7. After confirming A, you can see the newly set graphic limits.
The above is the detailed content of How to set graphics limits in autocad2014_How to set graphics limits in autocad2014. For more information, please follow other related articles on the PHP Chinese website!

