
 Mobile TutorialAndroid PhoneHow to easily register AppleID (Teach you step by step to register AppleID)
How to easily register AppleID (Teach you step by step to register AppleID)

Have you encountered problems registering an Apple ID when using Apple devices? Registering for an Apple ID is essential if you want to take full advantage of the Apple ecosystem. With an Apple ID, you can sync devices and data, download apps, purchase entertainment content such as movies and music, and enjoy various Apple services. This article is created by php editor Apple, and will introduce in detail how to successfully register an Apple ID in a few minutes in a step-by-step manner. Whether you are a newbie or an experienced user, this guide will provide you with step-by-step instructions on the registration process and valuable tips. Read on to start your Apple journey with ease!

1. Preparation: Connect to the Internet and open the AppStore
Please make sure that your device is connected to the Internet before starting to register Apple ID. Find the AppStore app on your device and click to open it.
2. Click "Create a new AppleID"
Click the "Account" in the upper right corner, then click the "Create a new AppleID" button after opening it in the AppStore.

3. Select the country/region
In order to use the correct regional setting during the registration process, find and click it in the drop-down menu and select your location country or region.
4. Read and agree to the Terms of Service
Click and carefully read Apple's Terms of Service and Privacy Policy "Agree" button to continue registration.
5. Fill in personal information
Date of birth, select an available address as your Apple ID, enter your name, gender and other personal information.

6. Choose a password and security question
To ensure that your Apple ID can be authenticated when it is restored in the future, choose a password with high security. and select and answer a few security questions.
7. Select billing information
This will be used when you purchase content in the AppStore in the future. Enter your billing address and payment information (credit card, debit card or Alipay, etc.).
8. Verify identity
You may need to verify your identity. A verification code may be sent to you via text message or email to complete verification, depending on the registration method you choose.
9. Select notification settings
Set according to personal preferences. You can choose whether to receive push notifications from Apple.
10. Registration completed
Congratulations! You have successfully registered your Apple ID. You can now log in and start using Apple's various services and apps.
11. Add a trusted device
You can add a trusted device to increase the security of your account. When performing sensitive operations, this will require a verification code on the device.
12. Setting up two-factor authentication
can effectively protect your Apple ID. Two-factor authentication is a more secure login method. You can enable two-factor authentication in settings.
13. Retrieve the lost AppleID password
You can retrieve it through your mobile phone or if you have forgotten your AppleID password. Just follow the process and follow the prompts.
14. Manage AppleID
Payment methods, etc. You can manage your AppleID in the settings at any time, such as changing personal information and passwords.
15. Frequently Asked Questions
And provide corresponding solutions. This section answers some common problems encountered in the process of registering Apple ID.
You will easily complete the registration. Registering an Apple ID may sound complicated, but just follow the steps provided in this article. Allowing you to enjoy various services and applications in the Apple world, having an Apple ID will bring you more convenience and fun.
The above is the detailed content of How to easily register AppleID (Teach you step by step to register AppleID). For more information, please follow other related articles on the PHP Chinese website!

 Take My Keyboard and Mouse, But I'm Keeping My StylusMay 03, 2025 am 12:54 AM
Many associate work with a desk, keyboard, and mouse. But I've ditched both keyboard and mouse without impacting productivity – my stylus is now indispensable. Saying Goodbye to Keyboard and Mouse Traditional computer use involves keyboard and mouse
 OnePlus 13T Isn't Coming to US or EuropeMay 02, 2025 pm 09:02 PM
OnePlus's new compact flagship, the OnePlus 13T, will bypass US and European markets. This budget-friendly phone, initially launched in China and India as the 13S, will remain exclusive to Asia and other regions, limiting choices for Western Android
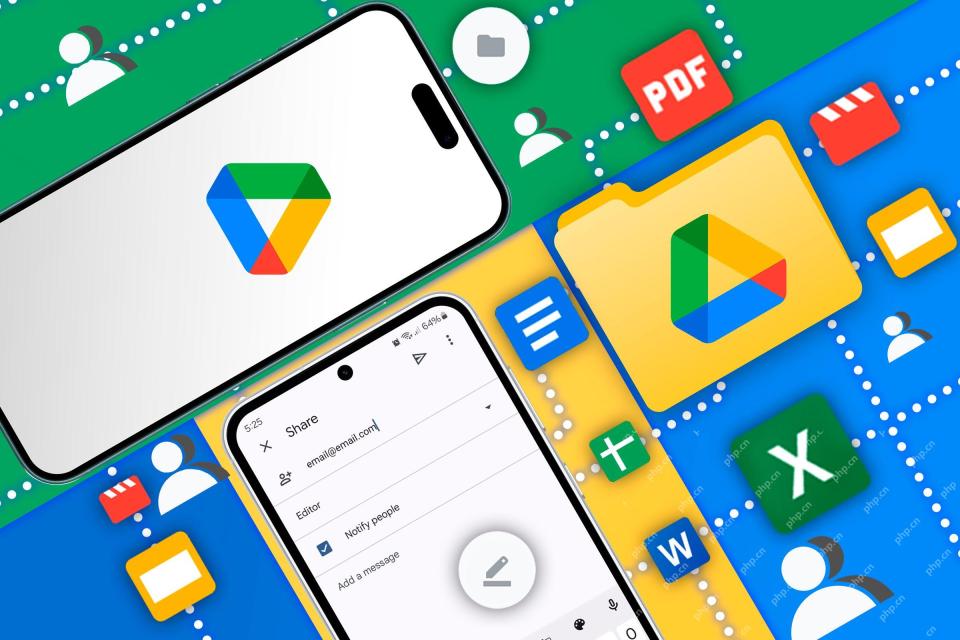 Google Drive on Android Is Getting Two Helpful New FeaturesMay 02, 2025 am 03:02 AM
Google Drive Android App to Get Gemini AI and Enhanced Scanning Google Drive on Android is poised for a significant upgrade, borrowing popular Gemini AI features from its desktop counterpart. Recent code analysis reveals upcoming functionality inclu
 Top Tech Deals: Galaxy Watch 7, AirPods 4, AMD Ryzen 5 CPU, and More!May 02, 2025 am 12:54 AM
This week's hottest tech deals are perfect for gearing up for summer! Enjoy huge discounts on a wide range of gadgets, whether you're treating yourself or searching for the perfect gift. Here are some top picks: Samsung Galaxy Watch 7: Only $209 (S
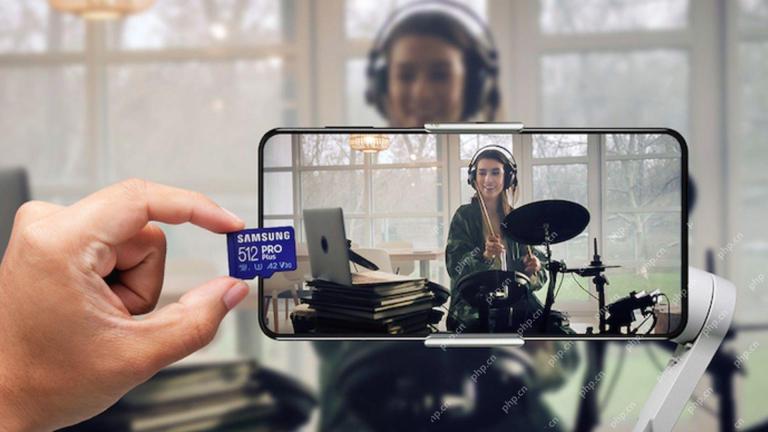 Get a 512GB Samsung microSD Card for $30 TodayMay 02, 2025 am 12:53 AM
Samsung 512GB PRO Plus microSDXC card flash! Only $29.99! Samsung PRO Plus series microSD cards are highly favored for their great price and a variety of storage capacity options. Currently, Samsung's official website launches a special offer for 512GB microSDXC card, with the original price of $68.99, and the current price is only $29.99, and a convenient USB card reader is also included! This is definitely a great value for money for a high-speed 512GB memory card. Samsung PRO Plus cards have a reading speed of up to 180MB/s and a writing speed of up to 130MB/s, easily surpassing Class 10, V30 and U3 standards, and can record 4K U smoothly
 5 Tricks I've Learned for Taking Control of My Data on AndroidMay 01, 2025 pm 09:06 PM
Maintaining control over personal data is paramount. While Android serves as my primary device, I employ several strategies to safeguard my documents and media, strategies applicable to any device. These techniques aren't Android-specific; consider
 Pocket Casts Now Automatically Generates Episode Transcripts–With a CatchMay 01, 2025 pm 09:02 PM
Pocket Casts Premium Subscribers Now Get Automatic Podcast Transcripts Pocket Casts has added a valuable feature for its Plus and Patron subscribers: automatically generated transcripts for podcast episodes. While not every episode is transcribed, t
 It's Time We Truly Think of Phones As Pocket PCsMay 01, 2025 am 01:03 AM
Most of us know that phones are small computers, but we don’t see them that way. In fact, smartphones do almost everything a laptop does – so it makes sense to use them for similar work. We need to change the way we talk about mobile phones We call some tasks computer tasks, while others mobile tasks. It feels like we are trapped in time and cannot change our perception of the technology we have used since childhood. Cell phones can make calls and provide unlimited entertainment, but work? That's the job of a computer. This ignores the reality of how millions of users already use their phones. In many parts of the world, a smartphone is the only computer a family owns. Even in areas where computers are common, the use of smartphones


Hot AI Tools

Undresser.AI Undress
AI-powered app for creating realistic nude photos

AI Clothes Remover
Online AI tool for removing clothes from photos.

Undress AI Tool
Undress images for free

Clothoff.io
AI clothes remover

Video Face Swap
Swap faces in any video effortlessly with our completely free AI face swap tool!

Hot Article
Hot Tools

SublimeText3 Linux new version
SublimeText3 Linux latest version

Dreamweaver CS6
Visual web development tools

Dreamweaver Mac version
Visual web development tools

SecLists
SecLists is the ultimate security tester's companion. It is a collection of various types of lists that are frequently used during security assessments, all in one place. SecLists helps make security testing more efficient and productive by conveniently providing all the lists a security tester might need. List types include usernames, passwords, URLs, fuzzing payloads, sensitive data patterns, web shells, and more. The tester can simply pull this repository onto a new test machine and he will have access to every type of list he needs.

VSCode Windows 64-bit Download
A free and powerful IDE editor launched by Microsoft

