Home >Software Tutorial >Computer Software >How to install solidworks2020 solidworks2020 installation steps
How to install solidworks2020 solidworks2020 installation steps
- WBOYWBOYWBOYWBOYWBOYWBOYWBOYWBOYWBOYWBOYWBOYWBOYWBforward
- 2024-05-01 08:58:221629browse
Want to install SolidWorks 2020 on your computer but don’t know where to start? don’t worry! PHP editor Zimo has compiled a detailed installation guide to answer your questions one by one. Please continue reading the following content to easily complete the software installation and start your SolidWorks creation journey.
1. Installation preparation
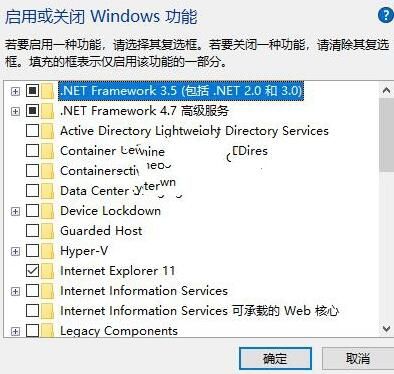
First, make sure that the two necessary components of .NET Framework 3.5/4.0 are installed. You can enable or disable Windows features directly in the control panel program, select .NET Framework 3.5, and Windows will automatically download and install it.
2. Right-click and run server_remove.bat as administrator, uninstall the SolidWorks Flexnet Server service, and delete the SolidWorks_Flexnet_Server folder.
3. Disconnect from the network.
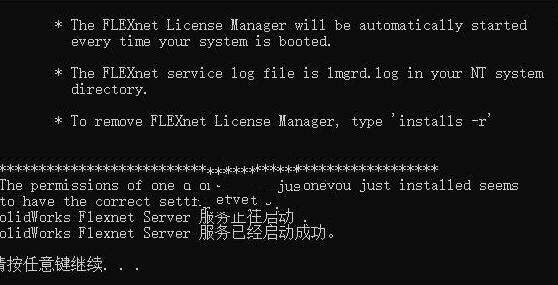
4. Copy the solidworks_Flexnet_Server folder to the specified location, such as the root directory of drive C. Then run server_install.bat as an administrator to install the service.
2. Software installation
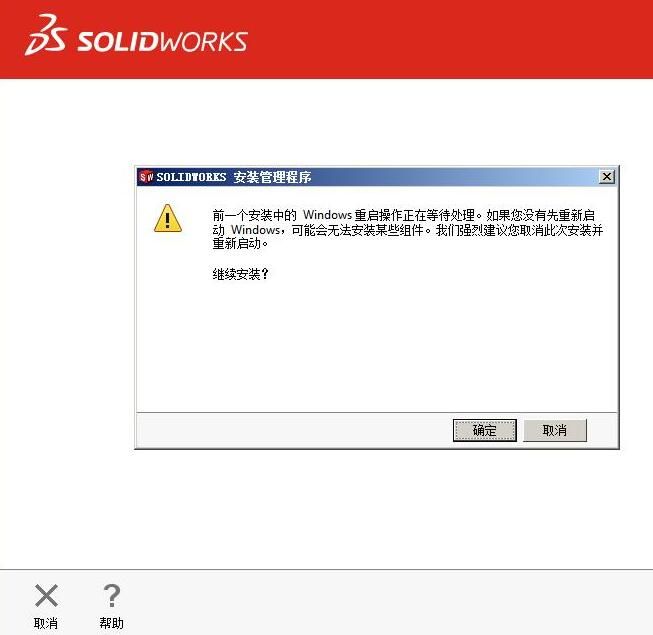
1. Use the virtual optical drive to load "solidworks.2020.SP0.Full.Premium.DVD.iso" or decompress it, and then Double-click "setup.exe". When prompted, click OK.
2. Select the installation type.

#3. Select the product to be installed and tick the required ones.

#4. In the next step, you can customize the installation location.
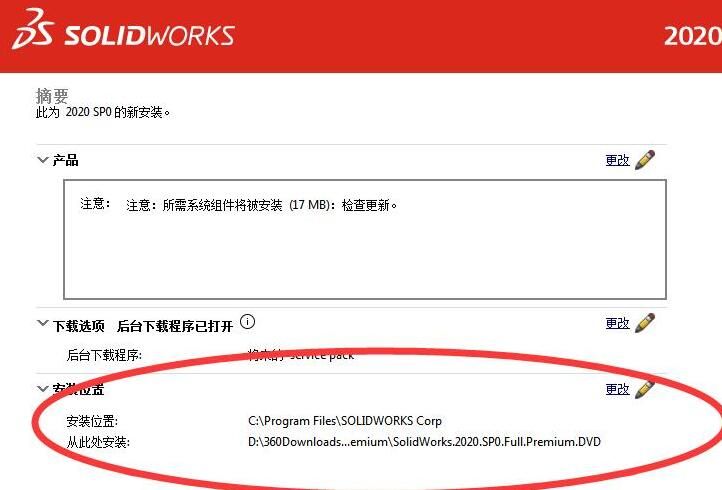
#5. Tick before accepting, click Install Now to start the installation of solidworks2020.
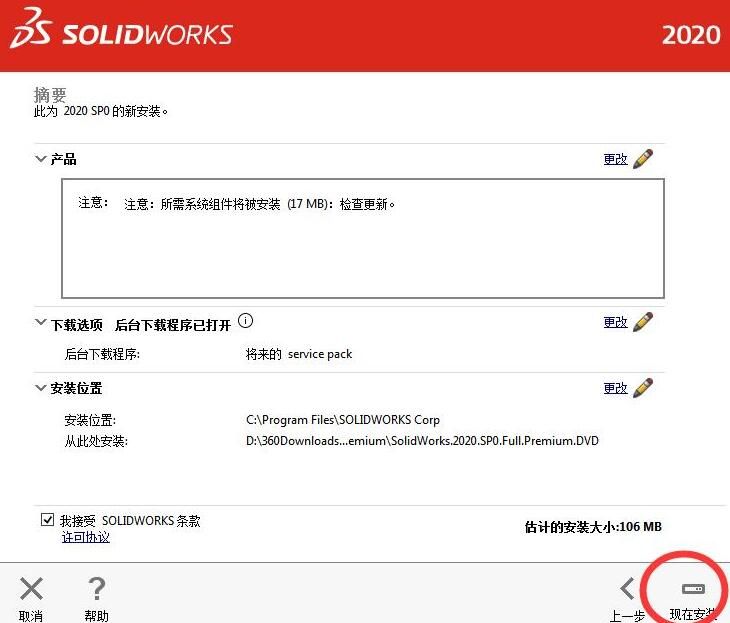
#6. Wait a moment and the software installation will be completed.
Come and learn the installation steps of solidworks2020, I believe it will be helpful to everyone.
The above is the detailed content of How to install solidworks2020 solidworks2020 installation steps. For more information, please follow other related articles on the PHP Chinese website!

