Home >Software Tutorial >Computer Software >Graphic and text steps for drawing path text animation in AE
Graphic and text steps for drawing path text animation in AE
- 王林forward
- 2024-04-28 10:10:051030browse
A detailed guide to drawing path text animation in AE. Confused about how to add smooth path animation effects to text using AE? PHP editor Baicao brings you a step-by-step graphic tutorial to show you how to draw path text and apply stunning animation effects. This guide will guide you through the process, making it easy for you to master the techniques of adding motion to your videos.
First use ps to create a shape path. Create a new layer and select the custom graphics tool to draw a heart shape (hold down shift to zoom in and out in equal proportions).
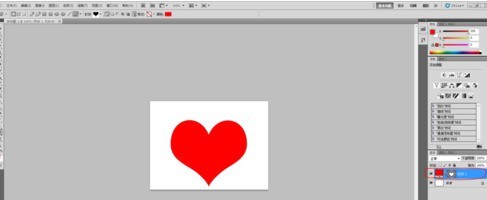
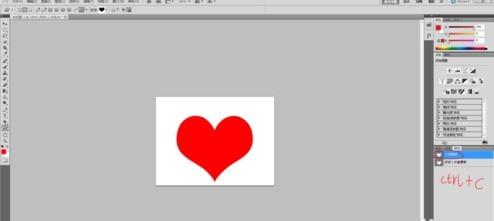
Select the heart shape of the layer, hold down ctrl and click to get a heart-shaped selection. Back in the path, click Convert Selection to Path below, click once on the working path, and press ctrl c to copy. At this point, the operation in PS is completed and return to AE.
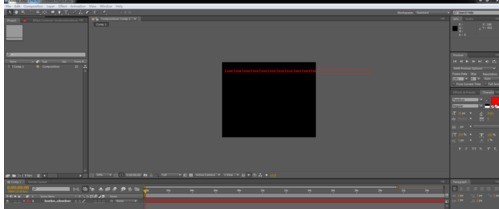
Open AE, use the text tool to type the text you need (you need more, so that these words match the path).
Click on the text layer and press ctrl v to paste, so that the path will be copied (this is easier and more effective than using the pen tool to draw in AE). Use the selection tool to modify the position and size of the path appropriately.
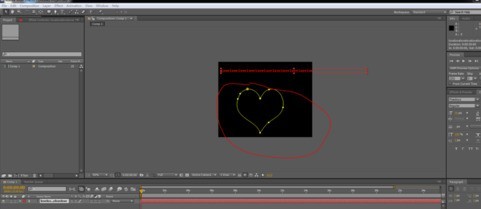
Open the properties of the text and select the mask layer in the path property so that the text is matched to the path.
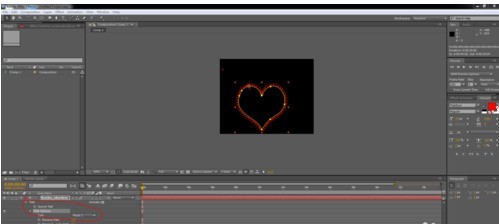
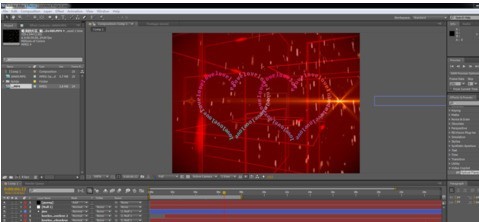
Adjust the parameters under the text path and animate its growth, and then use time expressions to animate the cycle. Specific parameters can be modified appropriately.
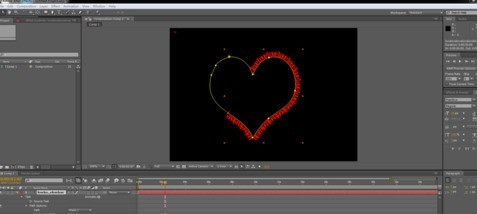
I found that the color of the text was not good-looking, so I added 4-color gradient effects to it, and adjusted the color and corresponding position to get a better effect. Duplicate the entire text layer and adjust it to a suitable position.
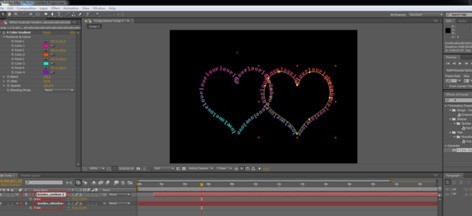
Adjust the position of the copied text layer to produce an out-of-frame and out-of-sync effect. Use the Pen Tool to draw the shape layer of the arrow, then fill it with color, and animate the position keyframes where the two hearts come out so that the arrow crosses from left to right.
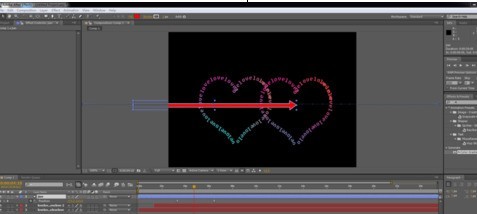
Create a new blank layer, use other layers as its sub-objects, and adjust the position and size of the blank layer (driving the adjustment of other layers) to get the appropriate position. Then, add background and small decorative elements to it. Make the picture richer.
The above is the detailed content of Graphic and text steps for drawing path text animation in AE. For more information, please follow other related articles on the PHP Chinese website!

