
Home >System Tutorial >Windows Series >How to delete upgrade files in WIN10
How to delete upgrade files in WIN10

- WBOYWBOYWBOYWBOYWBOYWBOYWBOYWBOYWBOYWBOYWBOYWBOYWBforward
- 2024-04-26 14:20:33757browse
When you use Windows 10 system, you may encounter the problem that the upgrade file takes up a lot of storage space. These files are often hidden in system folders and difficult to delete manually. Therefore, PHP editor Banana has brought you a detailed operation guide to teach you how to delete these upgrade files safely and effectively to free up valuable storage space.
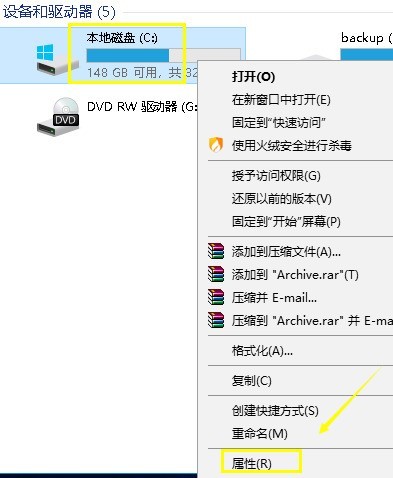
Enter the system desktop, double-click this computer to open it, right-click the C drive, select Properties to open, and go to the next step.
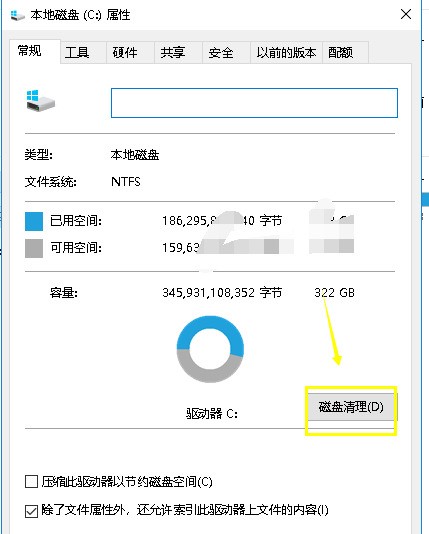
Click Disk Cleanup in the opened disk properties interface and proceed to the next step.
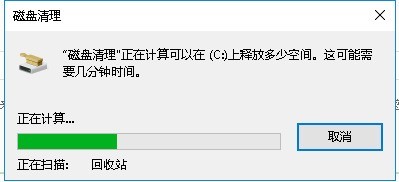
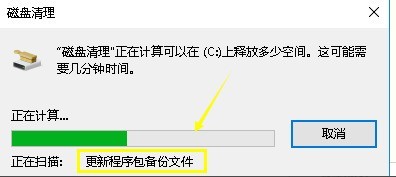
This is because the system will automatically scan the junk files in your computer, just wait patiently.
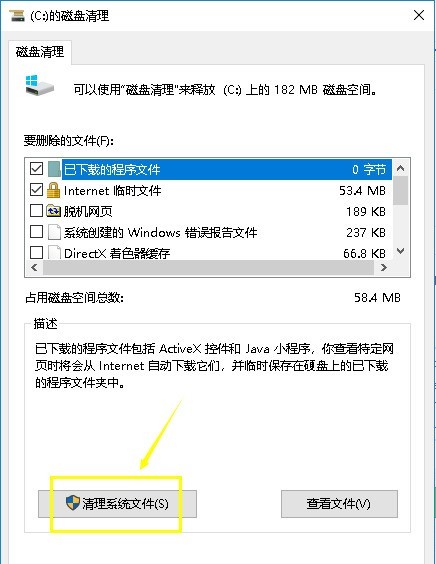
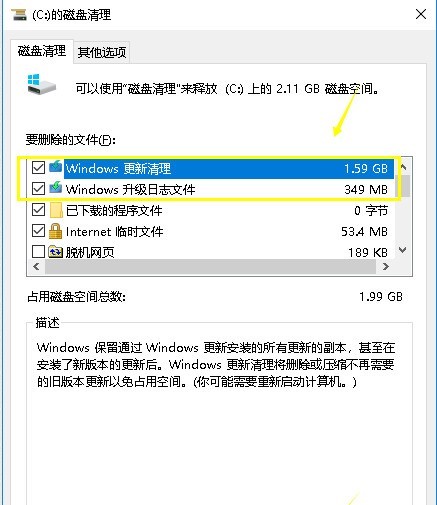
After the scan results come out, click the Clean System Files button at the bottom left of the interface to proceed to the next step.
The system will scan the computer for system update files and driver package files, just wait patiently.
After the scan results appear, check the files to be deleted, then click OK to proceed to the next step.
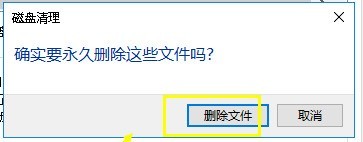
In the pop-up disk cleanup prompt box, click Delete files and proceed to the next step.
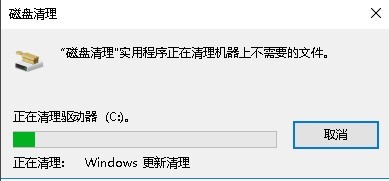
The system will automatically clean up all kinds of garbage. Just wait patiently for the cleanup to be completed.
The above is the detailed content of How to delete upgrade files in WIN10. For more information, please follow other related articles on the PHP Chinese website!
Related articles
See more- What should I do if Win10 cannot connect to the Internet normally?
- Detailed steps for reinstalling win10 system from USB disk
- How to set win10 language to Chinese
- How to unlock win10 account if it is locked
- What should I do if the win10 blue screen appears with the error code kernel security check failure?