


If you want to change the default font on Windows 10 but don’t know where to start, then read this article! PHP editor Xigua will introduce you in detail the steps to change the default font, allowing you to easily solve this problem. Come and read the following content to learn how to choose and apply the ideal fonts for your system and optimize your visual experience!
1. Open the device and bring up the registry editor.

2. After the registry editor pops up, navigate to [ComputerHKEY_LOCAL_MACHINESOFTWAREMicrosoftWindows NTCurrentVersionFonts].

3. Find Microsoft YaHei & Microsoft YaHei UI (TrueType) on the right, which is the system default font.

4. Change the default font name to the font name you need. Specific operations: Change the following msyh.ttc to the font you want (right-click the font name The font and attributes you want to change, copy the name above); as shown in the picture:

The above is the detailed content of How to change the default font in WIN10 system. For more information, please follow other related articles on the PHP Chinese website!

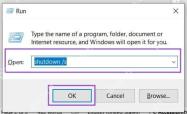 How to Shut Down Windows Without the Start MenuMay 07, 2025 pm 02:01 PM
There may be times when you need to shut down your Windows PC, but Explorer is functioning properly. Or perhaps you’re looking for a quick way to shut things down using just the keyboard. Whatever the reason, we’ve got several start

 How to Disable Recall on Windows 11May 07, 2025 am 03:03 AM
Microsoft's controversial Recall feature is finally here, but concerns remain. This guide explains how to disable it and prevent re-activation. What is Recall? Recall is an AI-powered system feature that "remembers" your computer activity
 Why I Use 1PasswordMay 07, 2025 am 12:54 AM
I've relied on 1Password for almost a decade, using it daily to manage my digital life. Its security and ease of use make it indispensable. I wholeheartedly recommend it. My 1Password Journey Years ago, I used the same password everywhere – a terr
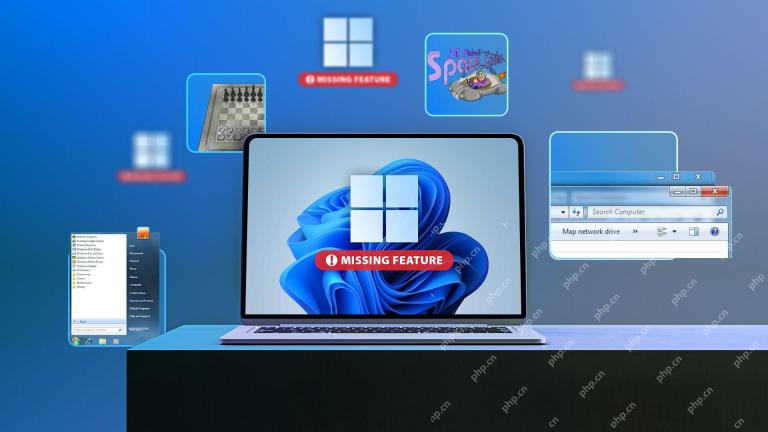 9 Windows Features That I Still MissMay 07, 2025 am 12:53 AM
Windows 7: A Nostalgic Look Back at a Superior OS Windows XP's "Luna" theme paved the way for Windows 7's sleek Aero Glass interface. This design overhaul brought a fresh, airy feel with transparent taskbars and windows, subtle animations,
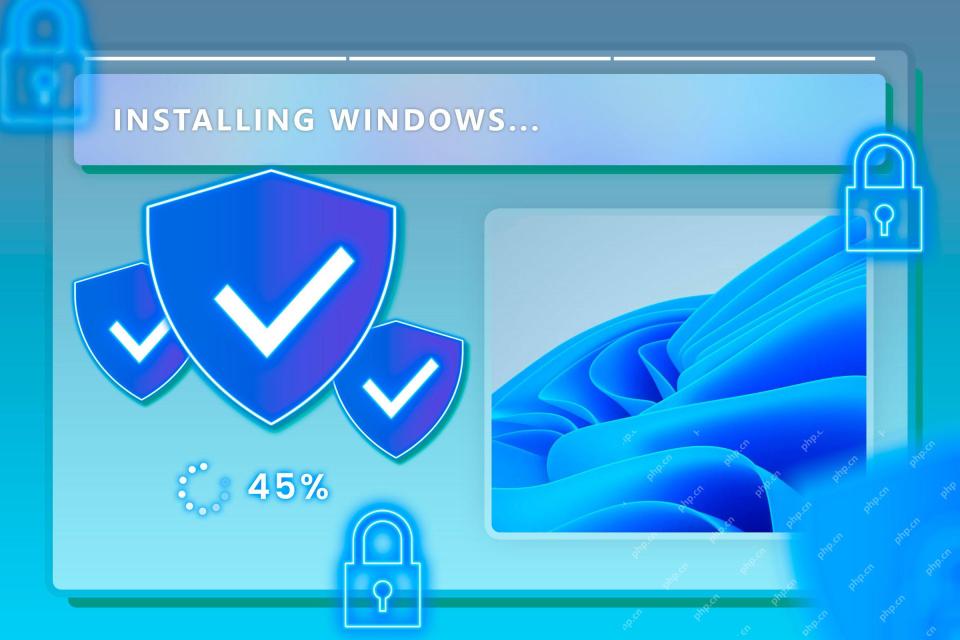 Here's How to Make Your Windows Installation More PrivateMay 05, 2025 pm 09:02 PM
Bypass Microsoft's Privacy Intrusions: A Clean Windows Installation with a Local Account Windows installations have become notoriously privacy-invasive. Microsoft's requirement to link your installation to a Microsoft account, coupled with aggressiv
 How to Free Up RAM on Windows 11May 05, 2025 am 06:01 AM
Boost Your Windows 11 Performance: A Guide to Freeing Up RAM Is your Windows 11 PC experiencing frustrating lag and freezes? Low RAM (Random Access Memory) could be the culprit. This guide provides several effective methods to reclaim valuable RAM
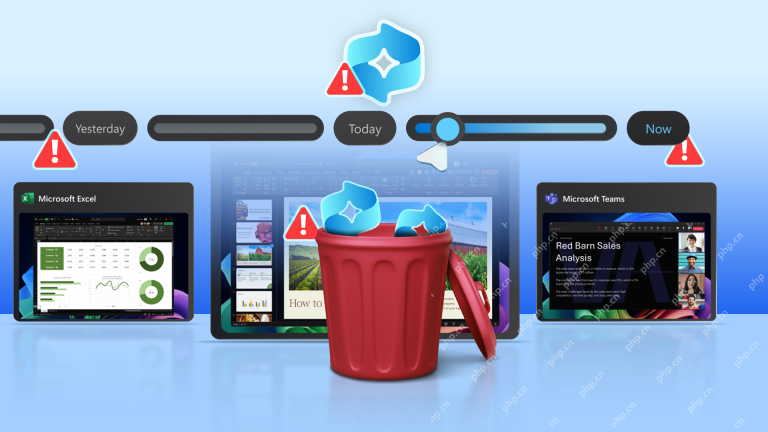
 Why I Don't Shut My Windows PC Down, and You Shouldn't EitherMay 05, 2025 am 03:03 AM
Should you power down your PC or let it sleep when leaving the office? I stopped powering down years ago, and I won't go back. Here's why I keep my PC running 24/7/365, and why you should consider it too. My Past Sleep Mode Habits I've never been on


Hot AI Tools

Undresser.AI Undress
AI-powered app for creating realistic nude photos

AI Clothes Remover
Online AI tool for removing clothes from photos.

Undress AI Tool
Undress images for free

Clothoff.io
AI clothes remover

Video Face Swap
Swap faces in any video effortlessly with our completely free AI face swap tool!

Hot Article
Hot Tools

WebStorm Mac version
Useful JavaScript development tools

SublimeText3 English version
Recommended: Win version, supports code prompts!

SublimeText3 Mac version
God-level code editing software (SublimeText3)

PhpStorm Mac version
The latest (2018.2.1) professional PHP integrated development tool

Safe Exam Browser
Safe Exam Browser is a secure browser environment for taking online exams securely. This software turns any computer into a secure workstation. It controls access to any utility and prevents students from using unauthorized resources.

