
Home >System Tutorial >Windows Series >How to turn off the built-in protection software in WIN10 system
How to turn off the built-in protection software in WIN10 system

- WBOYWBOYWBOYWBOYWBOYWBOYWBOYWBOYWBOYWBOYWBOYWBOYWBforward
- 2024-04-24 10:40:361082browse
How to turn off the built-in protection software of Windows 10 system? The protection software that comes with the Windows 10 system plays an important role in protecting computer security. However, in some cases we may need to turn it off temporarily, for example, when installing or running a specific program. PHP editor Xigua will introduce you to the detailed steps to turn off the built-in protection software of Windows 10 system. Read on to learn how to do this safely.
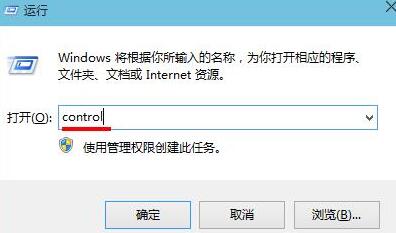
Press the win key on the keyboard at the same time (the one with the window icon) and the R key to start the running program, enter the [control] command in the text box, and press Enter to execute,
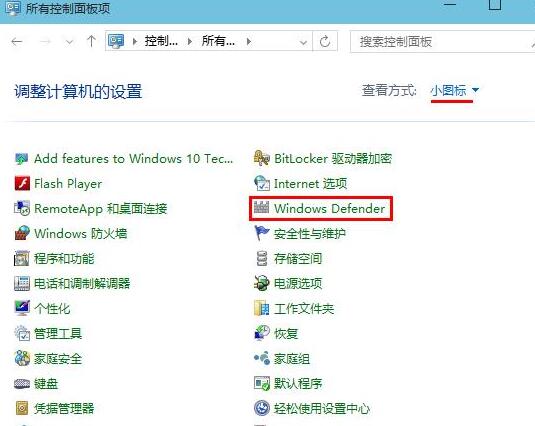
After opening the main page of the control panel, switch the viewing mode to [Small Icons], then find and click [Windows Defender],
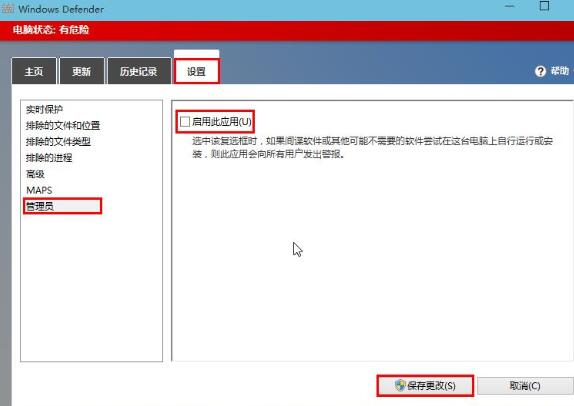
In the Windows Defender window, first switch Go to the [Settings] bar, then click [Administrator], uncheck [Enable this application], and then click the [Save Changes] button.
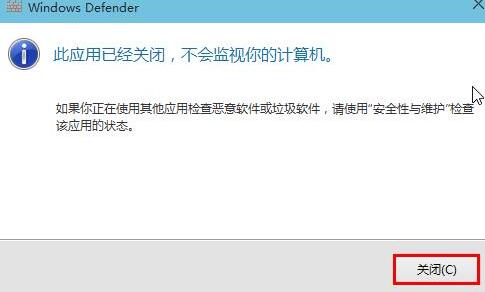
The application that will pop up has been After closing the prompt window, click [Close].
The above is the detailed content of How to turn off the built-in protection software in WIN10 system. For more information, please follow other related articles on the PHP Chinese website!