Home >Software Tutorial >Computer Software >Detailed tips for using Beyond Compare's image comparison feature
Detailed tips for using Beyond Compare's image comparison feature
- WBOYWBOYWBOYWBOYWBOYWBOYWBOYWBOYWBOYWBOYWBOYWBOYWBforward
- 2024-04-22 12:16:22808browse
How to use the image comparison function of Beyond Compare? Beyond Compare is a powerful file and folder comparison tool with powerful features for image comparison. This feature is especially useful for users who need to compare large numbers of images. In this article, PHP editor Apple will introduce the image comparison function of Beyond Compare in detail, including how to configure settings, compare images, and interpret comparison results. By reading this article, you'll learn how to compare images using Beyond Compare to quickly and effectively identify image differences.
When we use the picture comparison function of the Beyond Compare file comparison tool, we can set some small details to better identify the differences in the pictures. For example, the tolerance color setting we introduce next is one of the small details.
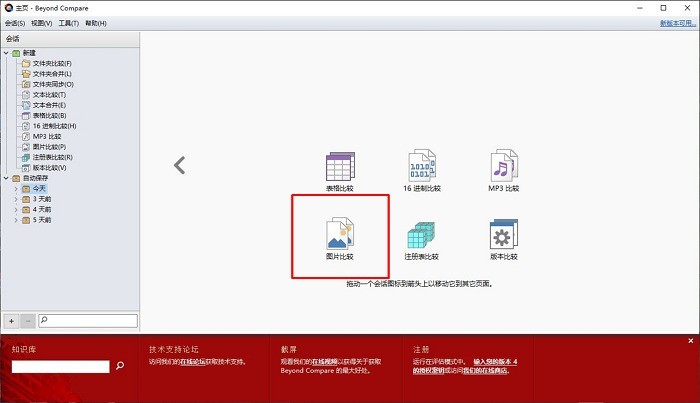
Figure 1: Text comparison function
First, default tolerance comparison effect
When we use the image comparison function of Beyond Compare file comparison tool , the function panel will display two pictures that need to be compared in the upper part, while the lower part will display the comparison results of the two pictures in different modes.
The example below shows the comparison results of two pictures in tolerance mode. The larger the tolerance, the larger the color range that can be accommodated, which means the smaller the range of different pixels in the two images. The Beyond Compare file comparison tool uses red to display different pixels and blue to display the same pixels by default. In this setting, the visual effect is not very good, we can change these color settings.
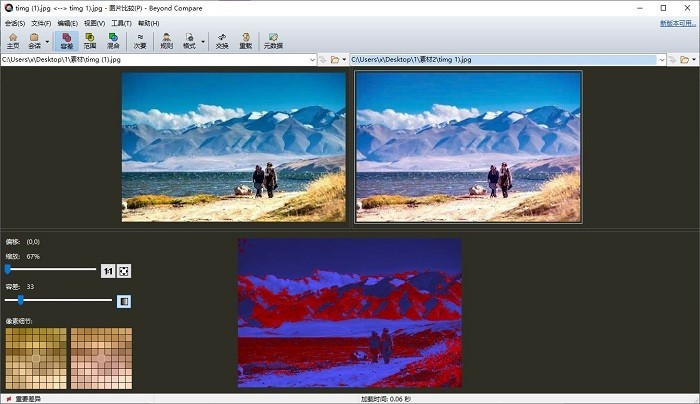
Figure 2: Default tolerance comparison effect
Second, adjust the tolerance color setting
First, we set the color label of the tolerance At the same time, it is more important to show the parts of different pixels. For the same or similar pixels, a softer color can be used as the background color.
If the user needs to set the color mark of the tolerance, he can click [Tools] in the menu bar and select the [Options] function.
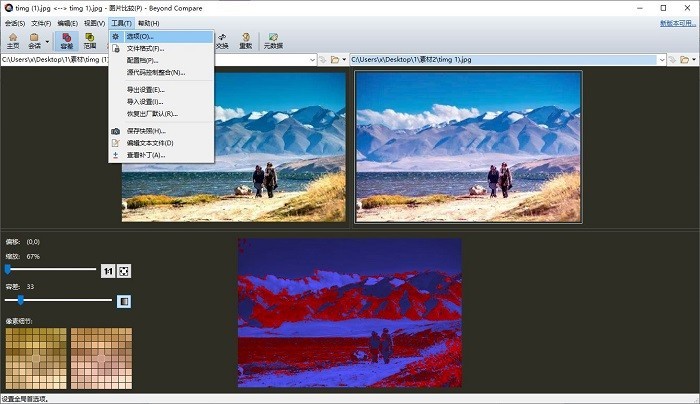
Figure 3: Open the [Options] tool
In the [Options] function, select [Color, Font], and then select [ Picture comparison]. After operating here, we can see the [Tolerance Mode Color] setting. Click [Same Pixel] to select a color in the background color settings on the right. In the example, we selected white as the color of the same pixel.
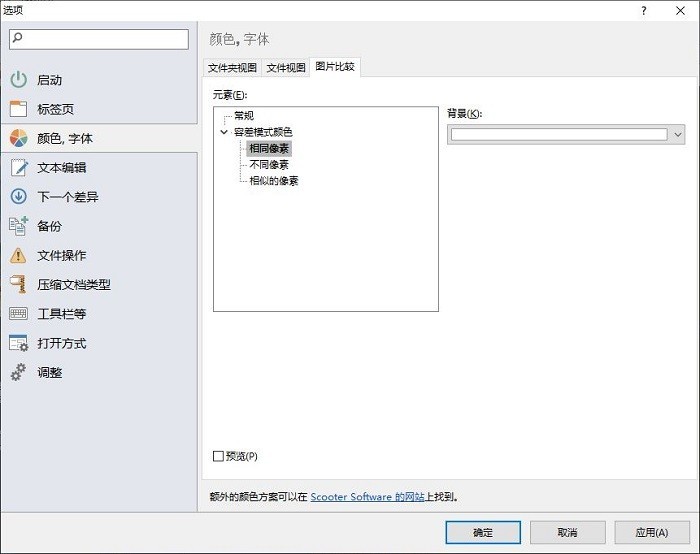
Figure 4: Set the same pixel color
Then set the color of [different pixels]. We can set a bright color here, such as bright yellow, so Differences in the pictures are more noticeable.
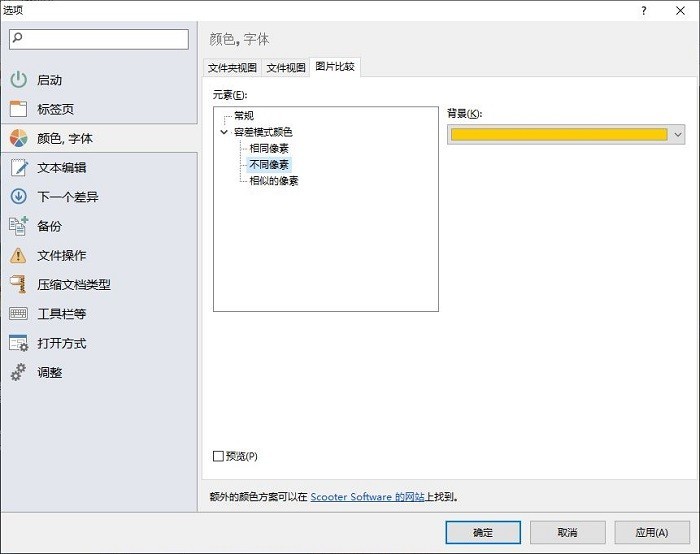
Figure 5: Setting different pixel colors
For similar pixels, you can set gray to try not to conflict with the color of [different pixels].
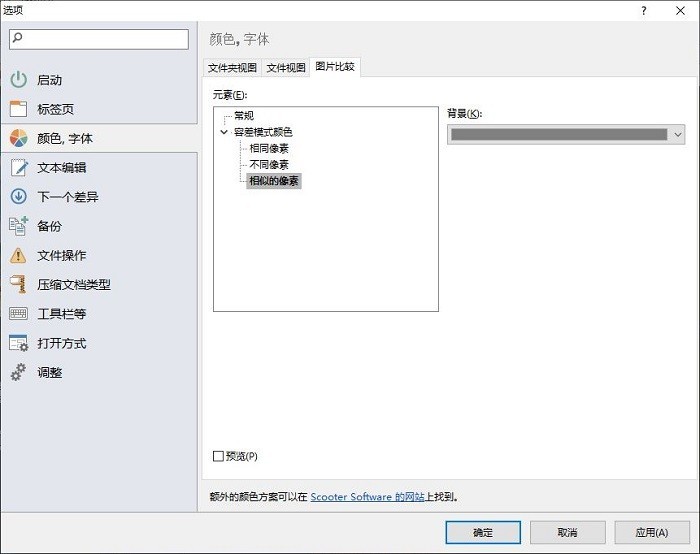
Figure 6: Setting similar pixel colors
After setting the color in tolerance mode, return to the picture comparison panel. After the above modifications, we can see that the picture comparison results will become clearer, and there will be no dazzling feeling under the default color.
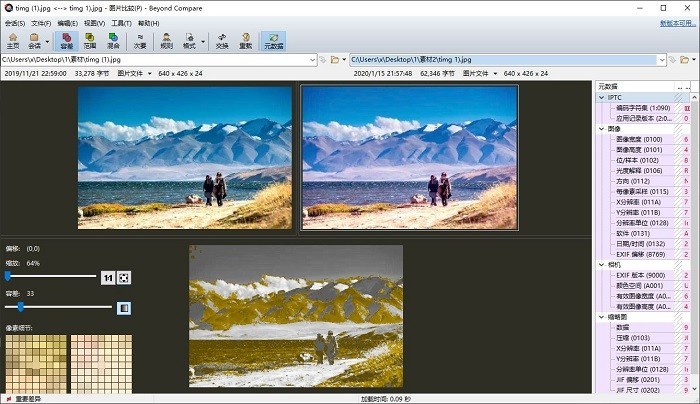
Figure 7: The effect after adjusting the tolerance color
Although the bright blue and bright red in the default tolerance mode of the file comparison tool Beyond Compare can highlight the pixels However, when users need to compare a large number of pictures, these large areas of bright colors can easily cause visual fatigue. Visual fatigue can be better reduced through color settings in tolerance mode. This is a very practical little trick.
The above is the detailed content of Detailed tips for using Beyond Compare's image comparison feature. For more information, please follow other related articles on the PHP Chinese website!

