Home >Software Tutorial >Computer Software >Detailed method for creating text inlaid on wooden beads using Photoshop
Detailed method for creating text inlaid on wooden beads using Photoshop
- WBOYWBOYWBOYWBOYWBOYWBOYWBOYWBOYWBOYWBOYWBOYWBOYWBforward
- 2024-04-19 14:43:05684browse
How to inlay text on wooden beads to achieve a unique decorative effect? Today, PHP editor Xigua brings you this creative tutorial, from material selection to production, explaining step by step the detailed method of inlaying wooden beads with text. Now, let’s take a closer look and create your own personalized wooden bead decoration!
1. Open the thing you want to inlay, use the text tool to type the words you want to inlay on it, and adjust the size.
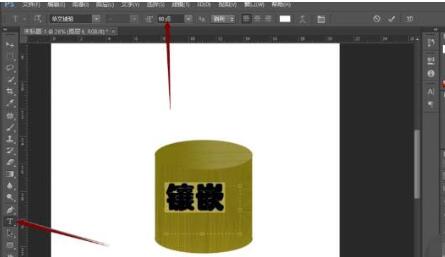
2. Right-click the text layer to rasterize the layer, then hold down CTRL and click the icon of the text layer to bring up the selection (step 1 in the picture), and then change the layer Stay on the layer you want to mosaic, press CTRL C and then press cTRL V (step 2 in the picture), then a layer will be generated, such as layer 5 in the picture, and then close the original text layer.
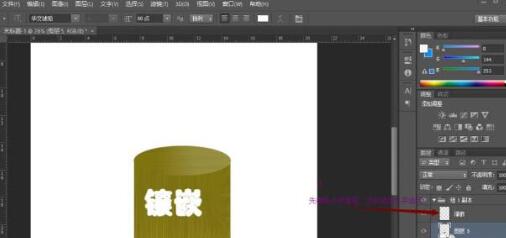
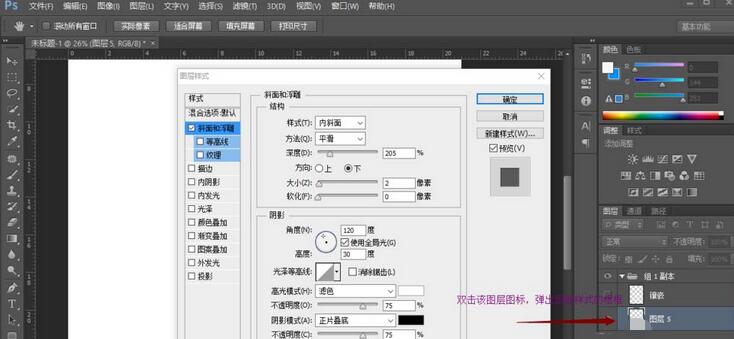
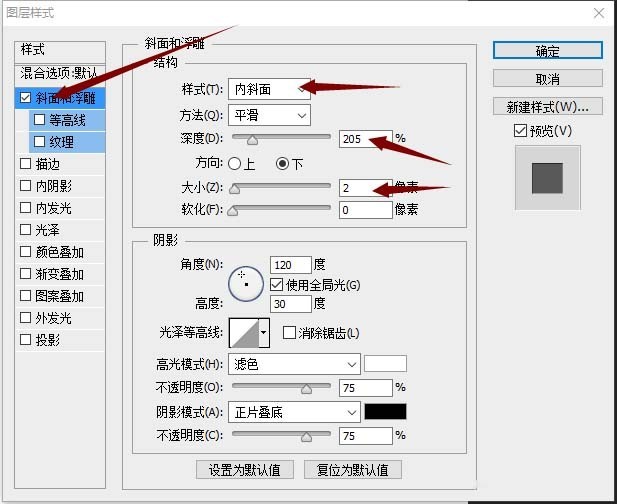
3. Double-click layer 5, a command box will pop up, and then follow the arrows in the picture to get the final result.
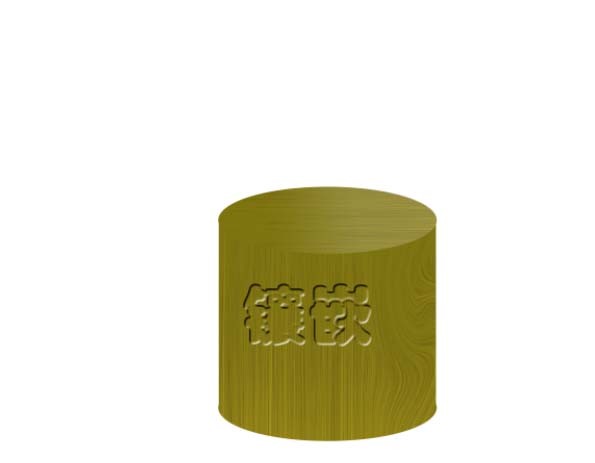
The above is the detailed content of Detailed method for creating text inlaid on wooden beads using Photoshop. For more information, please follow other related articles on the PHP Chinese website!

