Home >Software Tutorial >Computer Software >Detailed method for creating wood grain fonts in Photoshop
Detailed method for creating wood grain fonts in Photoshop
- WBOYWBOYWBOYWBOYWBOYWBOYWBOYWBOYWBOYWBOYWBOYWBOYWBforward
- 2024-04-17 20:58:27489browse
How to create lifelike wood grain fonts in Photoshop? For designers, creating realistic wood grain fonts using Photoshop is a unique and creative challenge. PHP editor Yuzai will guide you step by step in this article, taking you through the wonderful process of transforming ordinary fonts into gorgeous wood grain masterpieces. Now start a visual feast and learn the detailed method of creating wood grain fonts in Photoshop!
Create a new file, select the pen tool to outline the appearance of the wood board and the internal wood grain texture


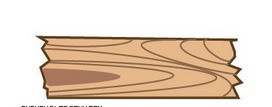
Select all respectively, and drag them to the brush palette to define Create an art brush
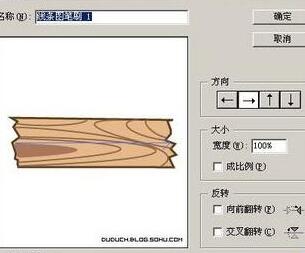
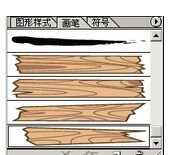
Use a pen to draw artistic words
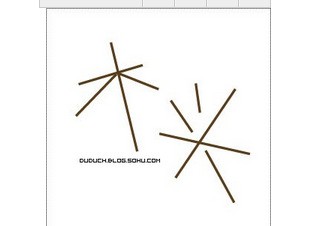
Apply the brush, because the size of the brush definition needs to be adjusted appropriately The size ratio of the brush (double-click the corresponding brush in the brush palette to
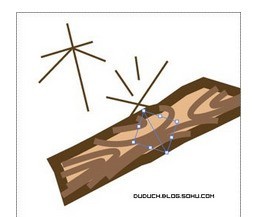
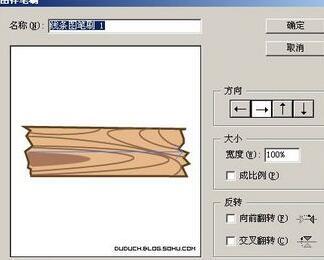
Apply one kind of brush. You can see that because the length of the line is different, the same brush Different effects can be produced
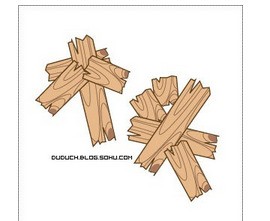
Individual brushes are modified to other defined board shapes, and the effect is more lively
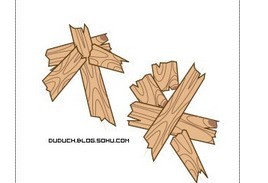
Add iron nails (black circle), and change the position of the stroke appropriately
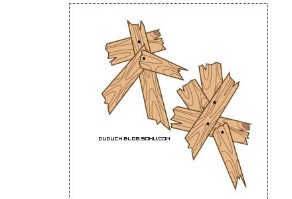
Duplicate the layer, expand the lower layer (Object-Extend), and merge (Pathfinder, Area Addition), Offset the path (Object-Path-Offset Path), set the color, and move the position appropriately
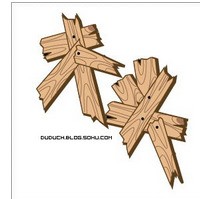
The above is the detailed content of Detailed method for creating wood grain fonts in Photoshop. For more information, please follow other related articles on the PHP Chinese website!

