
Home >Software Tutorial >Computer Software >Tutorial on adding background images to Geometric Sketchpad
Tutorial on adding background images to Geometric Sketchpad

- 王林forward
- 2024-04-17 18:37:361015browse
How to easily add a background image to the geometric sketchpad? PHP editor Xiaoxin will introduce it to you in detail in this article. If you need to add a stunning background image to your Geometric Sketchpad, keep reading as we'll guide you through it step by step and give your Geometric Sketchpad projects a whole new look!
Method 1 Cancel the selected picture attribute
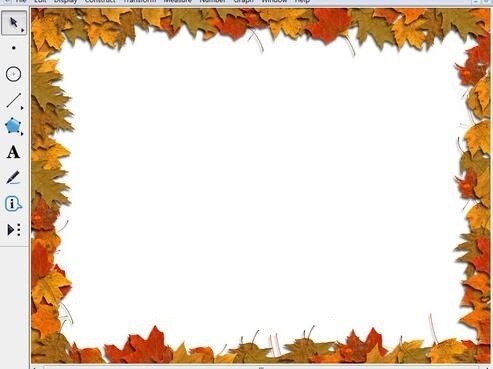
Open the geometric sketchpad, select and drag the picture to be used as the background into the geometric sketchpad editing area, and adjust the picture to the size of the software window, as shown in the figure Show.
Step 2: Select the picture, right-click the mouse, and select the [Properties] option. Under the pop-up properties dialog box, there is a [can be selected] option. Uncheck it and click 【Sure】.
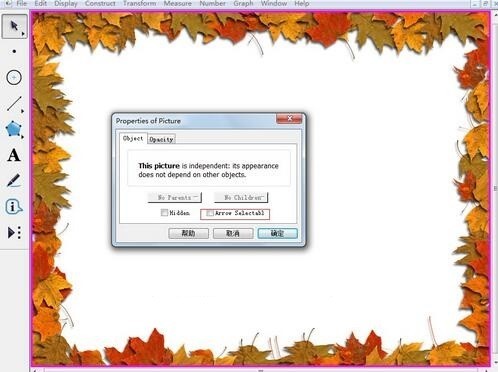
After following the above steps, you will find that the picture cannot be selected in the next operation, and it will not be moved at will, so this picture will be used as the background picture. .
Method 2: Use fixed points to insert background images
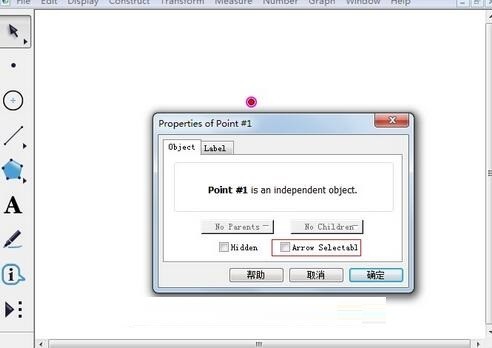
Step 1 Create points that cannot be moved. Open the geometric sketchpad software, select [Point Tool] to draw a point in the middle of the blank area of the sketchpad, use the [Selection Tool] to select this point, right-click the mouse and select [Properties], and there will be [Can be selected] under the pop-up properties dialog box. option, uncheck it and click [OK].
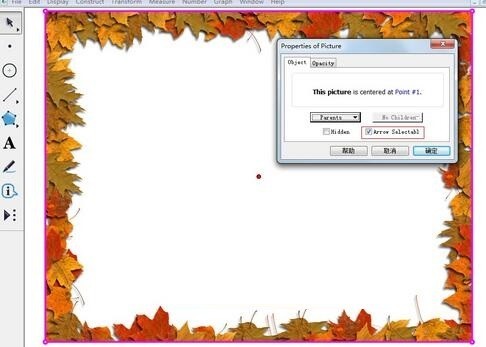
Step 2 Copy the image to the point. Copy the picture to be used as the background to the geometric sketchpad, select the point and picture, hold down the Shift key, and execute the [Edit]-[Merge Picture to Point] command. At this time, the picture will be centered on the point and evenly distributed at the point. around.
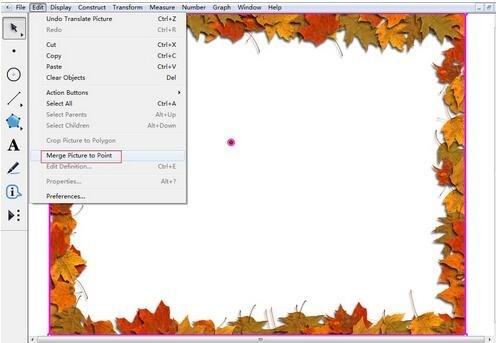
Step 3: Right-click the image and select the [Properties] option. Under the pop-up properties dialog box, there is a [Can be selected] option. Remove the check mark in front of it and click [ Sure】. If you execute the hide point command again, the background image will never move.
The above is the detailed content of Tutorial on adding background images to Geometric Sketchpad. For more information, please follow other related articles on the PHP Chinese website!