Home >Software Tutorial >Computer Software >Detailed steps for adding new mapping and drawing graphics in Geometric Sketchpad
Detailed steps for adding new mapping and drawing graphics in Geometric Sketchpad
- 王林forward
- 2024-04-17 13:31:131256browse
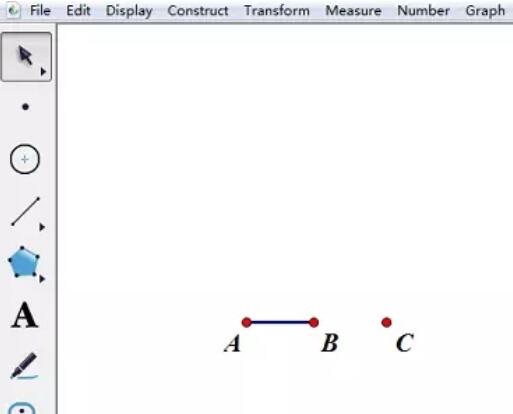
1. Use the [Line Segment Ruler Tool] to draw line segment AB, and use the [Point Tool] to draw a point C.

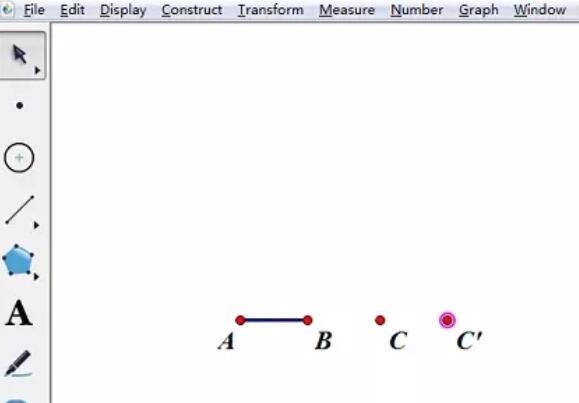
2. Select points A and B in turn, [Transform]-[Marker Vector]; select point C, [Transform]-[Translation] to get the translation point C’.

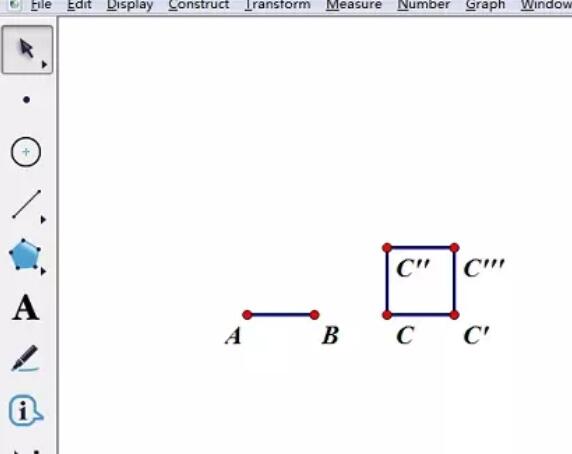
3. Double-click point C, select point C’, [Transform]-[Rotate], fix the angle at 90 degrees, and get point C’’. Select point C’’, [Transform]-[Translation] to get the translation point C’’’. Select points C, C’, C’’’, C’’ in counterclockwise order, and construct line segments to obtain a square.

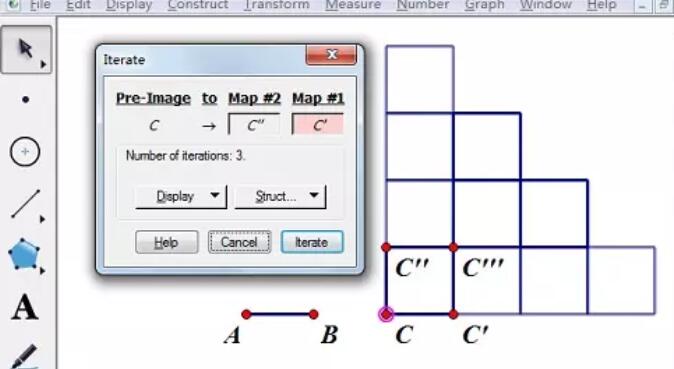
4. Select point C (original image), click the menu [Transform] - [Iteration], a dialog box will appear; click point C' (initial image), and then click Click the [Structure] button - [Add New Mapping], click point C'', and finally click the [Iteration] button to complete the drawing.

The above is the detailed content of Detailed steps for adding new mapping and drawing graphics in Geometric Sketchpad. For more information, please follow other related articles on the PHP Chinese website!
Related articles
See more- How to set the extraction code for network disk? -Network disk setting extraction code method
- Iterative production operation method within the square of the geometric sketchpad
- Detailed method of constructing textured cones with geometric sketchpad
- Beyond Compare compares table data to display row numbers
- How to find all files in Everything How to find all files in Everything

