Home >Mobile Tutorial >Android Phone >Introduction to how to set the application to full screen display in Redmi Note8 Pro
Introduction to how to set the application to full screen display in Redmi Note8 Pro
- WBOYWBOYWBOYWBOYWBOYWBOYWBOYWBOYWBOYWBOYWBOYWBOYWBforward
- 2024-04-16 17:00:031135browse
php editor Shinichi reveals for you the strategy to unlock all the skills in "Winter Rhapsody". This character plot simulation game is based on a small town story and incorporates Japanese elements. Players will face the challenge of in-depth puzzle solving, and operational skills are crucial. The game is full of fun and excitement, and provides a wealth of skills to play. Unlocking all skills can bring a more comprehensive gaming experience.
1. First, we open the Redmi note8pro phone, open the desktop [Settings] option, and click to enter.

2. After entering the settings interface, find and click to open the [Full Screen] item.

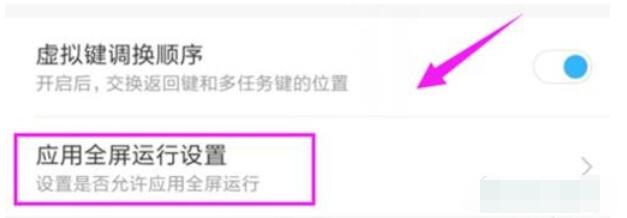
3. In the [Full Screen] interface, we select [Apply Full Screen Run Settings].

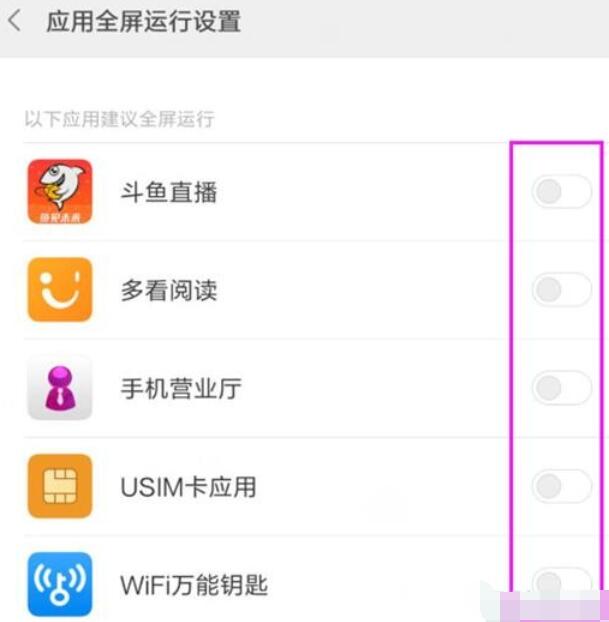
4. After entering, you can see that many applications are authorized for full-screen display. The switch is gray by default, which means that full-screen display is not enabled.

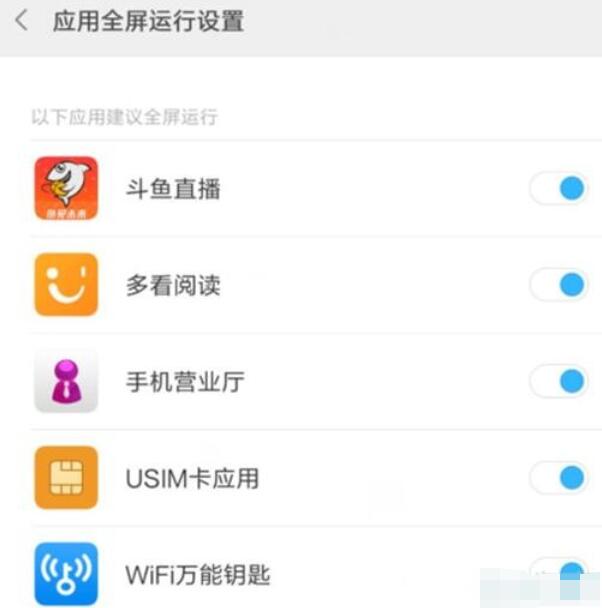
5. We click to open the application that requires full-screen display, and make the switch behind it turn blue to enable full-screen display.

The above is the detailed content of Introduction to how to set the application to full screen display in Redmi Note8 Pro. For more information, please follow other related articles on the PHP Chinese website!
Related articles
See more- Video editing tutorial with Screen Recorder_Introduction to Video Editing Master
- How to check the income of Alipay Yu'E Bao?
- How to solve the problem that the font size of Baidu Tieba Android version is too small and enable night mode
- Does Yidui Android version support incognito setting_How to set incognito status
- One-click screenshot tutorial: How to take screenshots of Honor Magic5Pro

