
Home >System Tutorial >Windows Series >The operation process of changing the local disk name in win8 system
The operation process of changing the local disk name in win8 system

- WBOYWBOYWBOYWBOYWBOYWBOYWBOYWBOYWBOYWBOYWBOYWBOYWBforward
- 2024-04-02 19:40:13986browse
php editor Youzi will introduce to you the operation process of changing the local disk name in Windows 8 system. Changing the local disk name can help us better identify and manage different disks and improve work efficiency. In Windows 8 system, changing the disk name is very simple and only requires a few simple steps. Below, we will introduce the specific operation steps in detail.
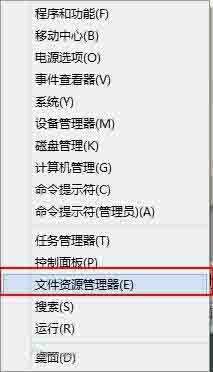
1. Open [Windows 8 Desktop], right-click the lower left corner of [Desktop], and select [File Explorer]. As shown in the picture:
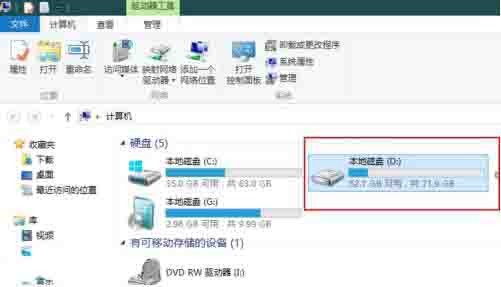
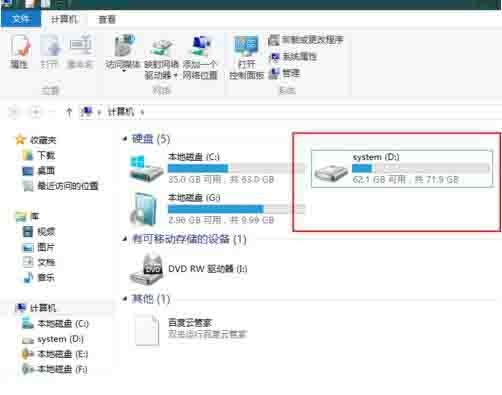
2. Select the disk that needs to be modified in [Computer]. As shown in the picture:
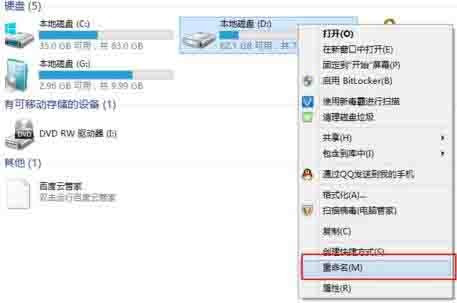
3. Right-click [Drive Letter] and select [Rename] in the menu bar. As shown in the picture:
4. Modify the name of [Disk]. As shown in the figure:
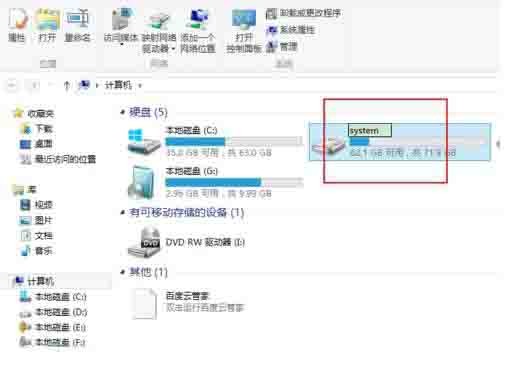
5. Press Enter to confirm and complete the modification of the disk name. as the picture shows:
The above is the detailed content of The operation process of changing the local disk name in win8 system. For more information, please follow other related articles on the PHP Chinese website!
Related articles
See more- How to solve the problem of Windows 7 desktop rotating 90 degrees
- How to forcefully terminate a running process in Win7
- Win11 Build 25336.1010 preview version released today: mainly used for testing operation and maintenance pipelines
- Win11 Beta preview Build 22621.1610/22624.1610 released today (including KB5025299 update)
- Fingerprint recognition cannot be used on ASUS computers. How to add fingerprints? Tips for adding fingerprints to ASUS computers