
Home >Software Tutorial >Computer Software >How to add patterns to fans using Photoshop
How to add patterns to fans using Photoshop

- WBOYWBOYWBOYWBOYWBOYWBOYWBOYWBOYWBOYWBOYWBOYWBOYWBforward
- 2024-04-01 11:51:51732browse
php Editor Xinyi today brings you tips on how to quickly add patterns in Photoshop. In graphic design, it is often necessary to add various patterns to enrich the design effect. But if you have to look for patterns and add them manually every time, it will definitely waste a lot of time. Using some shortcut operations in Photoshop, you can easily add various patterns, improve work efficiency, and make your design more beautiful! Next, let us learn more about how to add patterns to the fan using Photoshop.
1. Use various selection tools such as [Quick Selection Tool] and [Magic Wand] to select the sector.
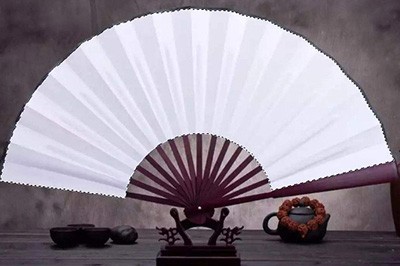
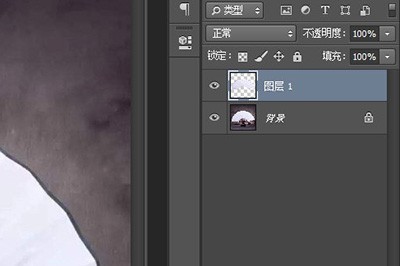
2. Press CTRL J to extract the sector into a separate layer.
3. Drag the pattern you want to add onto the fan, and press CTLR T to adjust the size and position.

4. Right-click on the pattern layer and [Create Clipping Mask] and your pattern will be on the fan.

5. Finally, I found that there were no fan folds on the pattern, which seemed abrupt. Just change the layer's blending mode to [Linear Burn], and a patterned fan is completed.

The above is the detailed content of How to add patterns to fans using Photoshop. For more information, please follow other related articles on the PHP Chinese website!