
 System TutorialWindows SeriesA simple tutorial to cancel password protection in WIN10 sleep mode
A simple tutorial to cancel password protection in WIN10 sleep mode

php editor Youzi brings you a simple tutorial on how to cancel password protection in WIN10 sleep mode. WIN10 sleep mode requires you to enter a password to unlock, which sometimes seems cumbersome. This tutorial will help you quickly cancel this setting and make your computer more convenient in sleep mode. Follow the steps below to easily remove password protection.
1. Press the win X key on the keyboard and click the [Control Panel] option in the pop-up menu.

2. In the Control Panel window, switch the viewing mode to [Large Icons] and click [Power Options] in the settings list.

3. After entering the power options page, click [Require password when waking up] in the upper left corner.

4. On the system settings page, find the password protection field when waking up, click to select [No password required], and then click the [Save changes] button.

The above is the detailed content of A simple tutorial to cancel password protection in WIN10 sleep mode. For more information, please follow other related articles on the PHP Chinese website!

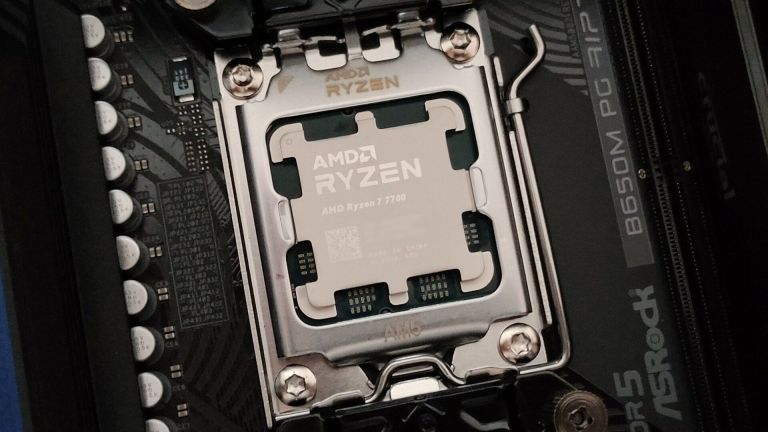 Got an AMD CPU and Aren't Using PBO? You're Missing OutApr 12, 2025 pm 09:02 PM
Unlocking Ryzen's Potential: A Simple Guide to Precision Boost Overdrive (PBO) Overclocking your new PC can seem daunting. While performance gains might feel elusive, leaving potential untapped is even less appealing. Fortunately, AMD Ryzen processo
 Bought a New Gaming PC? Don't Make These Infuriating MistakesApr 12, 2025 am 06:10 AM
Setting up a new gaming PC is thrilling, but even tech experts can make costly mistakes. Here are some common pitfalls to avoid for a smooth gaming experience. 1. Using the Motherboard's Display Output Instead of Your GPU A frequent tech support que
 Microsoft's Next Windows API Change Will Break Some AppsApr 12, 2025 am 06:07 AM
Microsoft's upcoming alteration to the Windows API will render certain applications non-functional. A GitHub search indicates that a limited number of smaller projects utilize the affected maps API, including an openHAB client and an unofficial Poké
 Microsoft 365 Service Outage Locks Family Subscribers Out of Office AppsApr 12, 2025 am 06:06 AM
Microsoft 365 Family service disruption impacts Office suite access. A widespread outage affecting Microsoft 365 Family subscribers has left many unable to access Office applications. Microsoft acknowledges the problem, but a resolution may take se
 5 Windows Settings to Change to Improve Laptop Battery LifeApr 12, 2025 am 06:04 AM
Is your Windows laptop battery draining faster than you'd like? Don't worry, you can significantly extend its life with a few simple tweaks to Windows' built-in power management features. Here's how to maximize your laptop's battery life on a singl
 6 Settings to Make Your Windows 11 Desktop More MinimalistApr 12, 2025 am 03:01 AM
Streamline Your Windows Desktop: A Guide to Minimalism A cluttered desktop, overflowing with shortcuts and pinned apps, can hinder productivity and visual appeal. Fortunately, Windows offers extensive customization options to achieve a minimalist wo
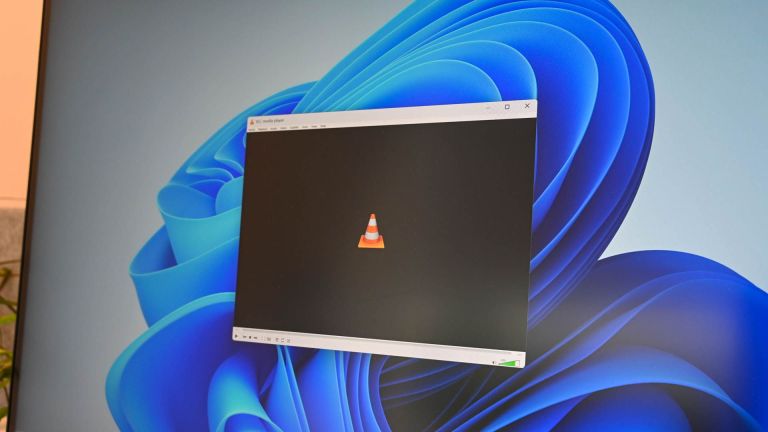 6 Hidden Features of VLC Media Player That You Should Be UsingApr 11, 2025 am 06:08 AM
Unlock the Hidden Power of VLC Media Player: Beyond Basic Playback VLC Media Player, a free and open-source media player, offers more than just basic audio and video playback. This article highlights some of its lesser-known, yet incredibly useful f
 Framework's Laptop 12 Pre-orders Start Today, But Not in the USApr 11, 2025 am 06:02 AM
Framework's highly anticipated Framework Laptop 12 is now available for pre-order (except in the US). This compact, repairable laptop aims to redefine the entry-level market. However, US customers face a delay due to tariff adjustments, resulting in


Hot AI Tools

Undresser.AI Undress
AI-powered app for creating realistic nude photos

AI Clothes Remover
Online AI tool for removing clothes from photos.

Undress AI Tool
Undress images for free

Clothoff.io
AI clothes remover

AI Hentai Generator
Generate AI Hentai for free.

Hot Article
Hot Tools

WebStorm Mac version
Useful JavaScript development tools

SublimeText3 Chinese version
Chinese version, very easy to use

Dreamweaver Mac version
Visual web development tools

mPDF
mPDF is a PHP library that can generate PDF files from UTF-8 encoded HTML. The original author, Ian Back, wrote mPDF to output PDF files "on the fly" from his website and handle different languages. It is slower than original scripts like HTML2FPDF and produces larger files when using Unicode fonts, but supports CSS styles etc. and has a lot of enhancements. Supports almost all languages, including RTL (Arabic and Hebrew) and CJK (Chinese, Japanese and Korean). Supports nested block-level elements (such as P, DIV),

Atom editor mac version download
The most popular open source editor

