
 System TutorialWindows SeriesTutorial on how to enable the quick startup function of WIN10 system
Tutorial on how to enable the quick startup function of WIN10 system

php editor Zimo will introduce to you how to enable the quick startup function of WIN10 system. The quick startup function of WIN10 system can help you enter the system more quickly when booting, improving the system startup speed and efficiency. With simple settings, you can easily turn on the fast startup function, making your computer boot up faster and more conveniently. Next, let us take a look at the tutorial method to enable the quick startup function of WIN10 system!
1. Press the keyboard shortcut Win R at the same time to open the run window, enter gpedit.msc, and press Enter to confirm.

2. The Local Group Policy Editor appears, expand Computer Configuration--"Administrative Templates--"System--"Shutdown.

3. Click on the right side and double-click to open [Require Fast Startup].

4. Click to check [Enabled], and then press OK to save.
5. Press the keyboard shortcut Win R at the same time to open the run window, enter msconfig, and press Enter to confirm.

6. Then the system configuration appears, click the [Boot] tab, check [No GUI Boot] under the boot options, and click OK to complete.

The above is the detailed content of Tutorial on how to enable the quick startup function of WIN10 system. For more information, please follow other related articles on the PHP Chinese website!

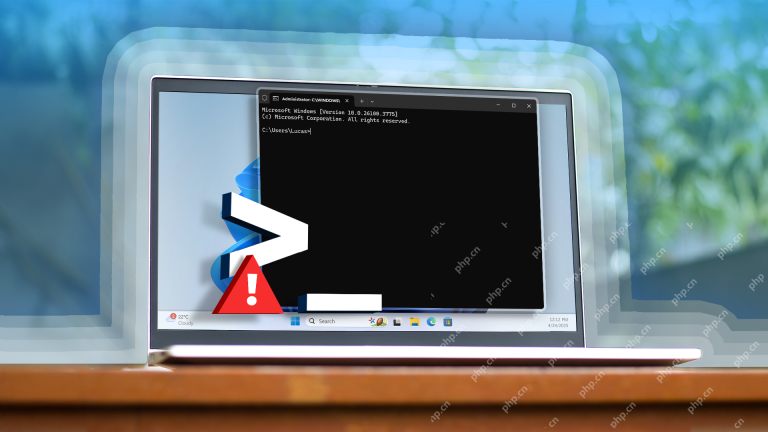 How I Troubleshoot Windows Using Command PromptApr 29, 2025 am 12:55 AM
Command Prompt: Your Secret Weapon for Troubleshooting Windows Issues Since I started using Windows, I've rarely gone a month without encountering some sort of problem. My go-to solution? The often-overlooked Command Prompt. While initially intimid
 6 Windows Warnings You Shouldn't OverlookApr 29, 2025 am 12:53 AM
Windows System Warning: Six Signals Not to Be Neglected Many people find Windows notifications very annoying and often turn them off without watching them. But ignoring all notifications can backfire. Some warnings may prompt serious problems in the system and delayed handling may endanger the safety of the equipment. Here are some warnings you must not ignore. Notification of insufficient disk space When your system drive (usually a C disk) has insufficient storage space, a "Insufficient Disk Space" warning will appear. Windows requires free space to handle tasks such as saving temporary files, installing updates, and managing virtual memory. Insufficient space can cause the system to slow down, freeze or even crash. Important security updates may also fail to install. Given that this can seriously affect performance and stability
 How to Run Old Software in Compatibility Mode on Windows 11Apr 28, 2025 am 09:22 AM
Resolve App Compatibility Issues in Windows 11 with Compatibility Mode Is an application refusing to launch or behave as expected on your Windows 11 system? Windows 11's compatibility mode can often resolve these issues. This guide explains how to u
 The Death of Windows 10 Could Net You a Bunch of Free Linux PCsApr 28, 2025 am 06:03 AM
Windows 11 elimination wave: Your old computer is ushering in a new life! A large number of businesses are about to eliminate computers that cannot run Windows 11, but this is a great opportunity for Linux users! Windows 10 is about to die, and many computers cannot run Windows 11 Enterprises need to run the latest software on the device to get support, maintain infrastructure security and protect user data. Windows 11 is the latest version of Windows operating system, but it has very specific and strict hardware requirements that many existing computers cannot meet, so they have long insisted on using old Windows 10. However, Windows 10 will be on 202
 Become a File Explorer Pro With These 5 Add-Ons and UtilitiesApr 28, 2025 am 06:01 AM
Enhance Your File Explorer Experience with Essential Add-ons and Extensions File Explorer is a fundamental Windows tool, but its capabilities can be significantly expanded with the right add-ons and extensions. These tools streamline file management,
 Windows Recall Strikes Back, and Nest Says Goodbye: Weekly RoundupApr 27, 2025 pm 06:11 PM
Tech News Roundup: Windows Recall, New eReaders, and More! This week's tech news is packed with updates, new releases, and some surprising developments. Let's dive in! Windows Recall Finally Deployed (After Significant Delays) Microsoft's controvers
 10 Ways to Reuse or Repurpose an Old LaptopApr 27, 2025 am 09:30 AM
Repurpose Your Old Laptop: 10 Ingenious Ideas to Avoid the Landfill! Many of us upgrade our laptops every few years, leaving perfectly functional machines gathering dust. Instead of discarding them, consider these ten creative ways to give your old
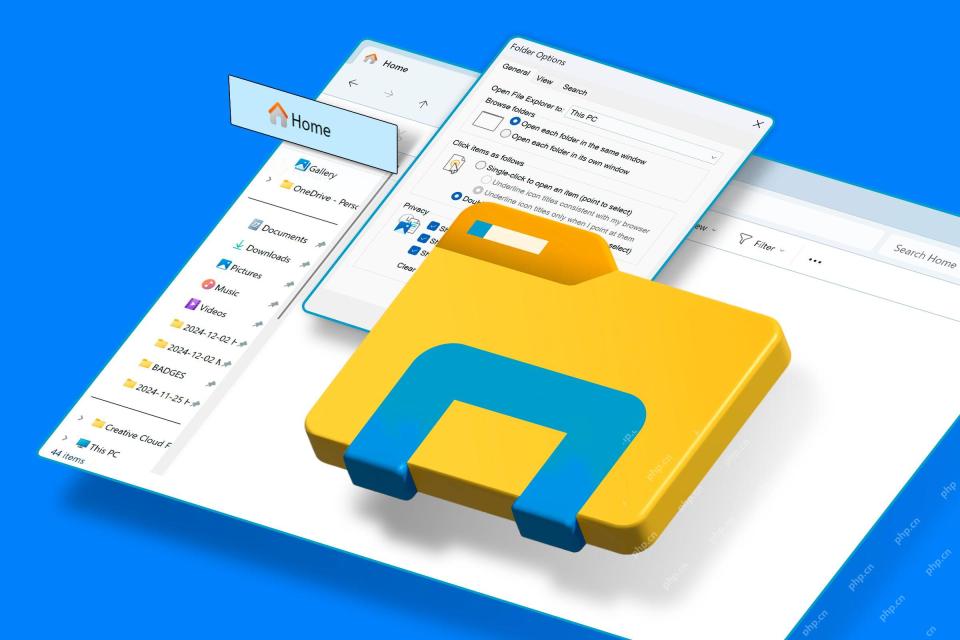
 This File Manager Solves All My Windows File Explorer WoesApr 27, 2025 am 06:02 AM
This article explores why the author prefers OneCommander, a free third-party file explorer, over Windows File Explorer. The author highlights several key shortcomings of Windows File Explorer, including its slow adoption of modern features (like da


Hot AI Tools

Undresser.AI Undress
AI-powered app for creating realistic nude photos

AI Clothes Remover
Online AI tool for removing clothes from photos.

Undress AI Tool
Undress images for free

Clothoff.io
AI clothes remover

Video Face Swap
Swap faces in any video effortlessly with our completely free AI face swap tool!

Hot Article
Hot Tools

MantisBT
Mantis is an easy-to-deploy web-based defect tracking tool designed to aid in product defect tracking. It requires PHP, MySQL and a web server. Check out our demo and hosting services.

EditPlus Chinese cracked version
Small size, syntax highlighting, does not support code prompt function

SublimeText3 Chinese version
Chinese version, very easy to use

ZendStudio 13.5.1 Mac
Powerful PHP integrated development environment

SecLists
SecLists is the ultimate security tester's companion. It is a collection of various types of lists that are frequently used during security assessments, all in one place. SecLists helps make security testing more efficient and productive by conveniently providing all the lists a security tester might need. List types include usernames, passwords, URLs, fuzzing payloads, sensitive data patterns, web shells, and more. The tester can simply pull this repository onto a new test machine and he will have access to every type of list he needs.

