Home >Software Tutorial >Office Software >How to draw a flying saucer using PPT
How to draw a flying saucer using PPT
- WBOYWBOYWBOYWBOYWBOYWBOYWBOYWBOYWBOYWBOYWBOYWBOYWBforward
- 2024-03-26 18:06:341228browse
php Editor Apple introduces you how to draw a flying saucer using PPT. If you want to draw a realistic flying saucer in PPT, you first need to open the PPT software, select the insert shape tool, find the ellipse tool in the shape options, and draw a circle as the main body of the flying saucer. Next, select the Ellipse Tool again and draw an oval shape as the disk part of the flying saucer. Adjust the size, color and position, and finally add decorative details such as lights and reflective effects to create a vivid flying saucer image.
1. Select the [Ellipse] shape in [Shape] under the [Insert] tab and draw a tilted ellipse in the editing area.
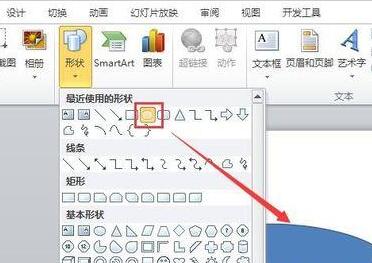
2. Right-click the mouse and select the [Format Shape] option to set and adjust its fill, shadow and three-dimensional format respectively so that it appears as shown in the picture.
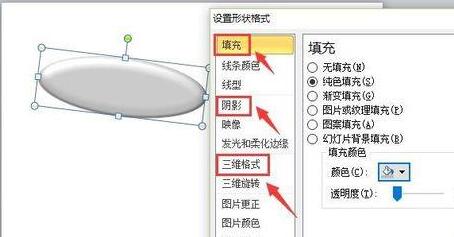
3. With the [Ellipse] shape selected, hold down the [Shift] key, draw a circle in the picture, and adjust its properties to be the same as the ellipse.

4. Copy and paste the circle you just drew so that it circles around the lower edge of the oval.
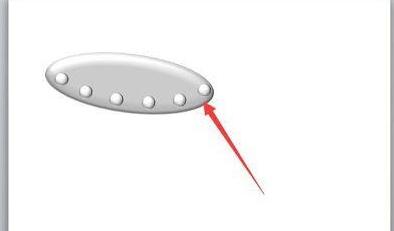
5. Draw a shape as shown in the picture, and adjust its properties to be consistent with the ellipse.
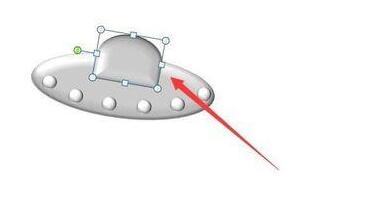
6. Along the lower edge of the previous shape, draw a [hollow arc] shape and adjust its properties to be consistent with the oval shape.
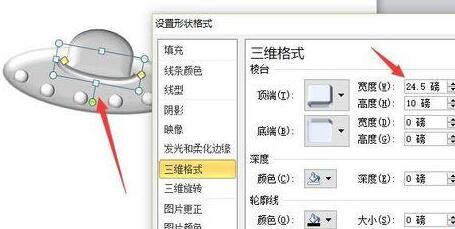
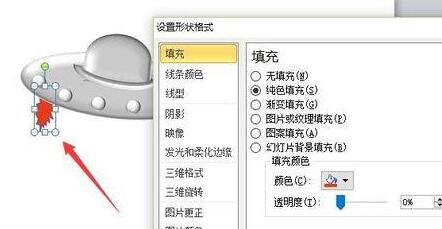
7. Finally, decorate the flying saucer with jets of [flame], as shown in the picture.
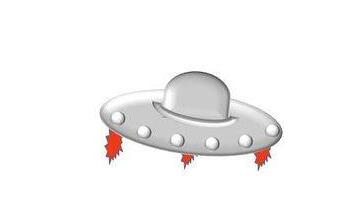
8. In this way, you can see the shape of the flying saucer as shown in the picture.
The above is the detailed content of How to draw a flying saucer using PPT. For more information, please follow other related articles on the PHP Chinese website!

